
Homeowner guide
Renovating without an interior designer in Singapore: how to run it yourself
You can renovate a BTO, resale HDB flat or condo without an ID, as long as the work is done by the right licensed contractors and you take on the coordination. This guide covers the rules, the order of works, a realistic timeline, when to buy and deliver each item, and how to keep notes that save you later.
- BTO, resale HDB and condo
- Checked against HDB rules
- Buy and delivery timing, item by item

Read this first
A general guide, not a course
This page shares general, practical guidance from our experience. It is not professional training, and it is not legal, engineering or financial advice. Every home, contractor and building is different, and rules change.
Managing your own renovation carries real risk. Mistakes and human error happen, even with careful planning, and some are costly to undo. Treat this as a starting point: check the current rules with HDB, your MCST and each licensed professional, and get advice for anything you are unsure about. You make the decisions and you carry the responsibility for them.
The short answer
What "renovation without an ID" really means
Short answer: yes, you can renovate without an interior designer. You still cannot do the regulated work yourself. In an HDB flat, every renovation contractor must come from HDB's Directory of Renovation Contractors (DRC), even for works that need no permit. Electrical, plumbing, gas and window works each need their own licensed trade. What you take over is the design decisions, the coordination and the paperwork that an ID firm would normally handle.
Homeowners usually choose one of three set-ups:
- One main contractor. A single DRC-registered contractor quotes the whole job and brings in their own electrician, plumber and carpenter. This is the simplest set-up with the fewest gaps between trades, and the one we suggest for most first-timers.
- Separate trades. You hire the hacking and masonry contractor, carpenter, electrician, plumber, aircon installer and others yourself. It can cost less, but every gap between trades becomes your problem.
- Design first, then your own contractor. You pay for a design and a detailed scope, then get contractors to price exactly that scope and run the job yourself. You keep control without making every design call on site.
For the choice itself, see interior designer vs contractor. The rest of this page assumes you have decided to run it yourself.
Is it right for you?
It usually works well when:
- the scope is simple (a BTO with few changes, or a refresh of a newer resale flat)
- you can visit the site at least once a week, and answer calls on weekdays
- you are comfortable making decisions quickly and putting them in writing
- you have a clear layout and a list of items before work starts
Think twice when you plan to move or hack walls, rewire an older flat, redo bathrooms or kitchens completely, have a fixed move-in date, or cannot be reached during working hours. These jobs have more trades, more dependencies and more ways to go wrong.
Before anything else
The rules you must follow
Running it yourself does not change the rules. These are the ones homeowners most often trip over. The detail is on HDB's important information on renovations page, and HDB updates it from time to time.
HDB flats
- DRC contractors only. The Housing & Development (Renovation Control) Rules 2006 require owners to use DRC contractors. Using an unregistered contractor can lead to a fine of up to $5,000 on conviction.
- Your contractor applies for the permit, on your authority. You sign an acknowledgement form and the DRC contractor submits the application online, with the floor plan where HDB needs to evaluate the works (for example, removing walls). Start work only once the permit is issued. Works that don't need a permit must still follow HDB's guidelines. More in our HDB renovation permit guide.
- Completion deadlines. Counted from the permit date: 3 months for newly completed blocks and 1 month for existing blocks.
- Walls and structure. Any hacking of walls needs HDB's prior approval, and structural walls, columns and beams can't be touched. The floor level can't be raised more than 50mm. See which HDB walls you can hack.
- New flats: bathrooms. HDB-supplied toilet floor and wall finishes must not be replaced for 3 years from the block's completion date, to protect the waterproofing. Laying new floor finishes over the existing ones with adhesive is allowed.
- Household shelter. Its walls, slabs and door must not be hacked or altered. Shallow drilling of up to 50mm into the internal faces, for non-metallic inserts only, is allowed.
- Main door. A main door that opens onto a fire escape route, such as a lift lobby, must be replaced with a half-hour fire-rated door and frame with a self-closing device.
Licensed trades
- Electrical: all electrical work must be done by an EMA licensed electrical worker (LEW). Your LEW applies for any electrical permit and arranges testing with SP Services afterwards.
- Plumbing: regulated water service and sanitary works need a PUB licensed plumber, and since 1 April 2018 it is an offence to engage an unlicensed one. Simple jobs, such as replacing a tap, showerhead or basin, can be done by a handyman.
- Gas: gas pipe alterations must be done by City Energy or a licensed gas service worker.
- Windows: only BCA Approved Window Contractors listed with HDB may install or replace windows, and window replacement always needs a permit.
- Aircon: use a BCA-trained installer. In HDB flats the aircon ledge may hold only the condensing units (at most 2), and the installation report goes to HDB within 14 days.
Hours, neighbours and debris (HDB)
- General works: 9am to 6pm on weekdays and Saturdays. No renovation on Sundays or public holidays.
- Noisy works (hacking, removing finishes, cutting tiles, heavy drilling): 9am to 5pm on weekdays only. They are also not allowed on the eves of New Year's Day, Chinese New Year, Hari Raya Puasa, Deepavali and Christmas. Demolition or removal of finishes may not run more than 3 days in a row.
- Neighbours: tell neighbours within 2 units of you, in writing, at least 5 days before work starts. Once the permit is issued, display the Notice of Renovation outside your flat until the works finish.
- Debris: debris never goes down the refuse chute, toilet or floor trap. Your Town Council may offer a paid removal service; otherwise the contractor takes it to an NEA-approved site. Illegal dumping carries heavy fines.
Condos
There is no single condo rulebook. Your MCST's by-laws decide working hours, deposits, insurance and lift protection, so ask the management office for the renovation guidelines and forms before you book anyone. BCA notes that structural changes need a Professional Engineer and the Commissioner of Building Control's approval, and that window or facade changes need MCST approval. Check with the MCST whether your main door is a fire door before changing it or adding a digital lock. More in condo renovation rules.
Step 1
Set up the project before key collection
Most problems on site start as gaps in the paperwork. Do this groundwork while you are still waiting for your keys.
Fix the layout and the list
- Measure and draw. Use HDB's floor plan (from the sales brochure, or bought from HDB) as the base, then measure the real rooms once you have access. Mark every wall you want to keep, remove or build.
- Mark every point. On the plan, mark each switch, socket, data point, light, aircon unit, water point and appliance, with heights. This one drawing is what the electrician, plumber and carpenter will all work from.
- List every item. Write down each fixture and appliance you will buy (sink, hob, hood, basin, WC, water heater, lights, fridge, washer) with its model and dimensions. Several of them decide how other trades build, as the table further down shows.
Get comparable quotes
- One scope, many quotes. Give each contractor the same written scope, room by room, with quantities and finishes. Quotes that describe the same work are the only ones you can compare. See how to compare renovation quotations.
- Check who you hire. Confirm DRC registration on HDB's directory, licences for each regulated trade, and insurance. CaseTrust accreditation for renovation businesses is voluntary, but accredited firms must use the CaseTrust standard contract, cap the initial deposit at 20%, give a 12-month workmanship warranty and agree variations in writing. More on checking a contractor.
- Write down who makes good. When the electrician chases a wall, who plasters and repaints it? Who clears debris, and who repairs a chipped tile? Put this in each scope, or it falls to you.
Contract and payments
- Itemised contract with start and end dates, the scope attached, and written lead times for custom items. Our renovation contract checklist covers the clauses.
- Pay against milestones, not dates. Keep the deposit small and pay as each stage is finished and checked. Pay the company, never an individual's account. See renovation payment schedules.
- Changes in writing, priced, before the work. Every change is a variation order. A WhatsApp message saying "OK, go ahead" is not enough on its own. See variation orders.
- Budget buffer. Keep money aside for what you can't see yet, especially in older resale flats where hacking often uncovers extra work. Use our renovation budget guide to size it.

Step 2
The order of works, and why it matters
The order of works is the heart of running a renovation. Each trade builds on the one before it. If a step is done out of order, someone has to undo finished work. The sequence below is the usual one for a Singapore flat. Your contractor may adjust it for your scope, so agree the order in writing before work starts.
The rule behind it is simple: hidden services first, finishes next, fittings last. Pipes, cables and aircon piping go in while walls and ceilings are open. Tiles, ceilings and carpentry close them up. Lights, taps and appliances go on at the end, so they aren't damaged or painted over.
Two common points of confusion:
- Wiring. In condos, concealed wiring usually goes in after hacking and before tiling. In HDB flats, new wiring is often run in trunking, above a false ceiling or inside carpentry, so it may come later. Ask your LEW how it will be routed in your flat before you fix the sequence.
- Gas. For a BTO, City Energy's guide puts gas pipe installation after wall tiling and before kitchen cabinets, with the gas turned on only after the renovation is complete.
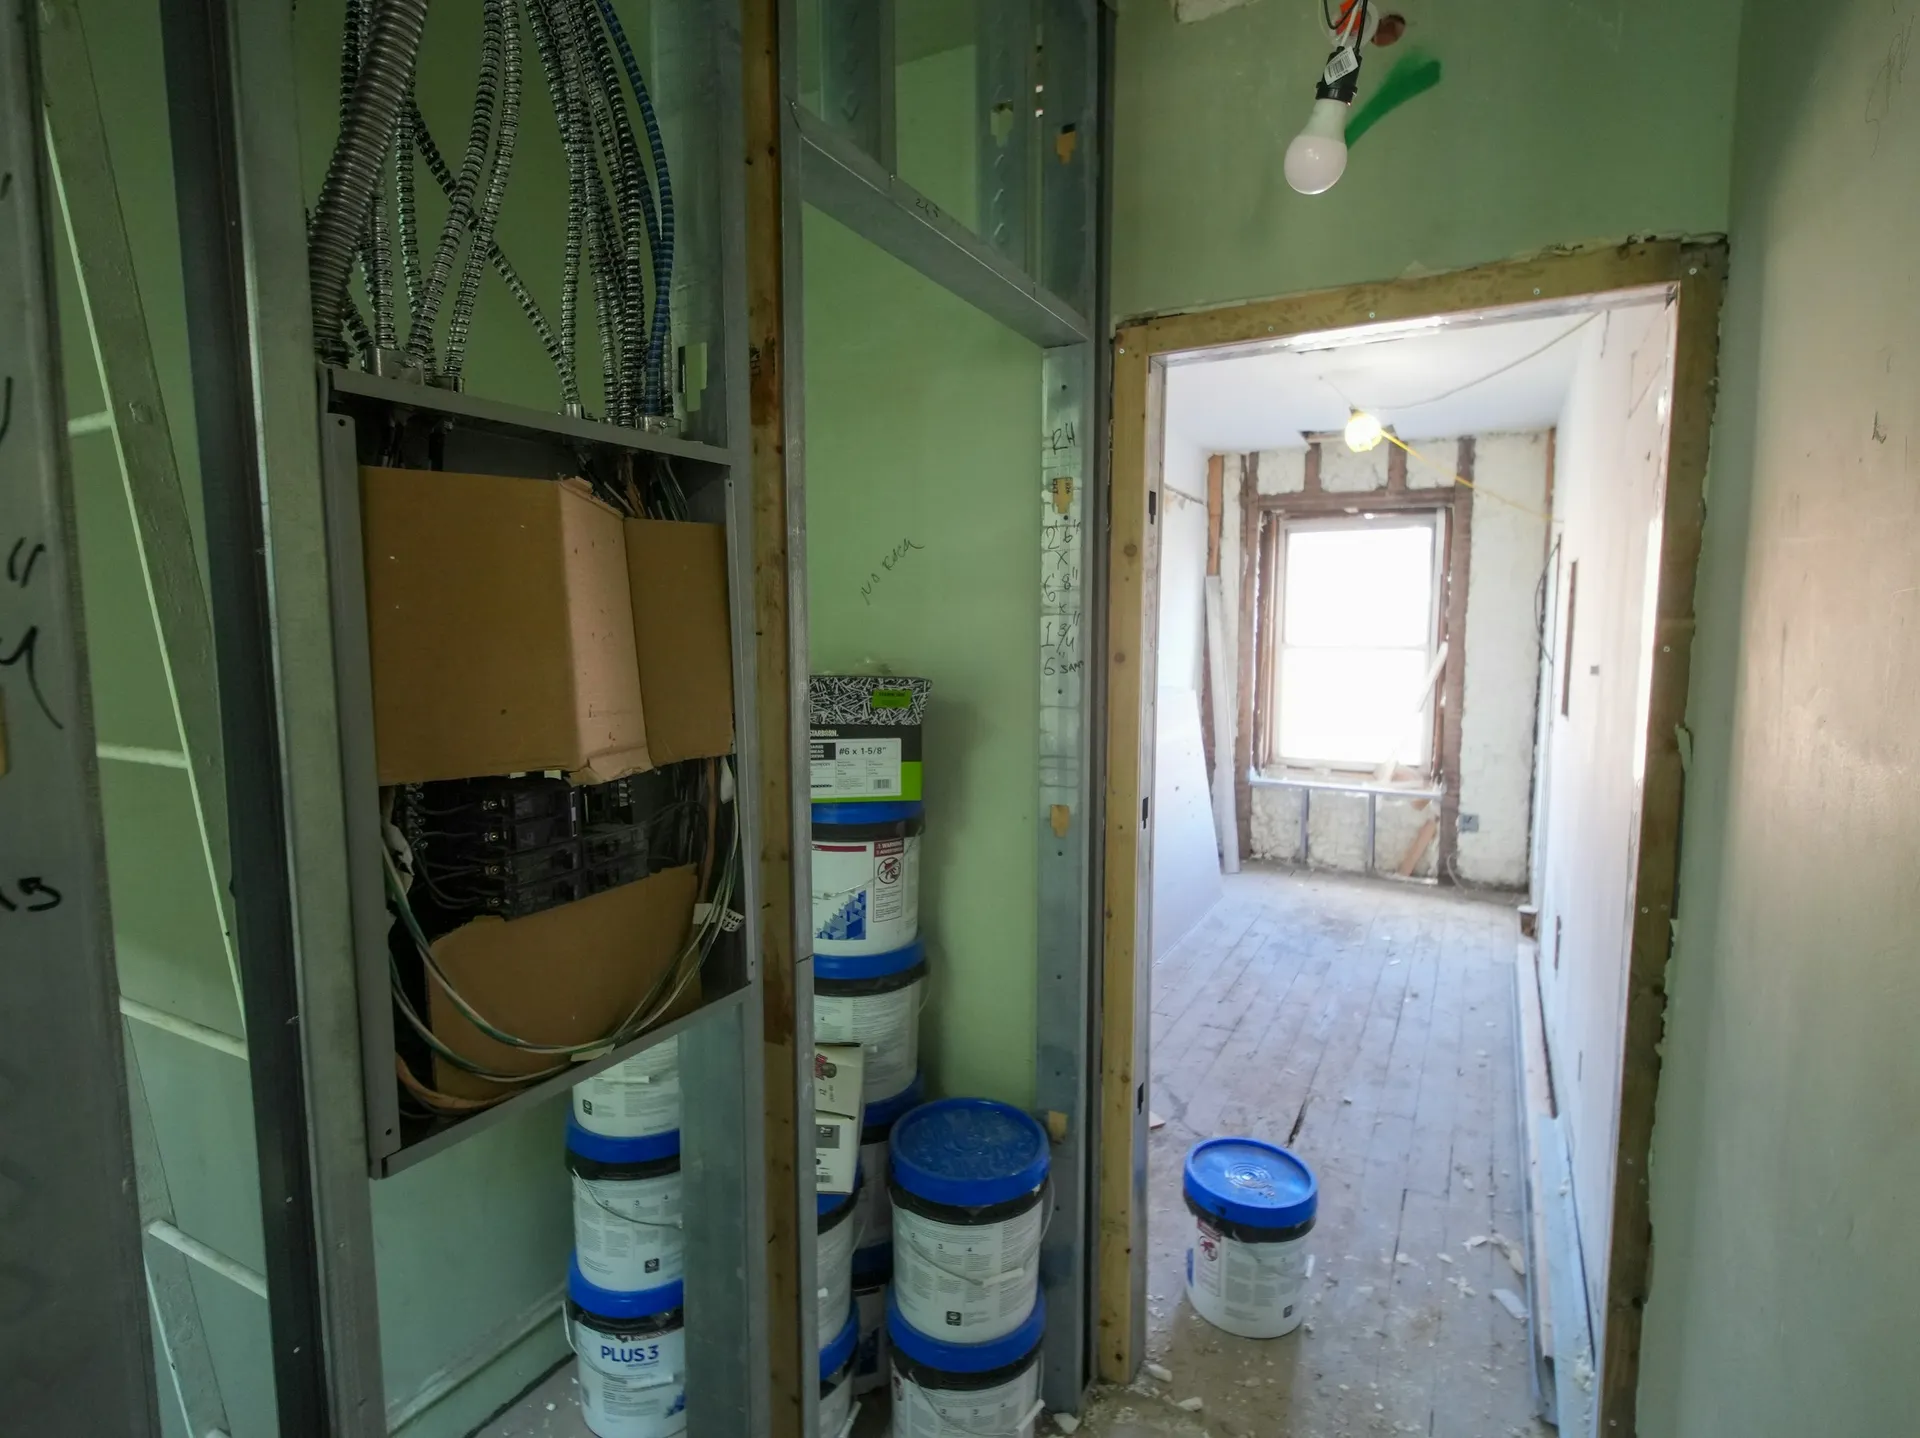
A typical sequence, step by step
Step names vary between contractors. What matters is that each step is finished and checked before the next one covers it.
- 01
Inspect, report defects, get approvals
BTO: report defects within the first month and before renovation starts. Get the HDB permit or MCST approval and notify neighbours.
- 02
Protect the site
Cover floors, windows and anything being kept, plus the lift and common areas where required. Hacking dust travels everywhere.
- 03
Hacking and demolition
The dirtiest, noisiest stage, done first. It often reveals hidden problems in resale flats, so expect some changes to the plan here.
- 04
Masonry and new walls
New walls, kerbs and openings go up before any services are routed through them.
- 05
Electrical and plumbing first fix
Concealed wiring and pipes, including circuits for the induction hob, water heater, data points and lights inside carpentry. Adding these later means opening finished work.
- 06
Aircon piping and trunking
Refrigerant and drain pipes must be in before the false ceiling closes and before painting. Agree the pipe route in writing, or installers may take the shortest path.
- 07
Waterproofing and ponding test
In wet areas, the membrane is laid and left flooded to check for leaks before screed and tiles go on. Fix and re-test any failure first.
- 08
Screeding, tiling or vinyl
Floors and walls get their final level. Tiling onto screed that is still wet can lead to hollow or cracked tiles later.
- 09
False ceiling and cove lighting
After the piping and wiring are in. Choose your lights first, because each fitting needs its own cut-out size. Ask for an access panel.
- 10
Carpentry measurement
Only after tiling and ceilings, because finished floor and wall lines set the cabinet sizes. Measuring before tiling is a classic mistake.
- 11
First coat of paint
Before carpentry goes in, so the walls behind cabinets are covered.
- 12
Carpentry installation, then countertop
The countertop is templated after the base cabinets are installed, then fabricated and fitted. The sink and hob models must be fixed by then.
- 13
Glass, aircon units and second fix
Shower screens and mirrors, aircon fan coils, then lights, switches, taps, sanitary fittings and the water heater.
- 14
Hob, hood, sink, doors and grilles
Kitchen appliances after the countertop. Doors, gates and grilles late, so they are not knocked about.
- 15
Final paint, chemical wash, defects
Touch up marks left by the other trades, clean thoroughly, then walk through every room with your defects list.
- 16
Curtains, furniture, move in
Measure curtains after the window grilles and carpentry are in. Bring furniture in only after the cleaning.
Step 3
A realistic timeline
Site works usually take about 2 to 3 months, but the whole project, from first plans to moving in, takes longer. MoneySmart estimates 4 to 6 months from planning to final touch-ups. Plan around the full span, not just the time on site.
How long site works take (industry estimates)
- BTO: Qanvast's 2026 estimates are 6 to 8 weeks for a 3-room flat, 8 to 10 weeks for a 4-room flat and 9 to 10 weeks for a 5-room flat.
- Resale HDB: Qanvast estimates 8 to 10 weeks for 3-room and 4-room flats and 9 to 11 weeks for 5-room flats. MoneySmart's estimate for resale homes is longer, at 12 to 16 weeks, and older flats with rewiring or hacking can take longer still.
- Condo: Qanvast estimates 8 to 10 weeks for a new condo and 10 to 12 weeks for a resale unit, plus whatever your MCST's hours and approval process add.
These figures assume a smooth job. Add a buffer of a couple of weeks for delays and defect fixes, and more if anything is made to order overseas.
Before key collection (about 1 to 3 months ahead)
- Finalise the layout, the points plan and the item list.
- Get quotes on the same scope, check registrations and sign the contract.
- Shop for tiles or flooring, kitchen appliances and bathroom fittings, so their sizes are known before work starts.
- For a new flat, the permit needs a utilities account. For a BTO, open your SP Services account within 3 days of collecting the keys to keep the pre-turned-on supply. Resale flats need an on-site turn-on appointment, so apply at least a week ahead.
Weeks 1 to 2
- BTO: inspect and report defects through HDB's QR code or the Building Service Centre, ideally before any renovation.
- Permit issued, neighbours notified, Notice of Renovation displayed.
- Site protection, hacking and masonry.
Weeks 2 to 5
- Electrical, plumbing and aircon piping first fix.
- Waterproofing and ponding tests, then screeding and tiling or vinyl.
- False ceiling once the services above it are in.
Weeks 5 to 9
- Carpentry measured after tiling, then fabricated (often around 3 weeks; get the lead time in writing).
- First coat of paint, then carpentry installation, then countertop templating, fabrication and fitting.
Final weeks
- Glass, aircon units, lights, taps, sanitary fittings, water heater, hob and hood.
- Gas turn-on with City Energy after renovation is complete (book up to 4 working days ahead; only the account holder can book).
- Final paint touch-up, chemical wash, defects walk-through and fixes.
- Curtains measured and installed, furniture delivered, move in.
For a week-by-week breakdown, see our renovation timeline guide.
Step 4
When to buy, and when to have it delivered
Two dates matter for every item: when you must decide (because a trade needs its size or specification) and when it should arrive (as late as possible before it is installed).
Decide early
The model and the spec sheet are what the contractor needs, often weeks before the item itself. Your sink and hob decide the countertop cut-outs. Your fridge decides the carpentry gap. Your lights decide the ceiling cut-outs. Your WC type decides the plumbing points. Choose these before the trade that depends on them starts, and share the spec sheet in writing.
Deliver late
Items that arrive early sit in a dusty, busy site where they can be damaged, lost or thrown out with the debris. In one renovation Stacked Homes reported, a new stove was found contaminated with debris. Ask suppliers to hold stock and deliver just before installation. When something must arrive early, keep it boxed in one lockable room, photograph it on arrival, and note it in your delivery log.
Warranties and consumer protection can also start ticking on delivery. Under Singapore's Lemon Law, a defect that shows up within 6 months of delivery is presumed to have existed at delivery. An appliance that sits in its box for two months loses part of that window. Check each manufacturer's warranty terms, and register appliances once installed.
Lead times
Ask every supplier for the lead time in writing and work backwards from the stage that needs the item. Some indicative figures from our research, all from single suppliers or older articles:
- Custom carpentry: about 3 weeks from fabrication to installation (Qanvast)
- Countertops: 3 to 5 working days to fabricate after measurement, 1 day to install (one fabricator, via Qanvast)
- Curtains and blinds: about 2 weeks after confirmation
- Made-to-order sofas and furniture: from 2 to 6 weeks locally; imported furniture can take months
Nothing is "standard" for imported tiles, stone, lights or sanitary ware. Stock and shipping vary, so confirm with each supplier.

Item by item: decide, order, deliver
General guidance for a typical flat. Your contractor may need some details earlier, so confirm against your own schedule.
| Decide the model by | Order by | On site by | |
|---|---|---|---|
| Tiles or flooring | Before quotes are final | Early, to confirm stock | Start of tiling or flooring |
| Basin, vanity, WC type, shower mixer | Before plumbing first fix | Early (sizes fix the points) | Plumbing second fix |
| Water heater (storage or instant) | Before electrical and plumbing first fix | Mid-renovation | Plumbing second fix |
| Induction or gas hob | Before electrical first fix | Before countertop templating | After the countertop is installed |
| Sink and tap | Before countertop templating | Before countertop templating | At countertop installation |
| Cooker hood | Before carpentry measurement | Mid-renovation | After the countertop is installed |
| Fridge, washer, dryer | Before carpentry measurement | Near the end | After the chemical wash |
| Aircon system | Before piping | Before piping | Fan coils after painting and carpentry |
| Lights and fans | Before the false ceiling is cut | Mid-renovation | Electrical second fix |
| TV size and mounting | Before first fix and carpentry measurement | Near the end | After the chemical wash |
| Main door, digital lock, gate | Early (fire rating rules) | Mid-renovation | Late, after the messy works |
| Curtains and blinds | After grilles and window carpentry | Right after measuring | After the chemical wash |
| Loose furniture and sofa | Any time (check room sizes) | Lead time before move-in | After the chemical wash |
Step 5
Running the site week to week
Without an ID, you are the person who notices when something is off. A steady routine catches most problems while they are still cheap to fix.
A weekly routine
- Visit at least once a week, and also at milestones: before tiling, before the ceiling closes, before carpentry is installed and before painting. Check a stage is right before the next trade covers it.
- Walk the site with your plan. Check every point against the drawing. Mark socket, switch and pipe positions on the wall itself before the first fix, and photograph the marks.
- Hold one short weekly update with the main contractor or each trade: what was done, what is next, what they need from you, and any change to dates.
Communication
- One main group for decisions and the schedule, with the main contractor or each trade lead in it. Smaller groups for detail are fine, but copy every decision back to the main group so there is one record.
- Confirm every decision in writing with the date, what was agreed, and any cost or time impact. If you agree something on site, send a message the same day.
Photograph everything before it is hidden
Take photos and short videos of concealed wiring, pipes, waterproofing and aircon piping before they are covered, with a measuring tape in the frame. Years later, they tell you where it is safe to drill and where to look for a leak. This is the single most useful habit on this page.
Protect finished work
Once tiles, carpentry or countertops are in, ask for them to be covered. Later trades scratch, chip and stain finished surfaces. Agree in each scope who pays for damage they cause.
Step 6
How to keep your project notes
Good notes are what replace the ID's project file. A shared spreadsheet with one tab per topic, plus a cloud photo album, is enough. Keep it on your phone, because most questions come up on site.
Tabs that work
- Scope: each trade's items, specifications, quantities, what is excluded, and who makes good afterwards.
- Contacts: company, person, phone, and registration or licence numbers (DRC, LEW, PUB plumber, window contractor), plus insurance details.
- Schedule: each stage, what it depends on, planned and actual dates, and status.
- Orders and deliveries: item, model, dimensions, supplier, order date, lead time, the stage that needs it, delivery date, where it is stored, condition on arrival, and warranty start.
- Payments: who, which milestone, amount, percentage of the contract, date paid and receipt.
- Decisions log: date, decision, who agreed, variation order number, and cost or time impact. Link the message thread.
- Measurements: location, dimension, date, who measured, and whether it was before or after tiling.
- Defects: room, trade, description, photo, date reported, date due and date closed.
- As-built photos: one album per room, with captions such as "kitchen wall, water pipe 300mm above counter".
Habits that keep it useful
- Update it the same day as each site visit, while details are fresh.
- Name photos by room and date, so they can be found years later.
- Keep every quotation, contract, invoice, receipt and warranty card in one folder, scanned as well as on paper.
- At handover, save the final versions. This becomes your home's manual for future repairs, resale or the next renovation.

Step 7
Handover, defects and records
Before the final payment, walk through every room with your defects list and test everything.
- Tiles: tap for hollow spots and check for uneven edges between tiles.
- Carpentry: open every door and drawer, and load the drawers. Check hinges, alignment and edges.
- Electrical: test every socket and switch, and all lights.
- Plumbing: run every tap and shower, check the drainage and look under the sinks for leaks.
- Aircon: run every unit and watch the drainage over the first week.
- Paint and finishes: look in daylight and with the lights on.
Agree a date for fixes in writing, and keep the final payment tied to them. CaseTrust-accredited renovation firms give a 12-month workmanship warranty; for others, the warranty is whatever your contract says.
For BTO flats, HDB's Defects Liability Period is 1 year from key collection, but it covers defects in HDB's own works, not your contractor's. Report HDB defects early and before renovation starts. For damage done by a renovation, the contractor who did the work is responsible.
If a dispute can't be settled, HDB is not a party to your contract. CASE and the Small Claims Tribunals handle consumer disputes, including renovation claims of up to $20,000 (or $30,000 if both sides agree), filed within 2 years. Your notes, photos and written decisions are your evidence. See also our moving-in checklist.
Learn from others
Common mistakes when you run it yourself
- Gaps between trades. Nobody owns the patching, repainting or debris after another trade's work. Fix: write "makes good" into every scope.
- Finger-pointing over defects. A leak can be blamed on the plumber, the waterproofer or the tiler. Fix: keep ponding test records and photos of each stage, and prefer one main contractor for wet areas.
- Measuring too early. Carpentry measured before tiling, curtains before grilles, countertops before the sink model is fixed. Fix: follow the sequence above.
- Undecided items. A WC, hob or light chosen late forces rework. Fix: decide early using the table above.
- Delays that stack up. One late trade pushes back every trade after it, and a carpenter booked elsewhere won't come back immediately. Fix: confirm each trade's dates a week ahead and keep a buffer.
- Paying ahead of progress. Large deposits or payments before work is checked leave you exposed. Fix: small deposit, milestone payments, pay the company only.
- Unregistered or unlicensed trades. These risk fines, failed inspections and unsafe work. Fix: check DRC, LEW, PUB and BCA registrations before booking.
- Noise complaints. Noisy work outside the allowed hours brings complaints and enforcement. Fix: share the hours with every trade, and tell your neighbours in advance.
- Insurance gaps. HDB fire insurance does not cover renovation work or personal liability. Fix: ask each contractor for their insurance, and consider your own cover for the renovation period.
- Skipping the photos. Hidden pipes and wires become guesswork. Fix: photograph everything before it is closed up.
FAQ
Questions about renovating without an ID
Can I renovate my HDB flat without an interior designer?
Yes. HDB requires the work to be done by contractors from its Directory of Renovation Contractors, not by an interior designer. You can hire a DRC contractor directly and coordinate the job yourself.
Who applies for the HDB renovation permit if I have no ID?
Your DRC contractor submits the permit application online on your behalf, after you sign an acknowledgement form. Works that need HDB to evaluate them, such as removing walls, also need a floor plan.
Can I do some of the renovation work myself?
Small DIY jobs, such as painting or assembling furniture, are generally fine within HDB's DIY hours of 7am to 10.30pm. Regulated work is not: electrical work needs a licensed electrical worker, plumbing a PUB licensed plumber, gas a licensed gas service worker, windows a BCA approved window contractor, and renovation works a DRC contractor.
Should I hire one main contractor or each trade separately?
For most first-timers, one main contractor is safer: there is one point of accountability and fewer gaps between trades. Hiring trades separately can cost less but makes you responsible for sequencing, making good and defects between them.
What order should renovation works be done in?
Approvals and protection first, then hacking and masonry, hidden services (wiring, pipes, aircon piping), waterproofing, tiling, false ceiling, carpentry measurement, painting, carpentry and countertop, then fittings, appliances, final touch-up, cleaning and furniture.
How long does a renovation take without an ID?
Site works usually take around 2 to 3 months for a typical flat, by industry estimates, and the whole project often takes 4 to 6 months from planning to move-in. Coordinating it yourself doesn't shorten the works, and missed handovers between trades can lengthen them.
How much time do I need to spend on it?
Plan on weekly site visits, extra visits at milestones, and being reachable on weekdays for questions. The planning before work starts, such as layout, quotes and item choices, often takes more time than the site visits.
Can I get a design done and use my own contractor?
Yes. Some studios, JIAHOME included, design your home for a fixed fee and give you a detailed scope that any contractor can price, so you can run the renovation yourself with a clear plan.
Design first, run it your way
Want a plan you can hand to any contractor?
JIAHOME designs your home first, for a fixed fee: layouts, 3D views and a quotation that lists every item without prices, so any contractor can price the same scope. You can manage the renovation yourself with our guidebook and supplier list. Your first consultation is free.
Important
Disclaimer and sources
This guide is general information shared to help homeowners plan. It is not professional training, and it is not legal, engineering, financial or compliance advice. Renovation involves real risk: mistakes, miscommunication and human error can happen at any stage, and some are expensive or impossible to undo. Please handle your project with care. Check current requirements with HDB, your MCST, the relevant authorities and your licensed contractors, and seek professional advice before you rely on anything here. Rules and figures were checked in October 2026 and may have changed since. Durations, lead times and costs are industry estimates, not guarantees.
Sources
- HDB: Important information on renovations
- HDB: Application for a renovation permit
- HDB: Building works guidelines
- HDB: Air-conditioner installation works
- HDB: Rectification of defects in new flats
- PUB: Plumbing works by licensed plumbers
- BCA: What to know as a condo owner
- SP Group: Quick guide to your utilities
- City Energy: Getting started for BTO homes
- CASE: CaseTrust accreditation for renovation businesses
- CASE: Lemon Law
- Singapore Courts: Cases eligible for the Small Claims Tribunals
- Qanvast: Expected renovation costs and durations for HDB flats in 2026
- Qanvast: Condo renovation costs and durations in 2026
- Qanvast: Electrical wiring guide
- Stacked Homes: Common reasons renovations are delayed
- Stacked Homes: Lessons from a 9-month renovation
- MoneySmart: Renovation timeline and payment schedule