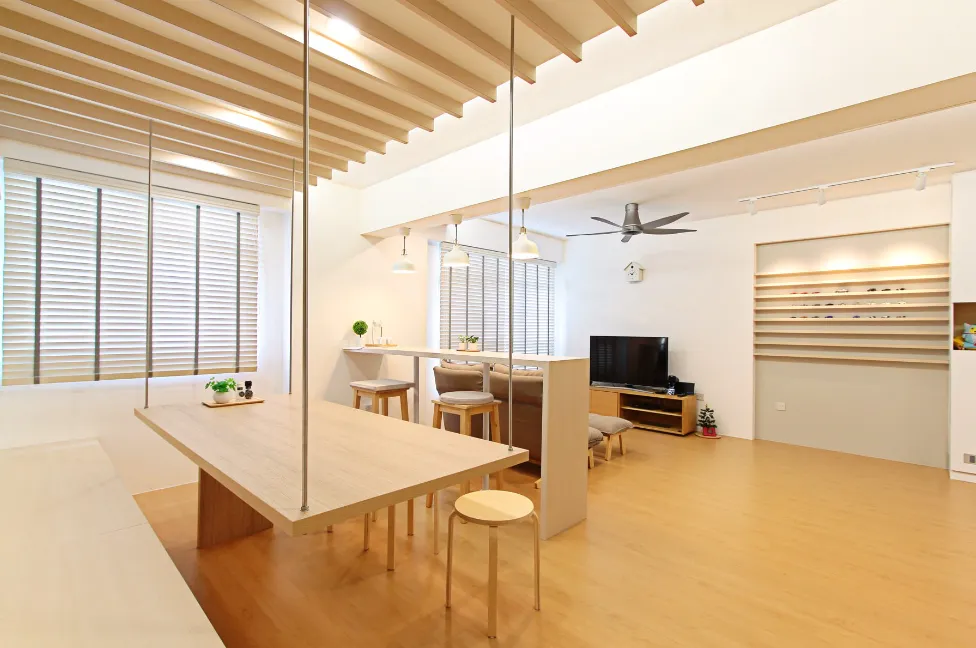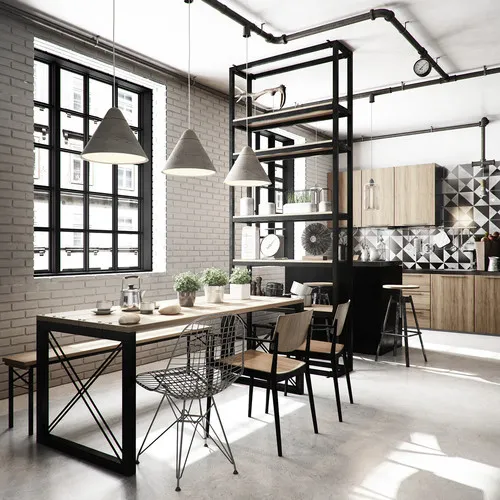
HDB dining area design has a problem that most dining room advice ignores: the dining area is usually not a room. In BTO and resale flats it sits between the living room and the kitchen, often right on the path everyone walks to get a drink or reach the service yard. Some recent BTO layouts also add a dry kitchen next to the dining space, which changes where the table should go.
That means the right table is the one that leaves a comfortable walkway, not the biggest one you can squeeze in. HipVan's sizing guide suggests about 60 cm of table edge per diner and at least 75 cm between the table and the nearest wall or furniture. In a typical 4-room flat, that points to a table for four to six.
The dining area is also where lighting is most often wrong. HDB flats come with a light point in a fixed position, and it rarely lines up with where your table ends up. Food, curry stains and children's crafts all test the finishes, while the room shares its aircon and floor with the living room.
This guide covers dining area ideas for small spaces, the materials we would choose for each part, the rules on light points and partitions, common mistakes and a checklist.
Dining area ideas
01Size the table to the walkway
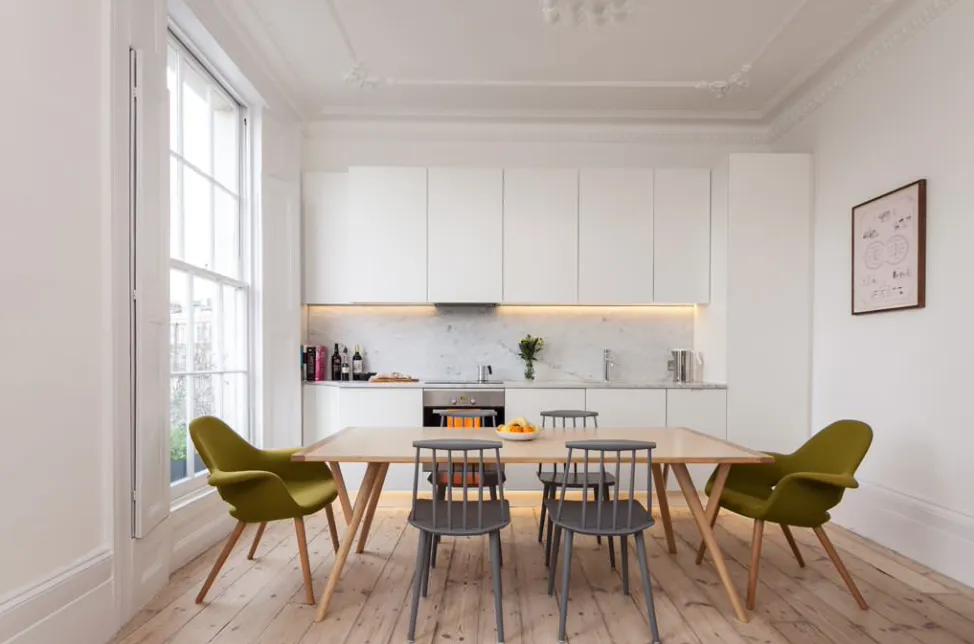
Measure the space, then subtract clearance. HipVan suggests at least 75 cm between the table edge and the nearest wall or furniture, and about 90 cm as the comfortable ideal, with about 60 cm of table edge per diner. Its guide says a 3-room flat fits a 4-seater and a 4-room flat suits four to six seats. If the dining area is also the corridor to the kitchen, keep the full 90 cm on that side. An extendable table lets you seat six for festive meals and fold back to four every other day.
02Choose round or oval for awkward spaces
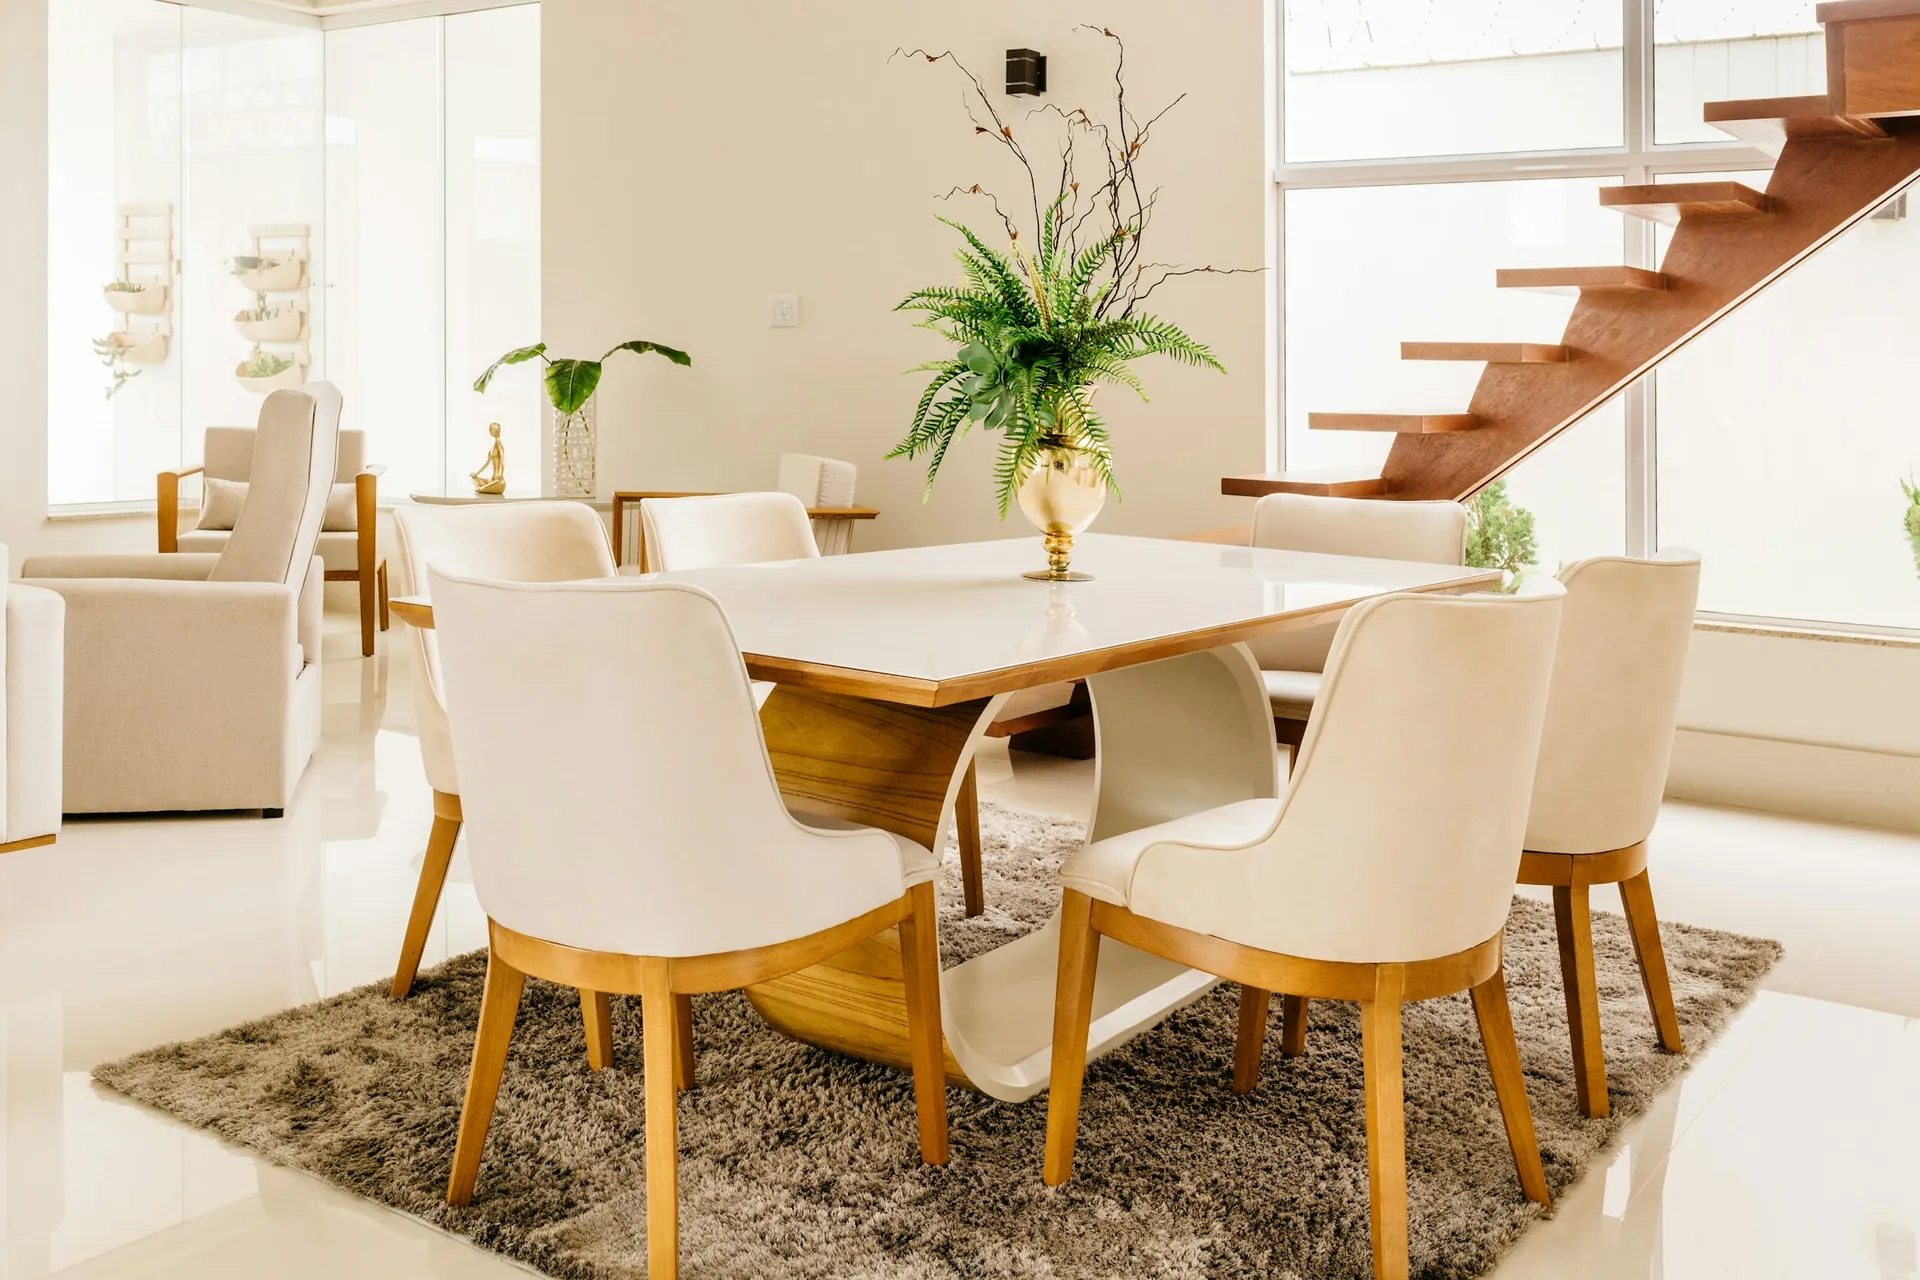
A round table of about 100 to 110 cm seats four comfortably (HipVan's figure) and has no corners to bump into on a busy route. An oval works in a long, narrow dining area and seats six to eight. Pick a pedestal or central base rather than four corner legs, so chairs slide in anywhere and an extra stool fits when guests come. A round table also softens a boxy HDB layout and makes the walkway feel wider.
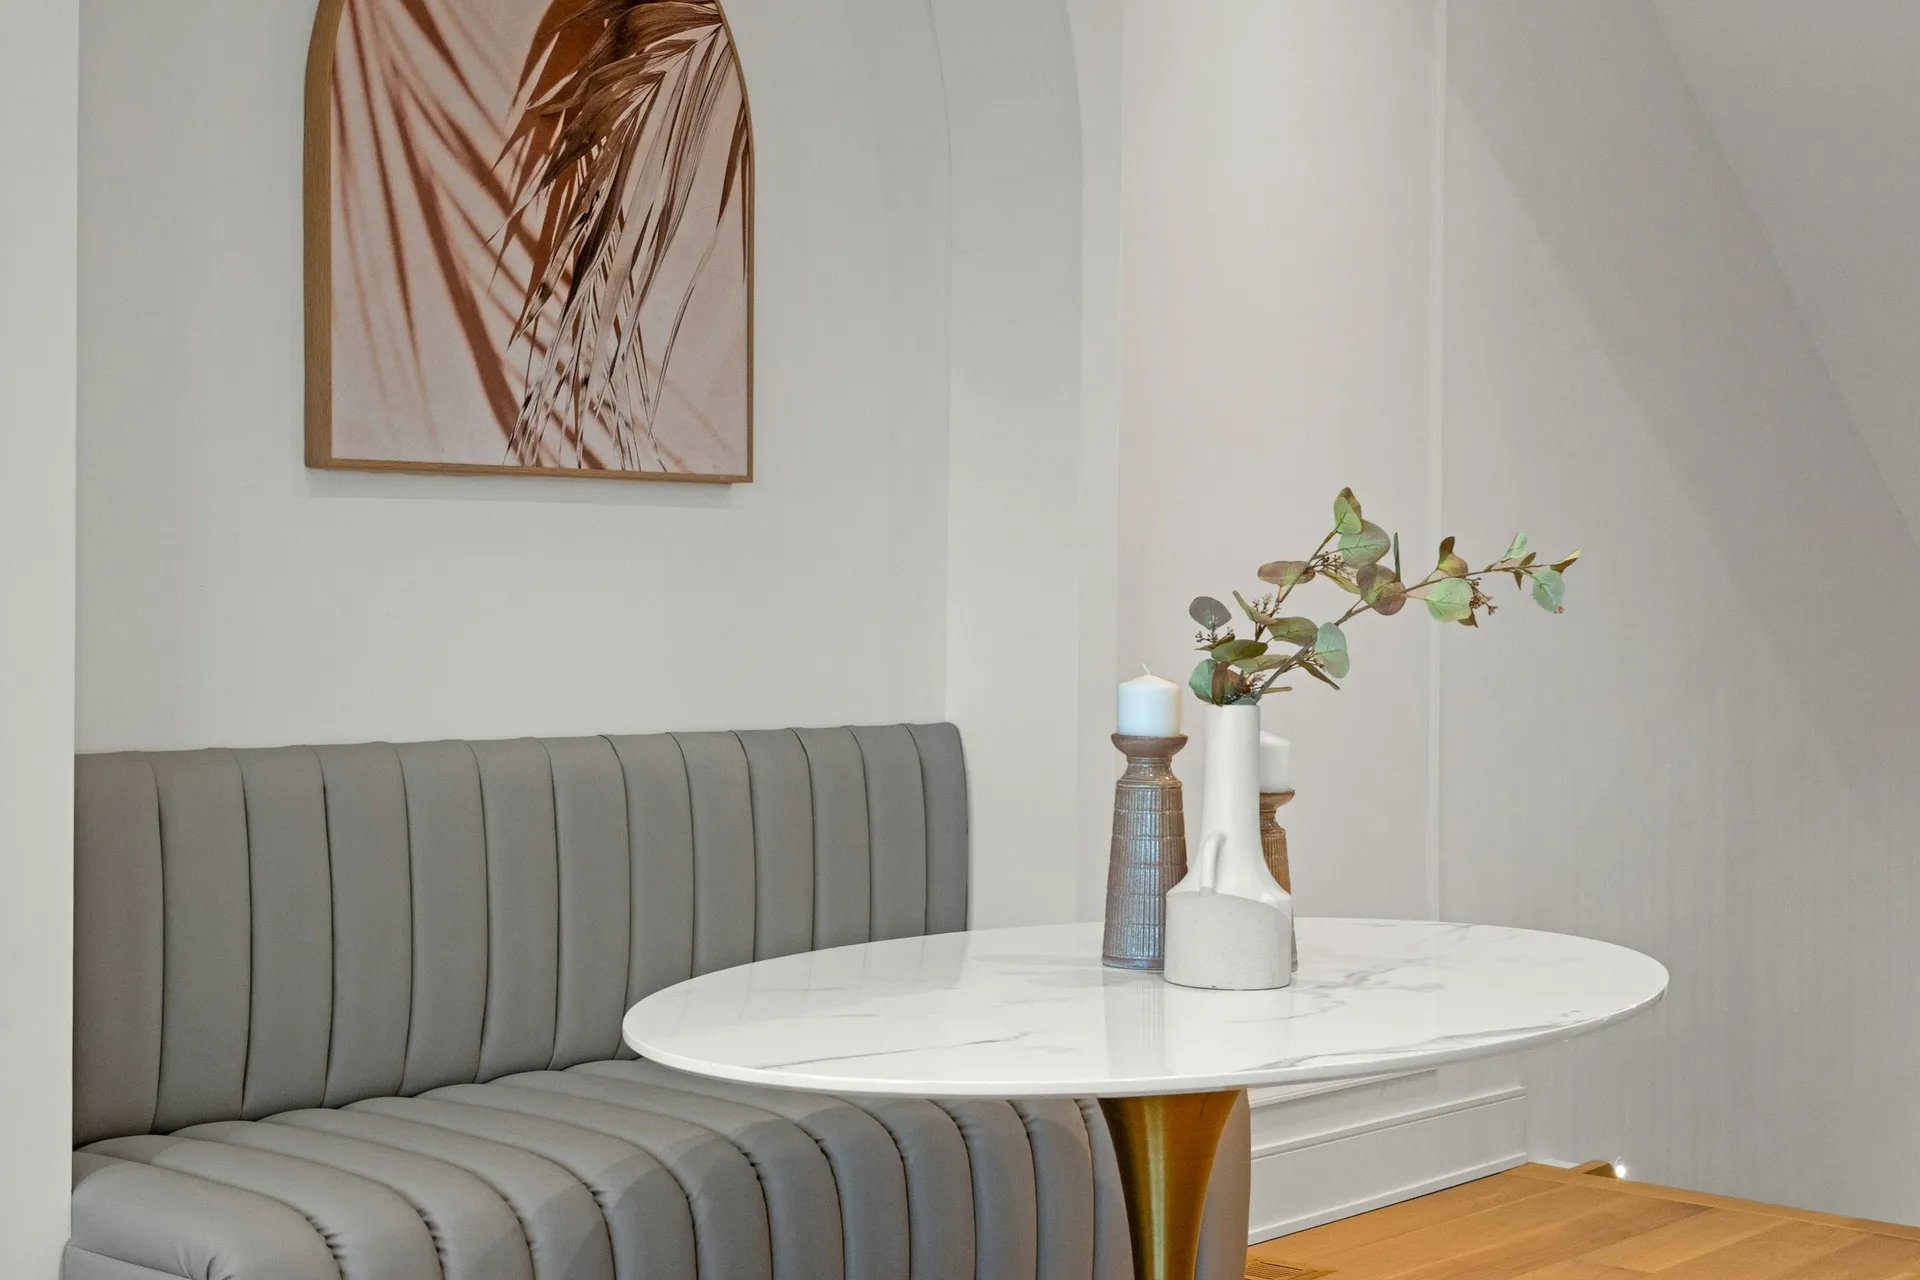
Photo: Franco Debartolo on Unsplash 03Build a banquette along the wall
A built-in bench against the wall removes the 75 cm of chair clearance on that side, which often wins back enough room for a bigger table. Add lift-up or drawer storage under the seat for festive tableware and party supplies. Use performance fabric or a wipe-clean leatherette for the cushions, and keep the seat top removable for cleaning. A banquette suits a dining area tucked into a corner or beside a window, as long as it does not block the window or a power point.
04Move the light point to the table, not the other way round
The HDB light point is fixed, but your table position is not. Decide the table position first, then ask your electrician to add or relocate a lighting point above its centre. For flats with a 40A main switch, HDB does not need a permit for extra lighting points, but the work must be done by an EMA licensed electrical worker and wiring cannot be embedded in the concrete slab. A false ceiling, an L-box or a surface conduit carries the cable. A ceiling hook can also swag a pendant over without new wiring.
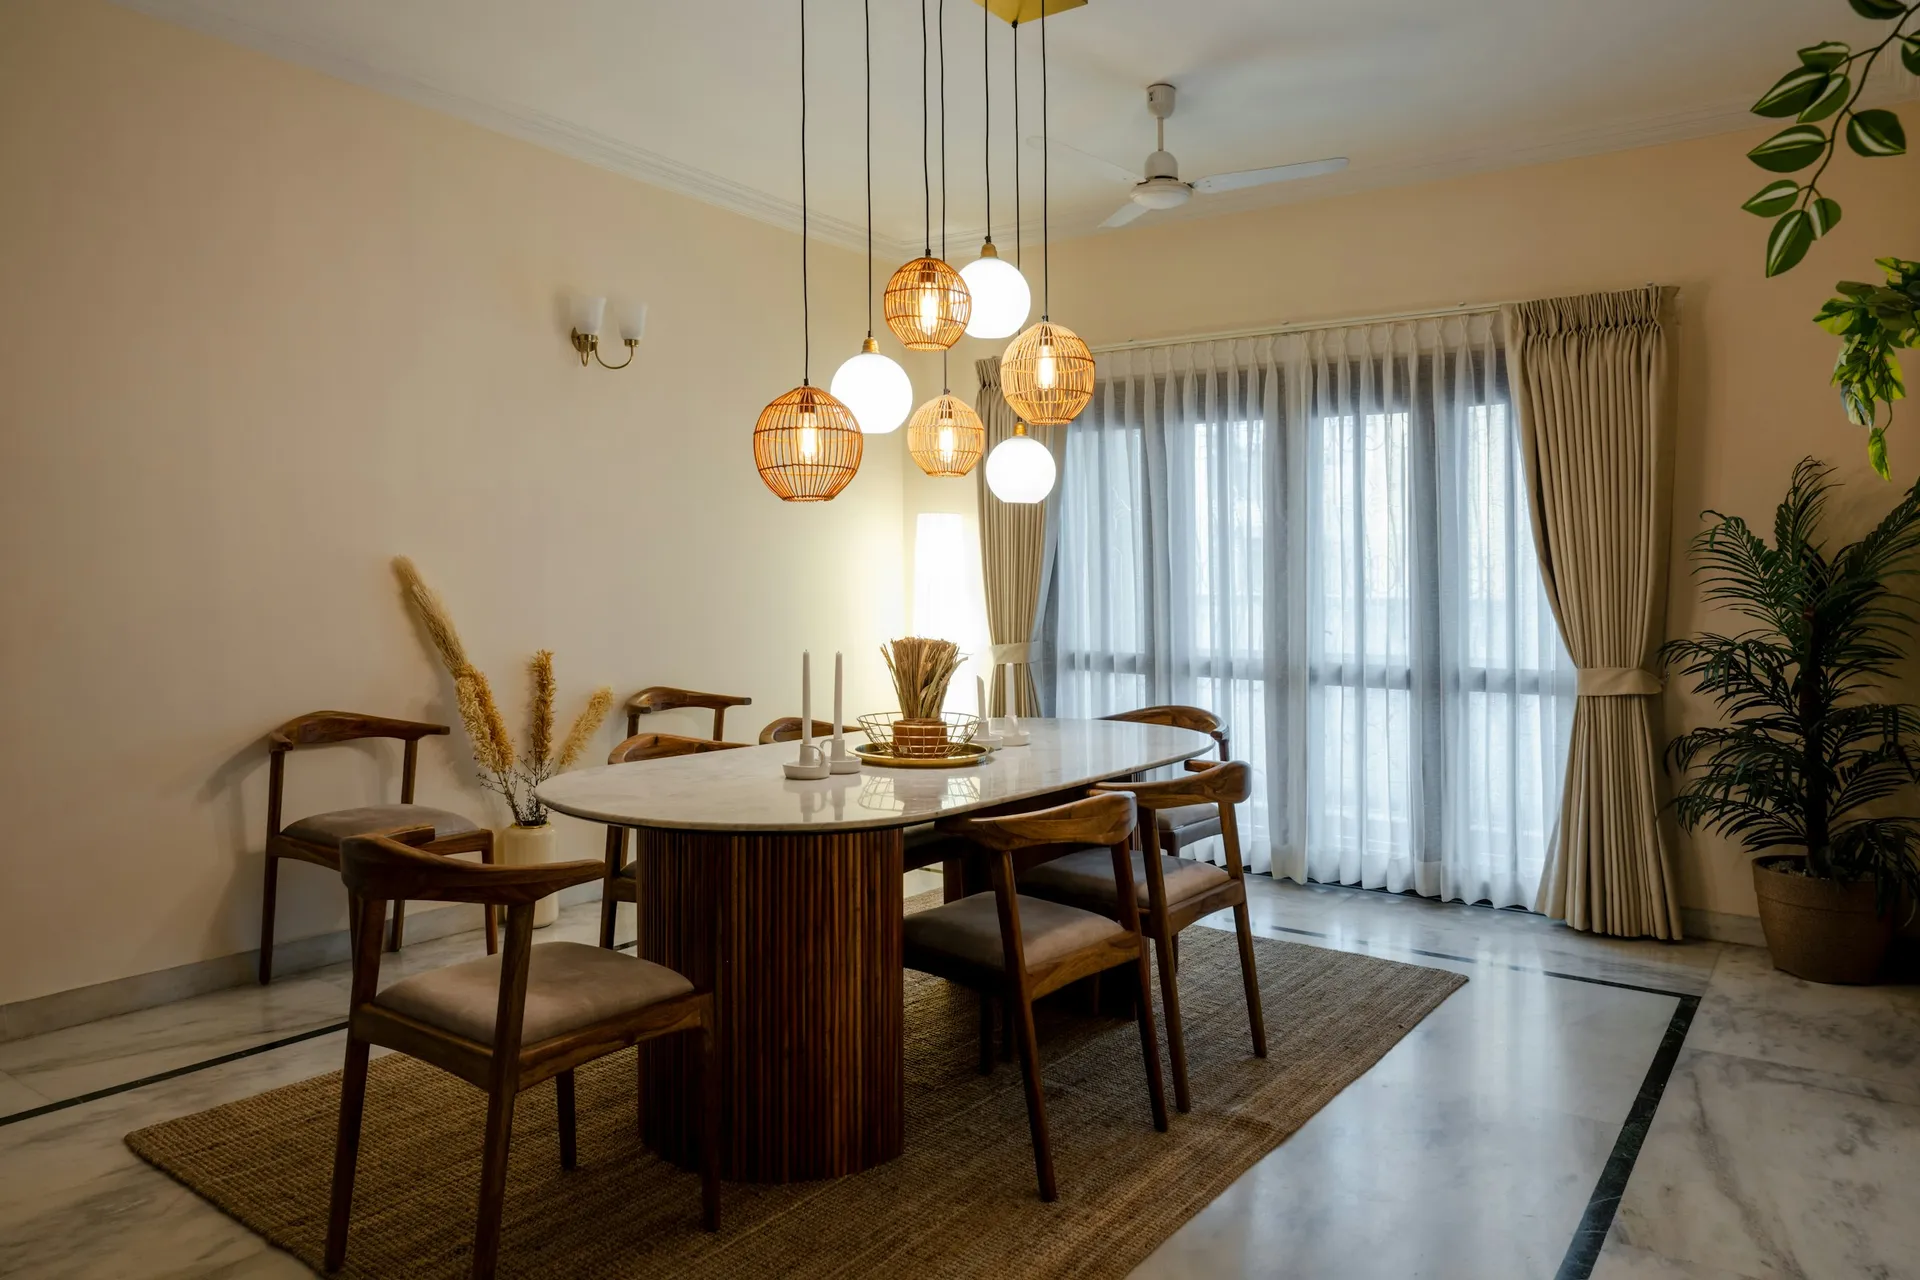
Photo: Sanju Pandita on Unsplash 05Hang pendants at the right height and count
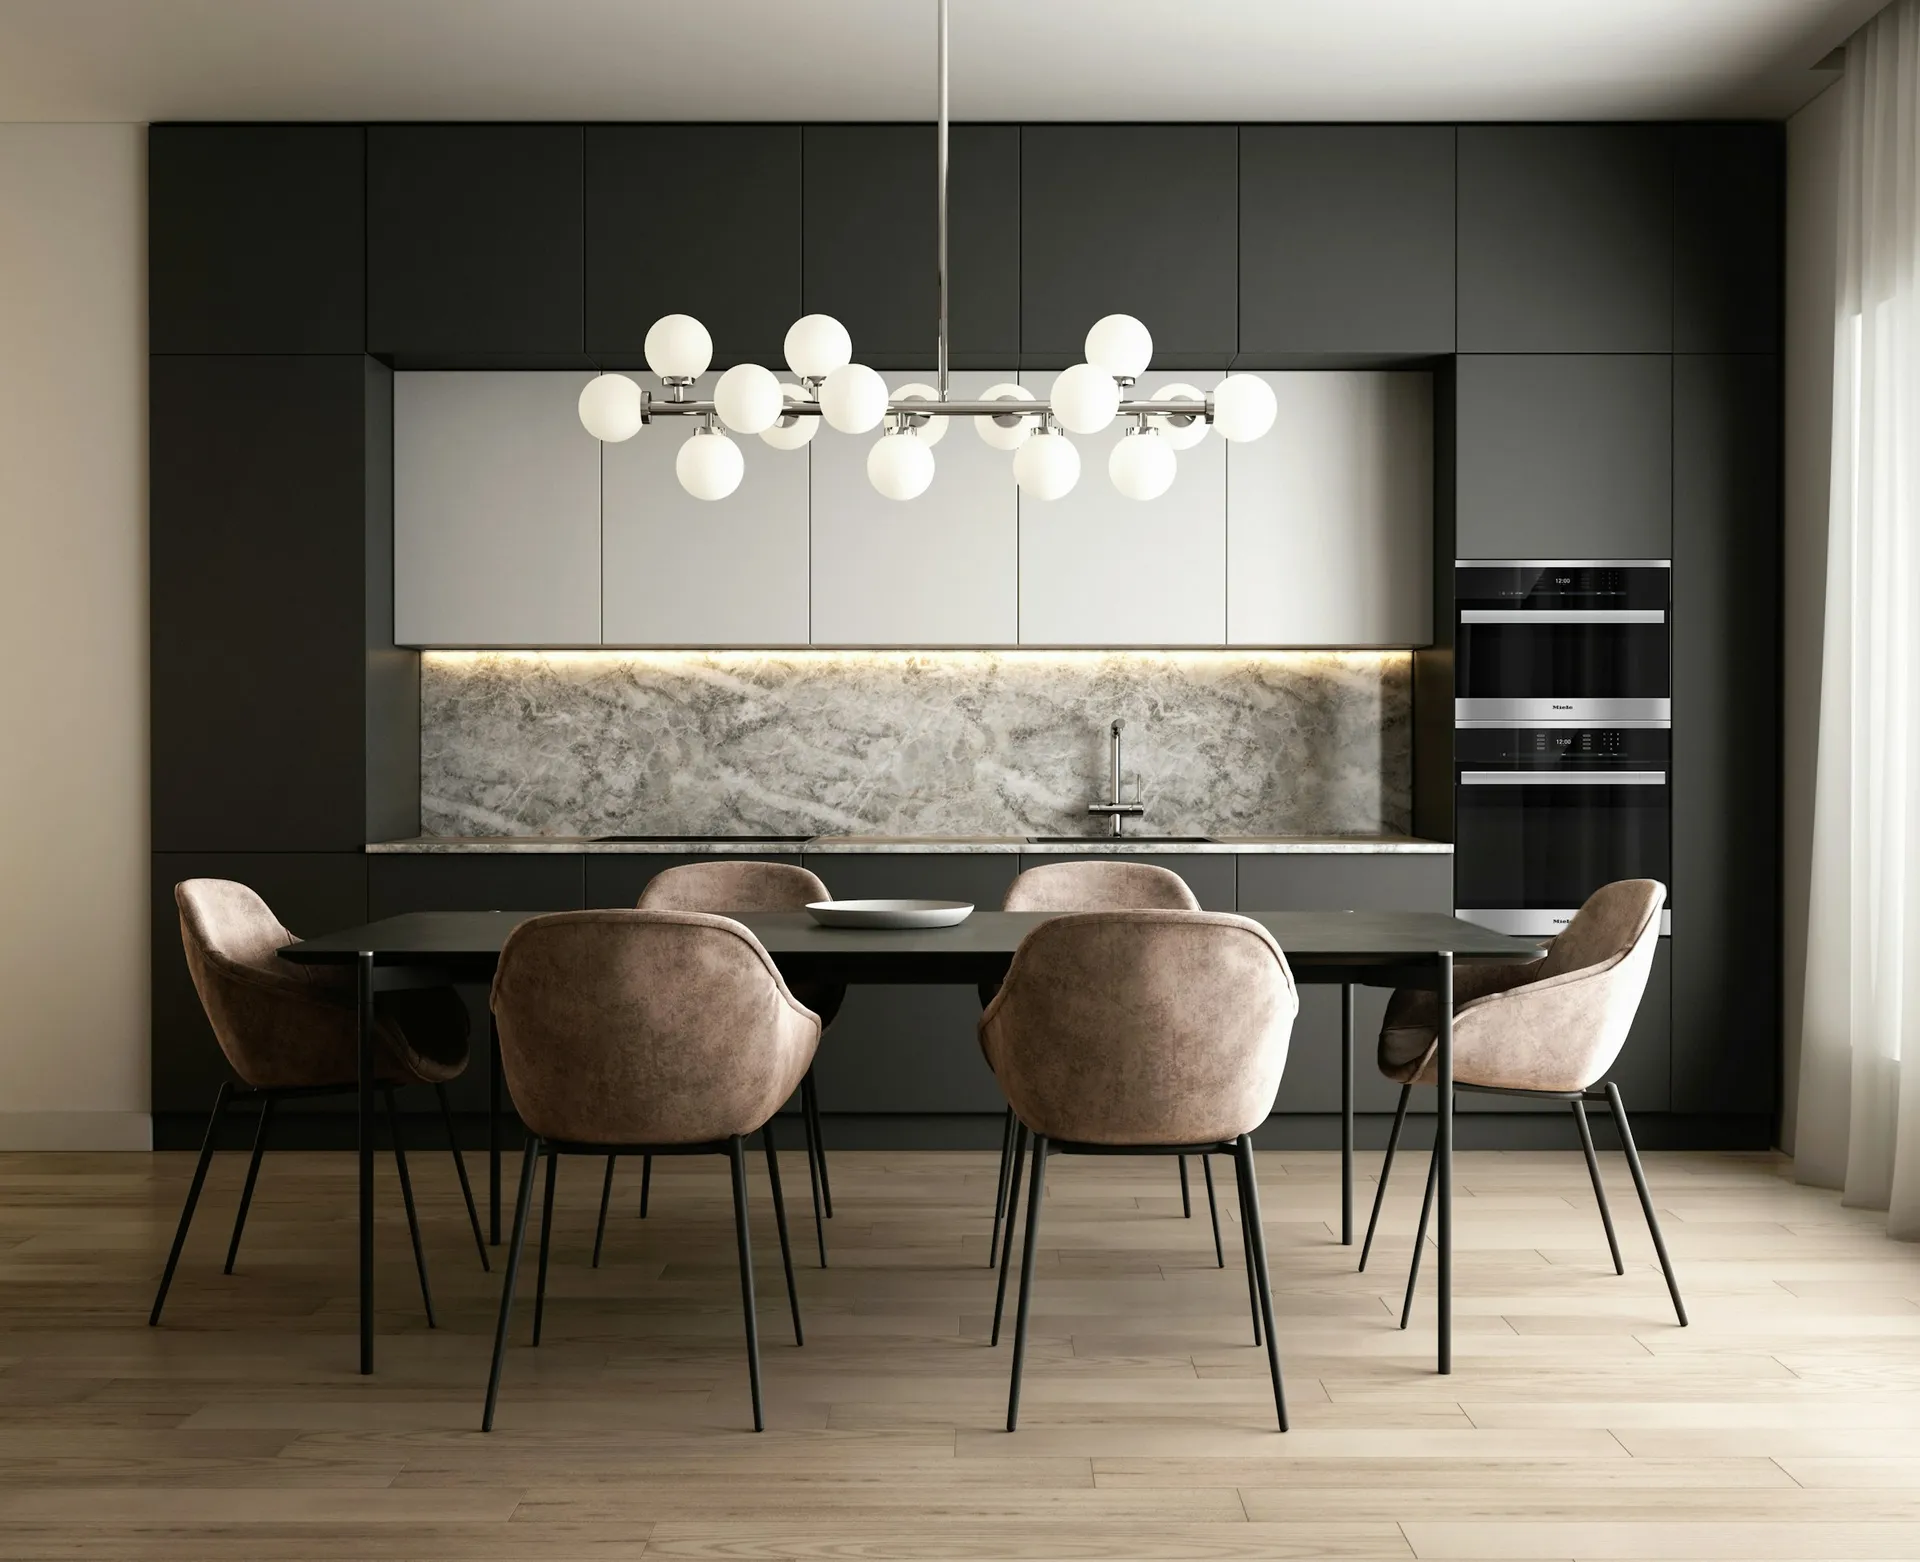
Lights.co.uk suggests hanging the lower edge of a dining pendant about 60 to 70 cm above the tabletop, which keeps the view across the table clear and avoids glare. For a 160 to 200 cm table, it suggests two or three lights rather than one. Choose shades that shield the bulb from seated eye level, add a dimmer, and keep the colour warm so food looks good. Try the height with the cable loose before the electrician trims it.
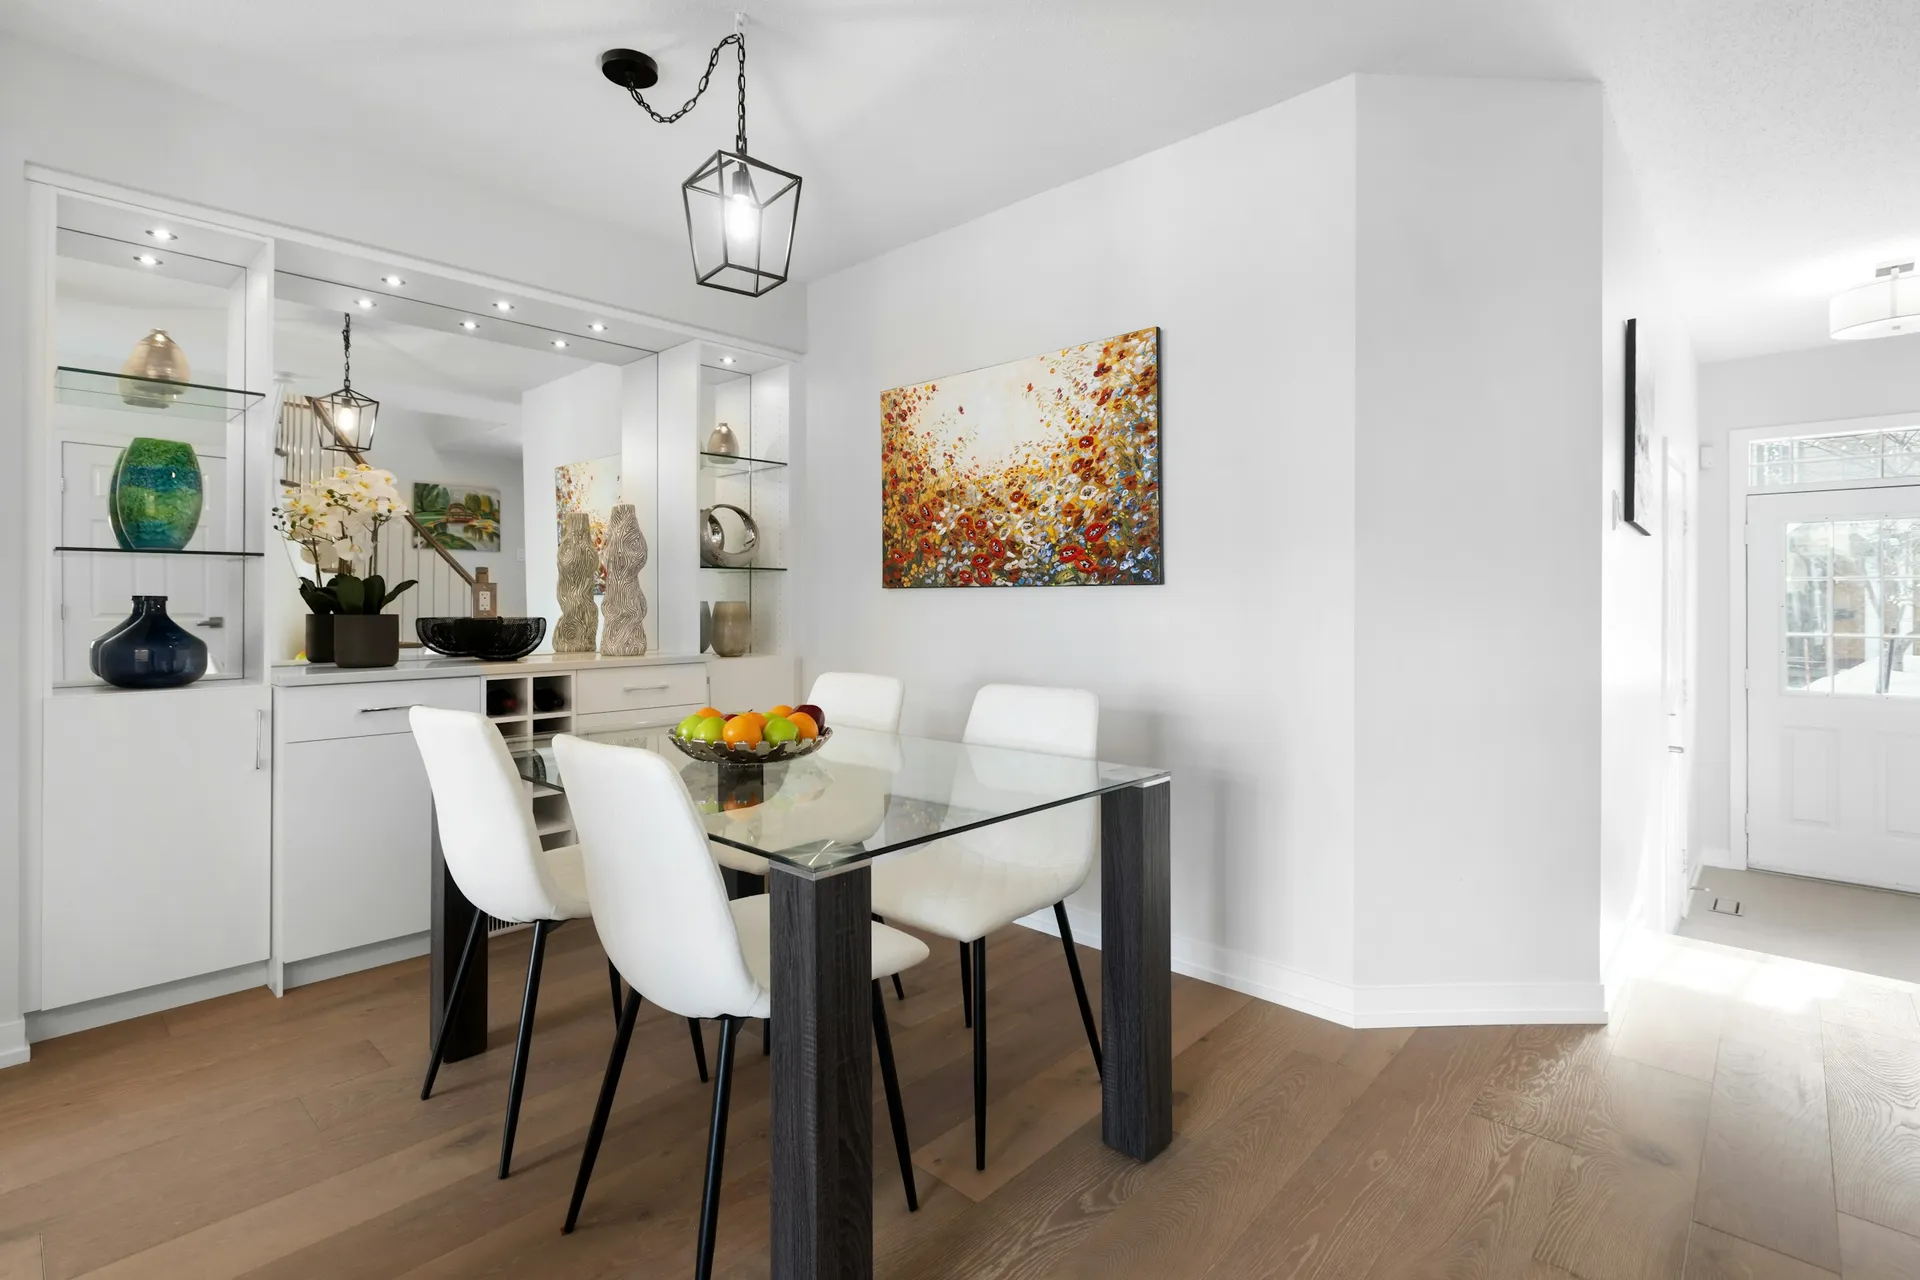
Photo: Point3D Commercial Imaging Ltd. on Unsplash 06Use a sideboard as the buffer
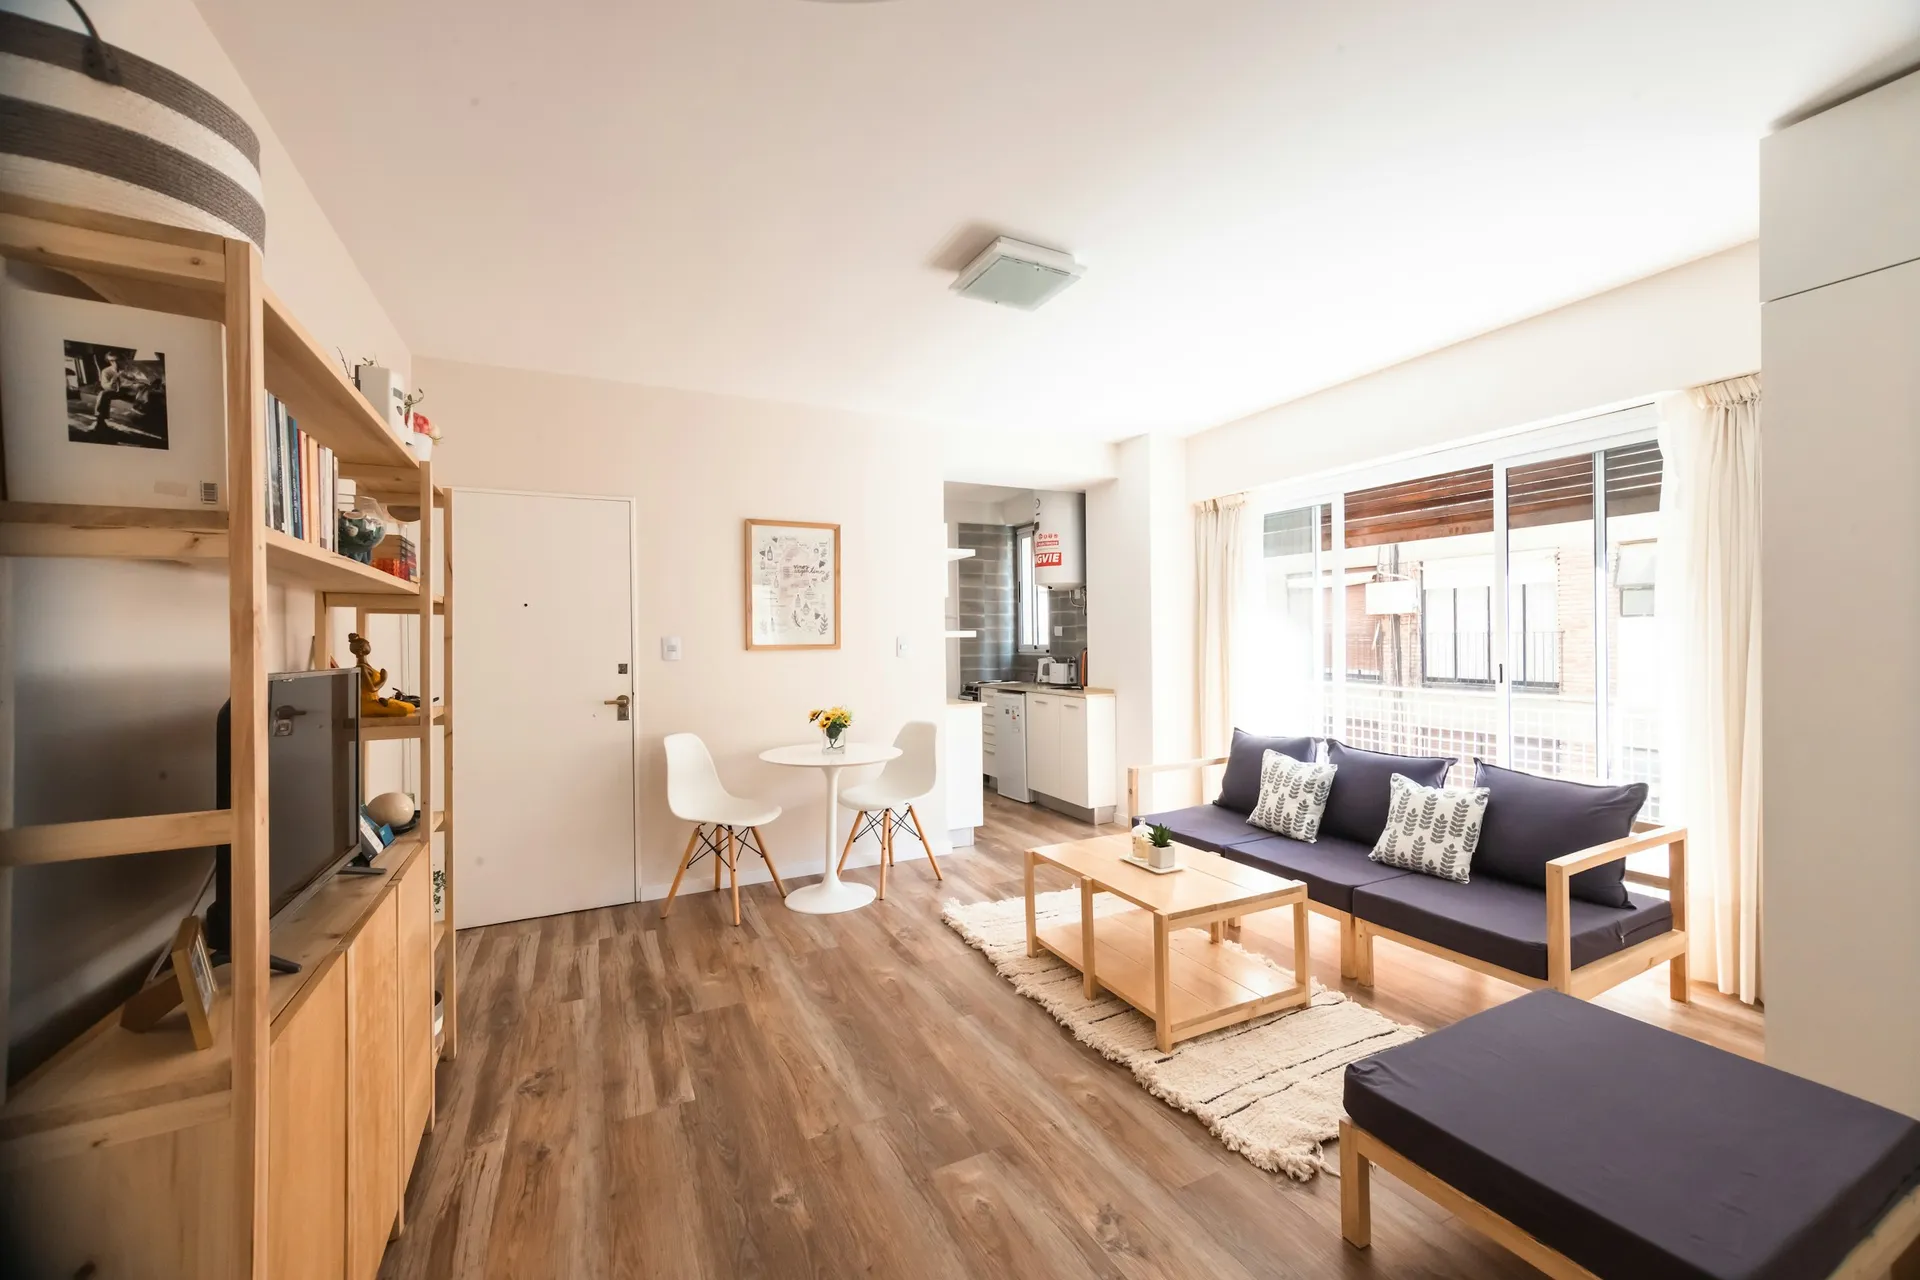
A sideboard between living and dining gives each zone an edge and holds crockery, chargers and a coffee machine. Plan a power point above it at counter height, and a deeper top if you want it to work as a serving counter during gatherings. Keep it low enough that it does not block the view to the window. A finished back panel lets it stand free in the room rather than against a wall.
07Make the wall behind the table wipe-clean
The wall beside the table catches chair backs, sauce and small hands. A washable paint, wainscoting with a wipeable finish, or a vinyl wallcovering is safer than paper wallpaper here. A mirror panel on the long wall makes a narrow dining area feel wider and bounces light from the window, but keep it above chair-back height so it does not get knocked.
08Link the dining area to the kitchen with a counter
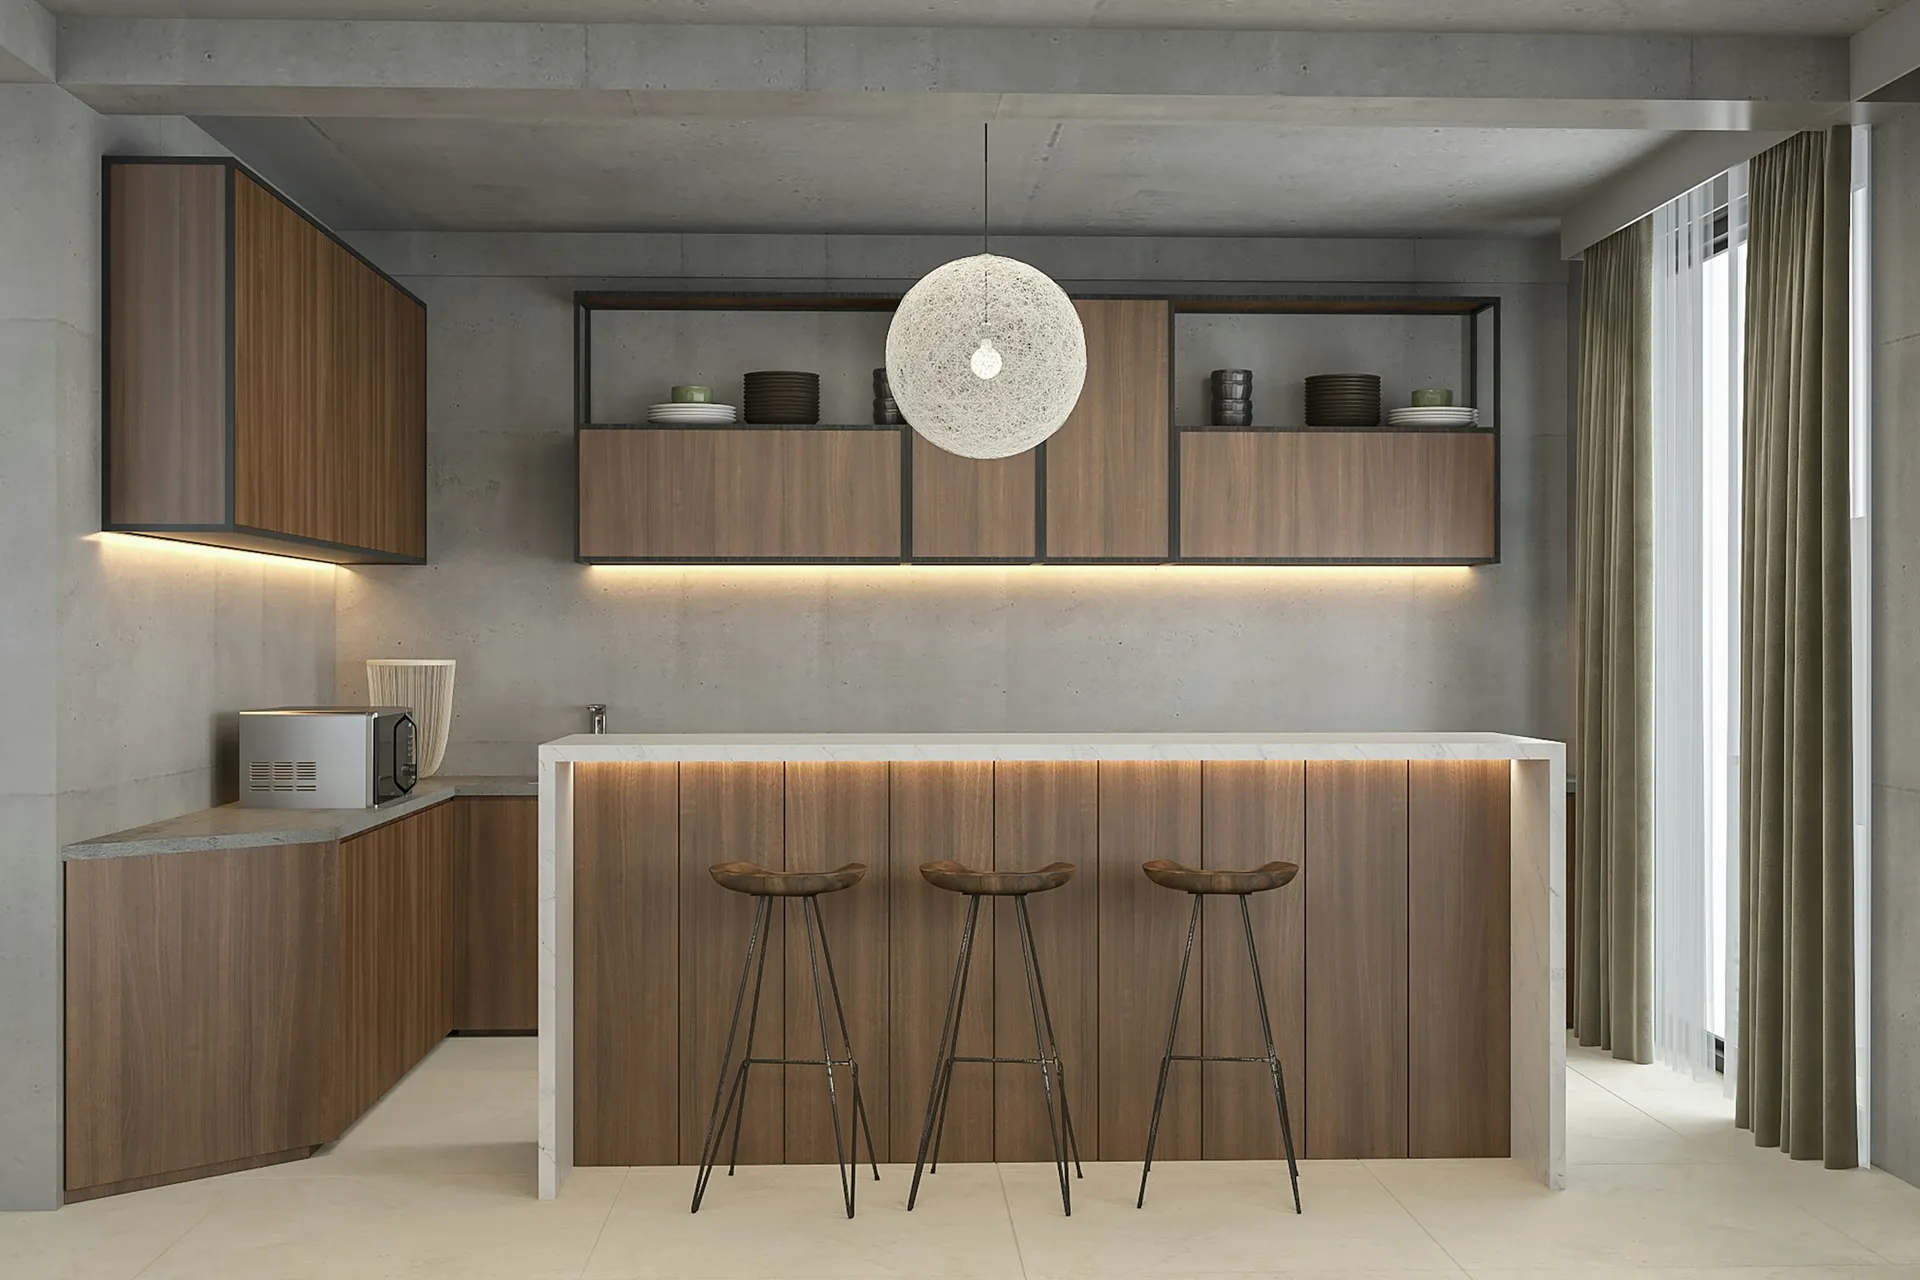
Many recent BTO flats have an open or dry kitchen next to the dining area. HDB's February 2026 Kim Keat Crest brochure, for example, shows 3-room flats with an open kitchen concept, a dry kitchen and a combined kitchen and utility space. A peninsula or island with a dining extension can replace a separate table for a couple. NKBA-based guidance suggests about 80 cm behind seated diners if nobody passes, 90 cm to edge past, and about 110 cm for a walkway behind. Our post on the [open concept kitchen in HDB flats](/open-concept-kitchen-hdb) covers the layout choices.
What we would use in a dining area
| Part of the room | Our pick | Also good |
|---|---|---|
| Dining table top | Sintered stone and ceramic | Laminate (HPL or melamine) for a lighter, budget table, or Solid wood for warmth if you are happy to use coasters. |
| Seating | Built-in banquette or booth seating | Extendable table with stacking chairs, so the dining area stays compact most of the year. |
| Lighting over the table | Pendant lights | Magnetic track lights, which can be aimed at the table even if the light point stays where it is. |
| Floor | Homogeneous and porcelain tiles | SPC vinyl (rigid core click planks) over existing tiles, with felt pads on chair legs. |
| Feature wall | Wainscoting and wall moulding | Wallpaper and vinyl wallcoverings, choosing vinyl for wipeability. |
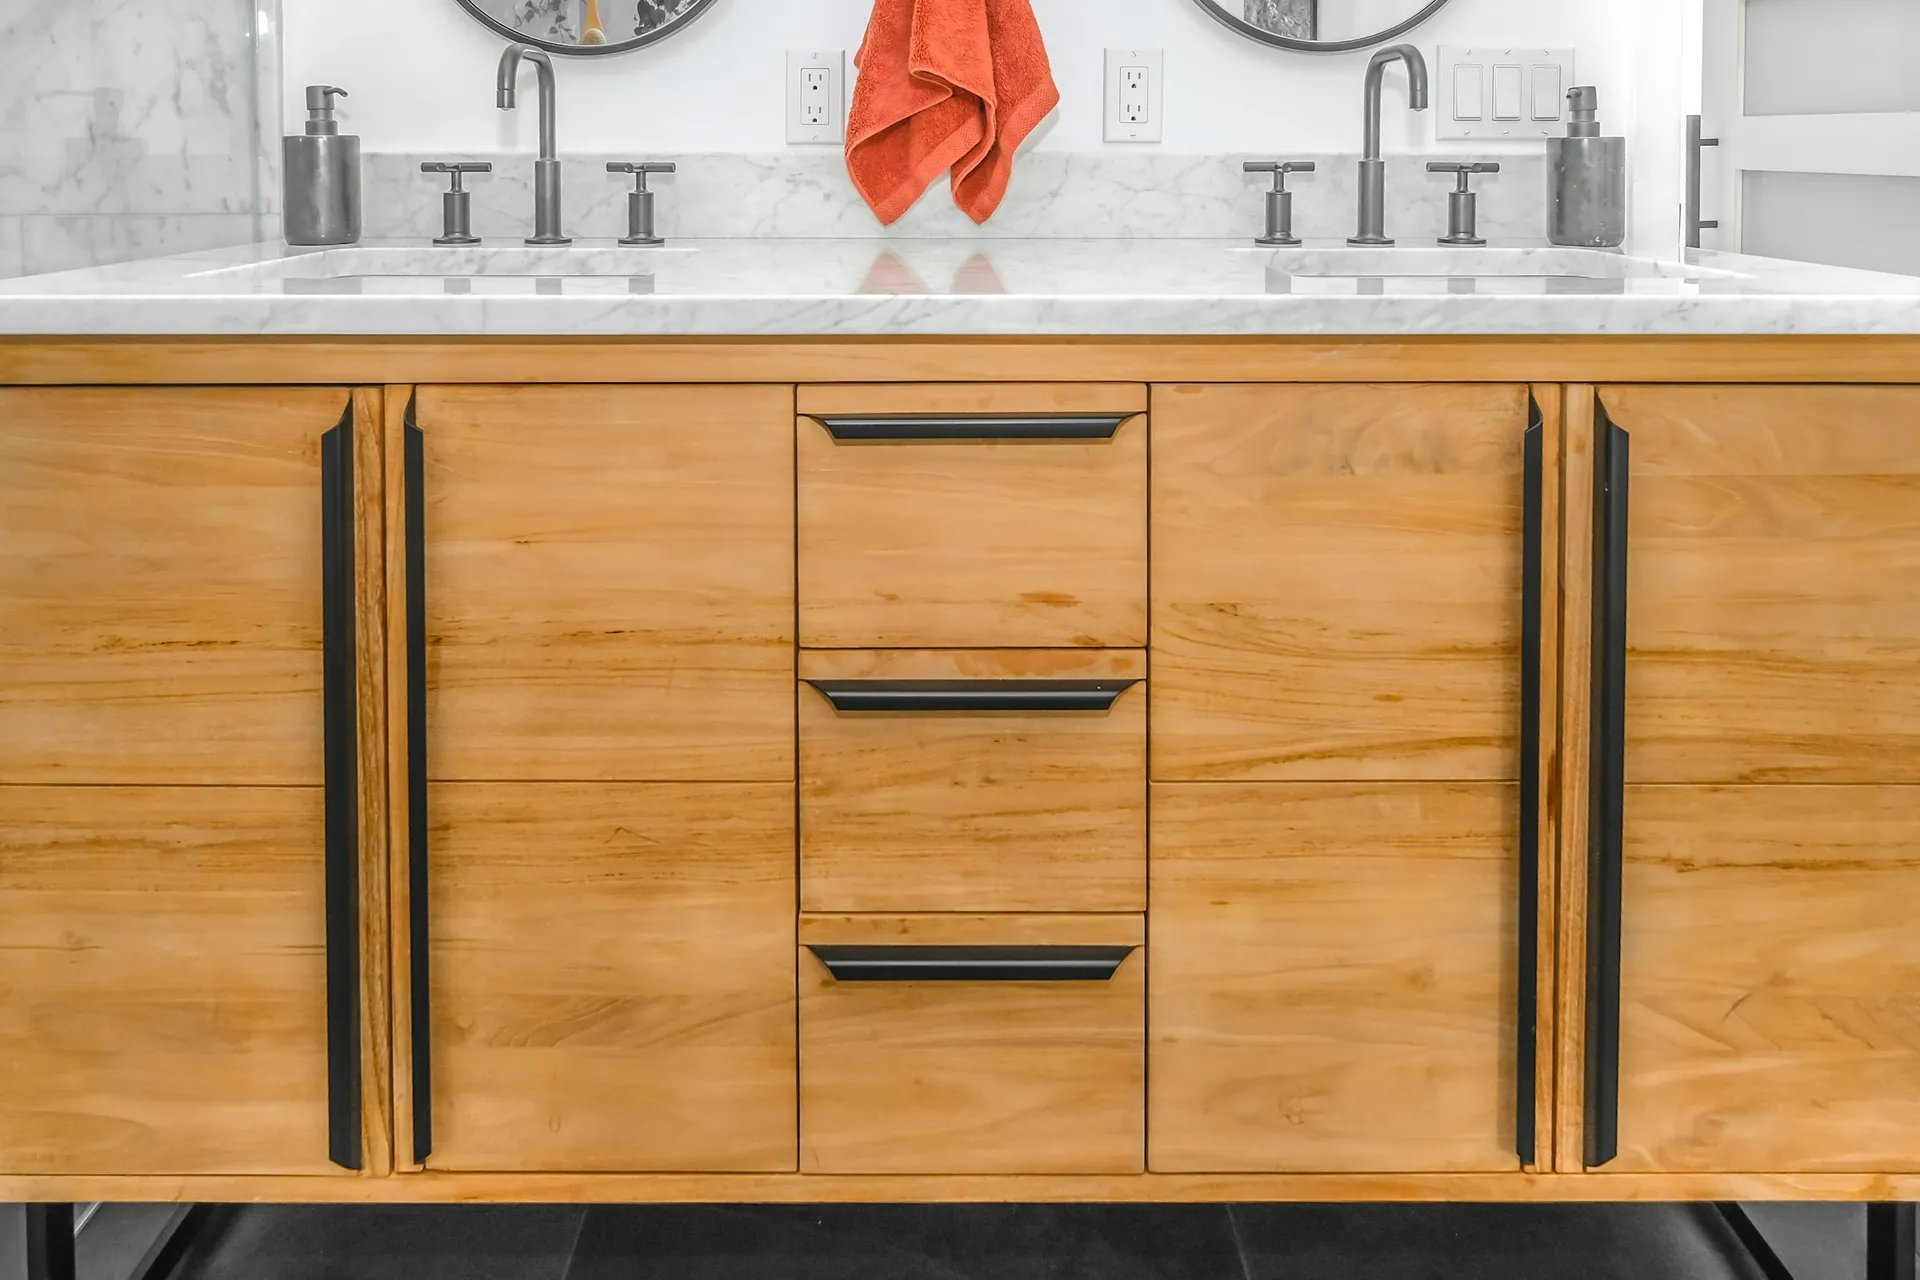
| Sideboard | High-pressure laminate (HPL) | Wood veneer for a warmer look, sealed well and kept away from hot appliances. |
| Ceiling | Partial ceiling: L-box and box-ups | Cove ceiling (concealed cove lighting) over the dining zone for a soft, defined glow. |
| Windows | Roller blinds | Day curtains (sheers) to soften the dining area if it shares a window wall with the living room. |
Dining table top
Sintered stone and ceramic
Sintered stone resists heat, stains and scratches, so curry, hot pots and craft sessions do not mark it. That makes it a practical surface for a dining table used every day. It is heavy, so check the base and how it will get through your lift and door.
Also good: Laminate (HPL or melamine) for a lighter, budget table, or Solid wood for warmth if you are happy to use coasters.
Compare every dining tables optionSeating
Built-in banquette or booth seating
A banquette against the wall removes chair clearance on one side and adds storage under the seat. In a narrow HDB dining area, that can be the difference between a 4-seater and a 6-seater. Use removable, wipe-clean cushions and leave a gap behind the backrest for wall sockets or air movement.
Also good: Extendable table with stacking chairs, so the dining area stays compact most of the year.
Compare every dining tables optionLighting over the table
Pendant lights
A pendant centred on the table defines the dining zone in an open living and dining space and puts warm light on the food. Hang it about 60 to 70 cm above the tabletop and use two or three for a long table. Put it on a dimmer.
Also good: Magnetic track lights, which can be aimed at the table even if the light point stays where it is.
Compare every lighting optionFloor
Homogeneous and porcelain tiles
Dining floors take dropped food, chair legs and frequent mopping. Porcelain tiles shrug off all three, and many BTO flats already have them in the living and dining area. Run the same floor through living and dining so the space reads as one.
Also good: SPC vinyl (rigid core click planks) over existing tiles, with felt pads on chair legs.
Compare every flooring optionFeature wall
Wainscoting and wall moulding
Wainscoting at chair-back height protects the wall from scuffs and gives the dining area a defined look without making it feel smaller. Finish it in a washable paint so food splashes wipe off, and use a moisture-resistant board if the wall faces a window or adjoins the kitchen.
Also good: Wallpaper and vinyl wallcoverings, choosing vinyl for wipeability.
Compare every wall finishes optionSideboard
High-pressure laminate (HPL)
A sideboard top used as a serving counter or coffee station needs to resist heat marks, spills and scratches. HPL is tougher than melamine for that job and comes in stone and wood looks to match the table. Ask for sealed edges where the kettle or coffee machine steams.
Also good: Wood veneer for a warmer look, sealed well and kept away from hot appliances.
Compare every carpentry finishes optionCeiling
Partial ceiling: L-box and box-ups
A short box-up or L-box carries the cable from the original light point to the centre of the table without lowering the whole ceiling. It can also hide aircon trunking. HDB requires 2.4 metres of clearance under a false ceiling.
Also good: Cove ceiling (concealed cove lighting) over the dining zone for a soft, defined glow.
Compare every false ceilings optionWindows
Roller blinds
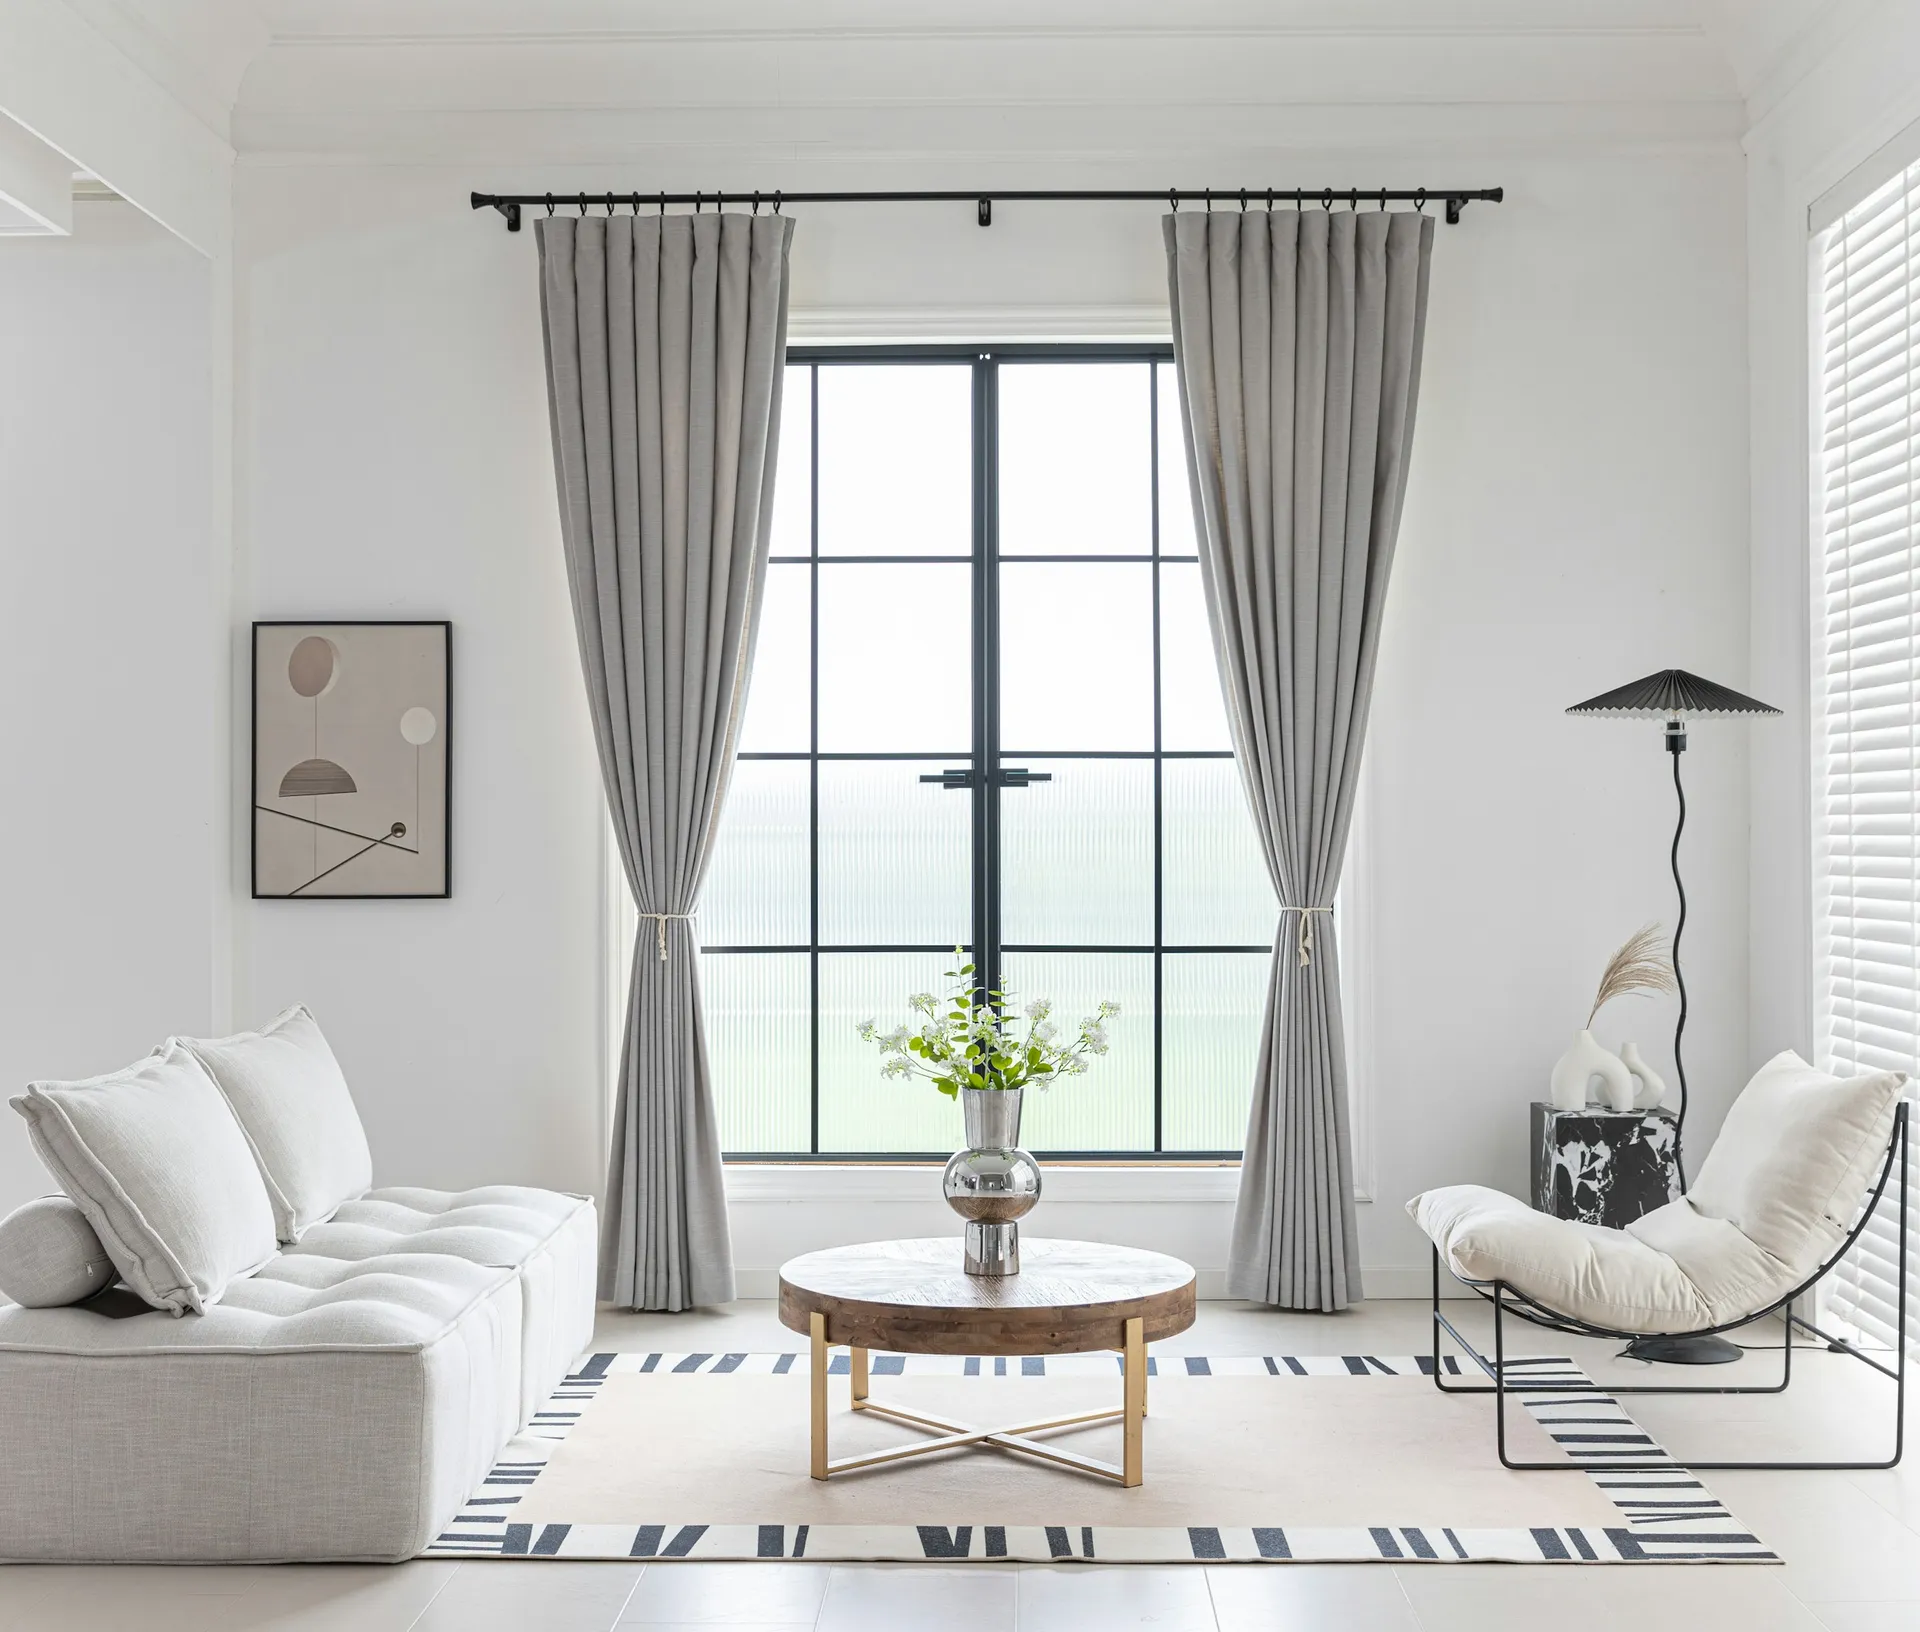
If the table sits by a window, roller blinds stay out of the way of chairs and food, and wipe clean more easily than curtains, which can absorb cooking smells. A sunscreen fabric cuts glare during lunch without losing the view.
Also good: Day curtains (sheers) to soften the dining area if it shares a window wall with the living room.
Compare every window treatments option
Layout and sizes
Working figures from Singapore and international guides (estimates, not rules):
- Per diner: about 60 cm of table edge, 10 to 15 cm more if dishes go down the middle (HipVan).
- Behind chairs: at least 75 cm to the nearest wall or furniture, about 90 cm where people walk past (HipVan).
- Table sizes: about 120 by 75 cm for four, 160 to 180 by 80 to 90 cm for six, and a round table of about 100 to 110 cm for four (HipVan).
- Table height: around 75 cm.
- Counter seating: NKBA-based guidance suggests about 80 cm behind seated diners if no one passes, 90 cm to edge past, and 110 cm or more for a walkway.
Where the table goes
- Along the living room: the classic HDB arrangement. Leave the full walkway on the side people use to reach the kitchen.
- Beside a dry kitchen or island: a table or counter extension close to the kitchen saves steps. Good for couples and small families.
- Against a wall with a banquette: the most space-efficient choice for dining area ideas for small spaces.
Compare table materials, sizes and banquettes on our dining tables page.
Should the dining area join the kitchen or the living room?
It depends on how you cook and entertain. If you cook light meals and like to talk while you cook, place the dining table next to an open or dry kitchen, or replace it with a counter. If you cook heavy, oily dishes, keep the table on the living room side and close the wet kitchen with a sliding door, because HDB does not allow exhaust fans in the kitchen and the cooker hood has to do all the work. Our post on the open concept kitchen in HDB flats goes through the trade-offs.
Lighting and power points
- Decide the table position before the electrician quotes, then put a lighting point over its centre.
- HDB requires all wiring to be done by an EMA licensed electrical worker. Wiring cannot be embedded in concrete or plaster, so the cable runs in a false ceiling, an L-box or surface conduit.
- Put the pendant on a dimmer and a separate switch from the living room lights.
- Add a power point at sideboard height and one near the table for a hot pot or steamboat, so cables do not cross the walkway.
Rules that apply to the dining area
- Extra lighting points and 13A power points need no HDB permit in flats with a 40A main switch, subject to the main switch rating. Flats with a 30A main switch need a permit for some electrical work, so check with your electrician.
- Any false ceiling or box-up must leave 2.4 m clearance and be made of non-combustible materials.
- If you add a partition between dining and another space, HDB allows hollow block, glass block or gypsum partitions without a permit, subject to light, ventilation and escape route conditions.
- In condos, check with your MCST before changing the ceiling or adding built-ins.
Common mistakes
- A table bought for the festive season that blocks the kitchen route all year.
- A pendant hung from the original light point, off-centre from the table.
- Glossy pendants that glare into diners' eyes, or a single cool-white ceiling light.
- Paper wallpaper next to the table.
- Forgetting a power point for a hot pot, so an extension cable crosses the walkway.
Checklist
- Measure the dining zone and mark the walkway.
- Choose table shape and size, then chairs or banquette.
- Fix the table position and move the lighting point to its centre.
- Pick a pendant and agree its hanging height on site.
- Plan power points for the sideboard and the table.
- Pick wipe-clean wall, floor and table finishes.
See also our guides to the living room and the kitchen.