Every HDB flat built since 1996 has a household shelter, often called the bomb shelter. It has reinforced walls, floor and ceiling, a steel door and ventilation sleeves, designed to protect occupants in a wartime emergency. In peacetime, most families use it as a storeroom, but its heavy steel door often sits right in the living or dining area.
That is why bomb shelter design ideas are mostly about two things: making the door look like part of the room, and making the inside useful without breaking the rules. SCDF sets out what is permitted in a household shelter, and HDB's renovation guidelines repeat those rules. The walls, slabs and door must not be hacked or tampered with, the door notice must stay visible, and fixtures inside must be removable quickly if SCDF calls for the shelter to be prepared.
This guide covers how to disguise the door within the rules, finishes and lighting, how to use the room, and the ventilation sleeve rules. For racks and shelving, see our post on household shelter storage ideas.
Household shelter ideas
01Paint the door to match the wall
SCDF and HDB allow the shelter door to be painted. Use a paint suitable for metal in the same colour as the surrounding wall and the door almost disappears. The rules are strict on the details: remove the old paint coat from the door and frame before repainting so the build-up does not stop the door closing, let the new coat dry completely before closing the door so the rubber gasket does not stick, and never paint over the door notice, locking bolts or door seal.
02Panel the wall around the door
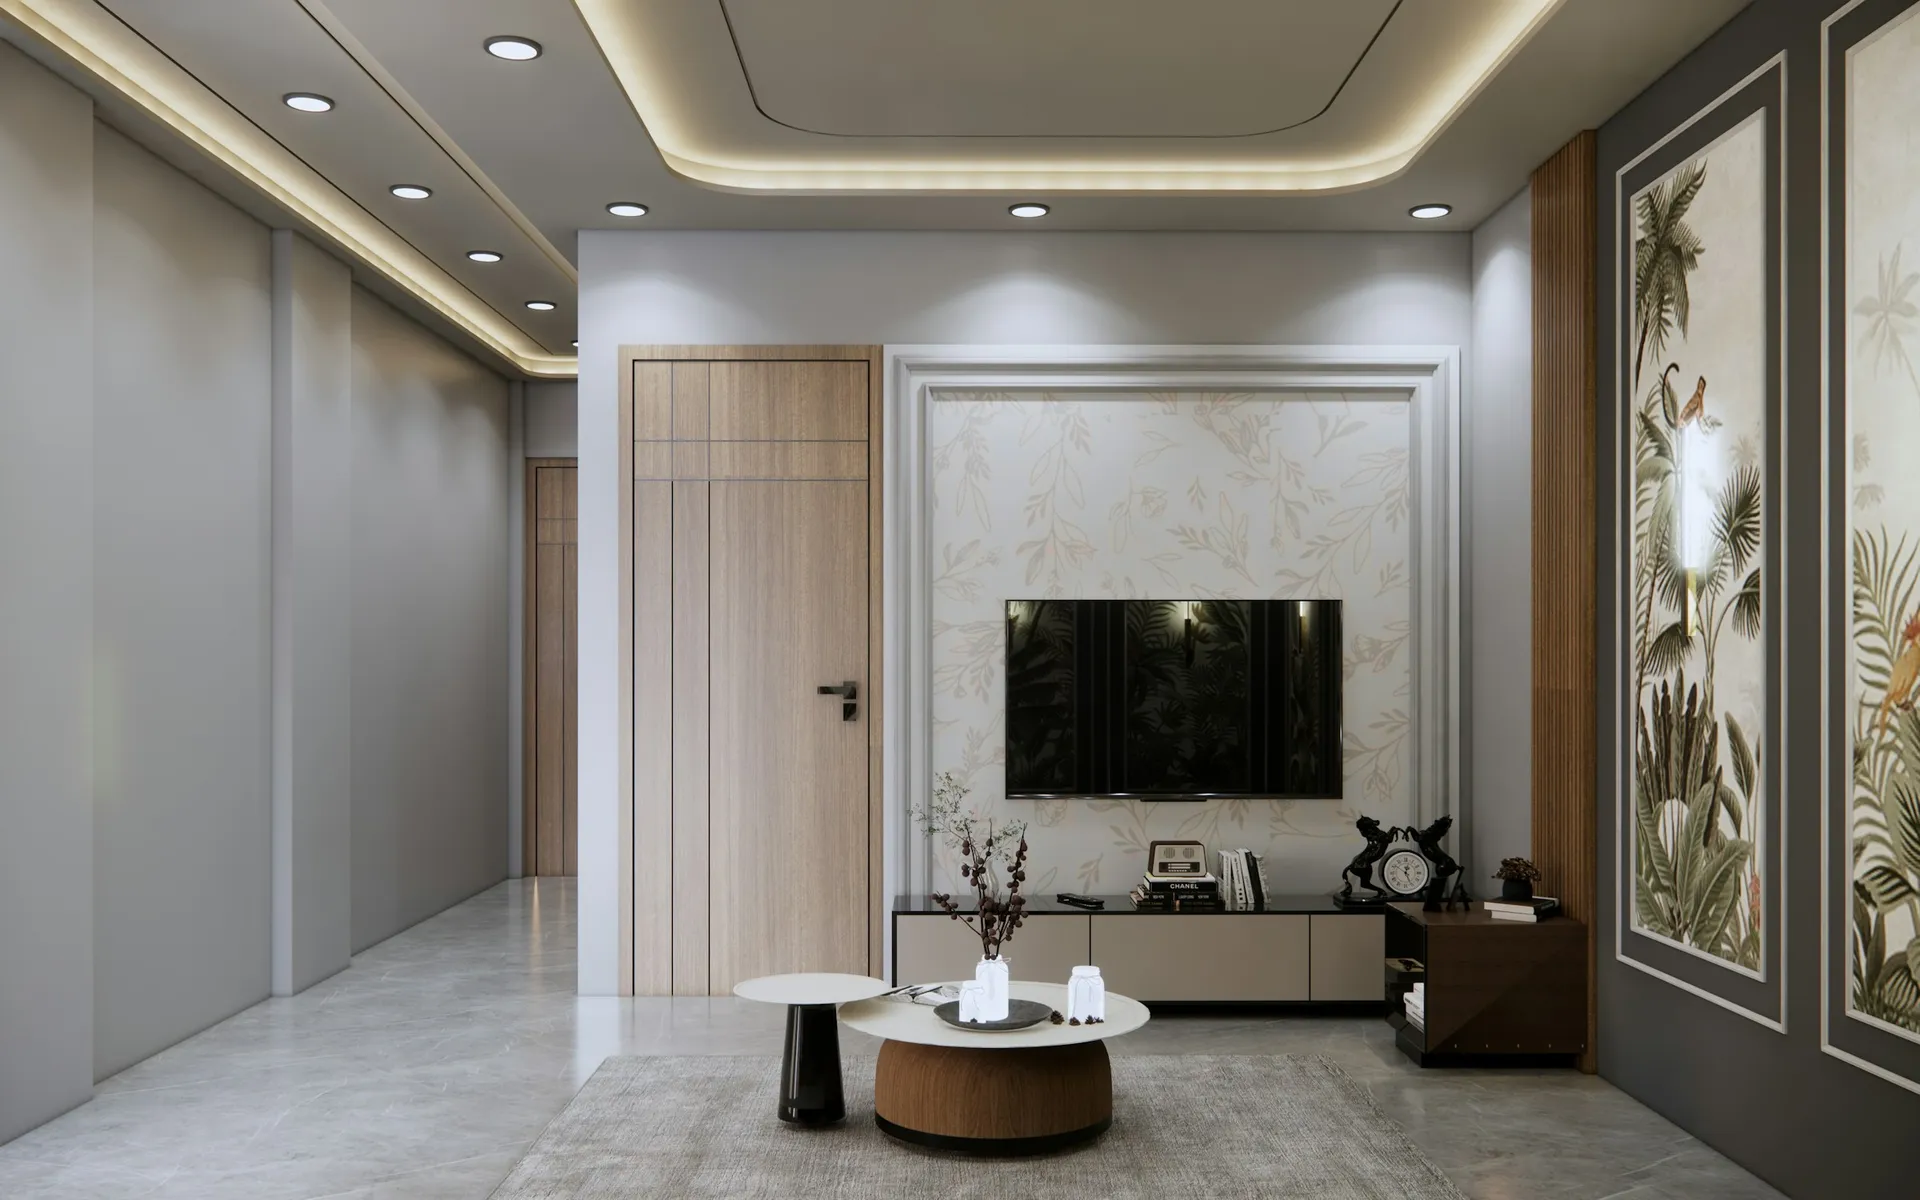
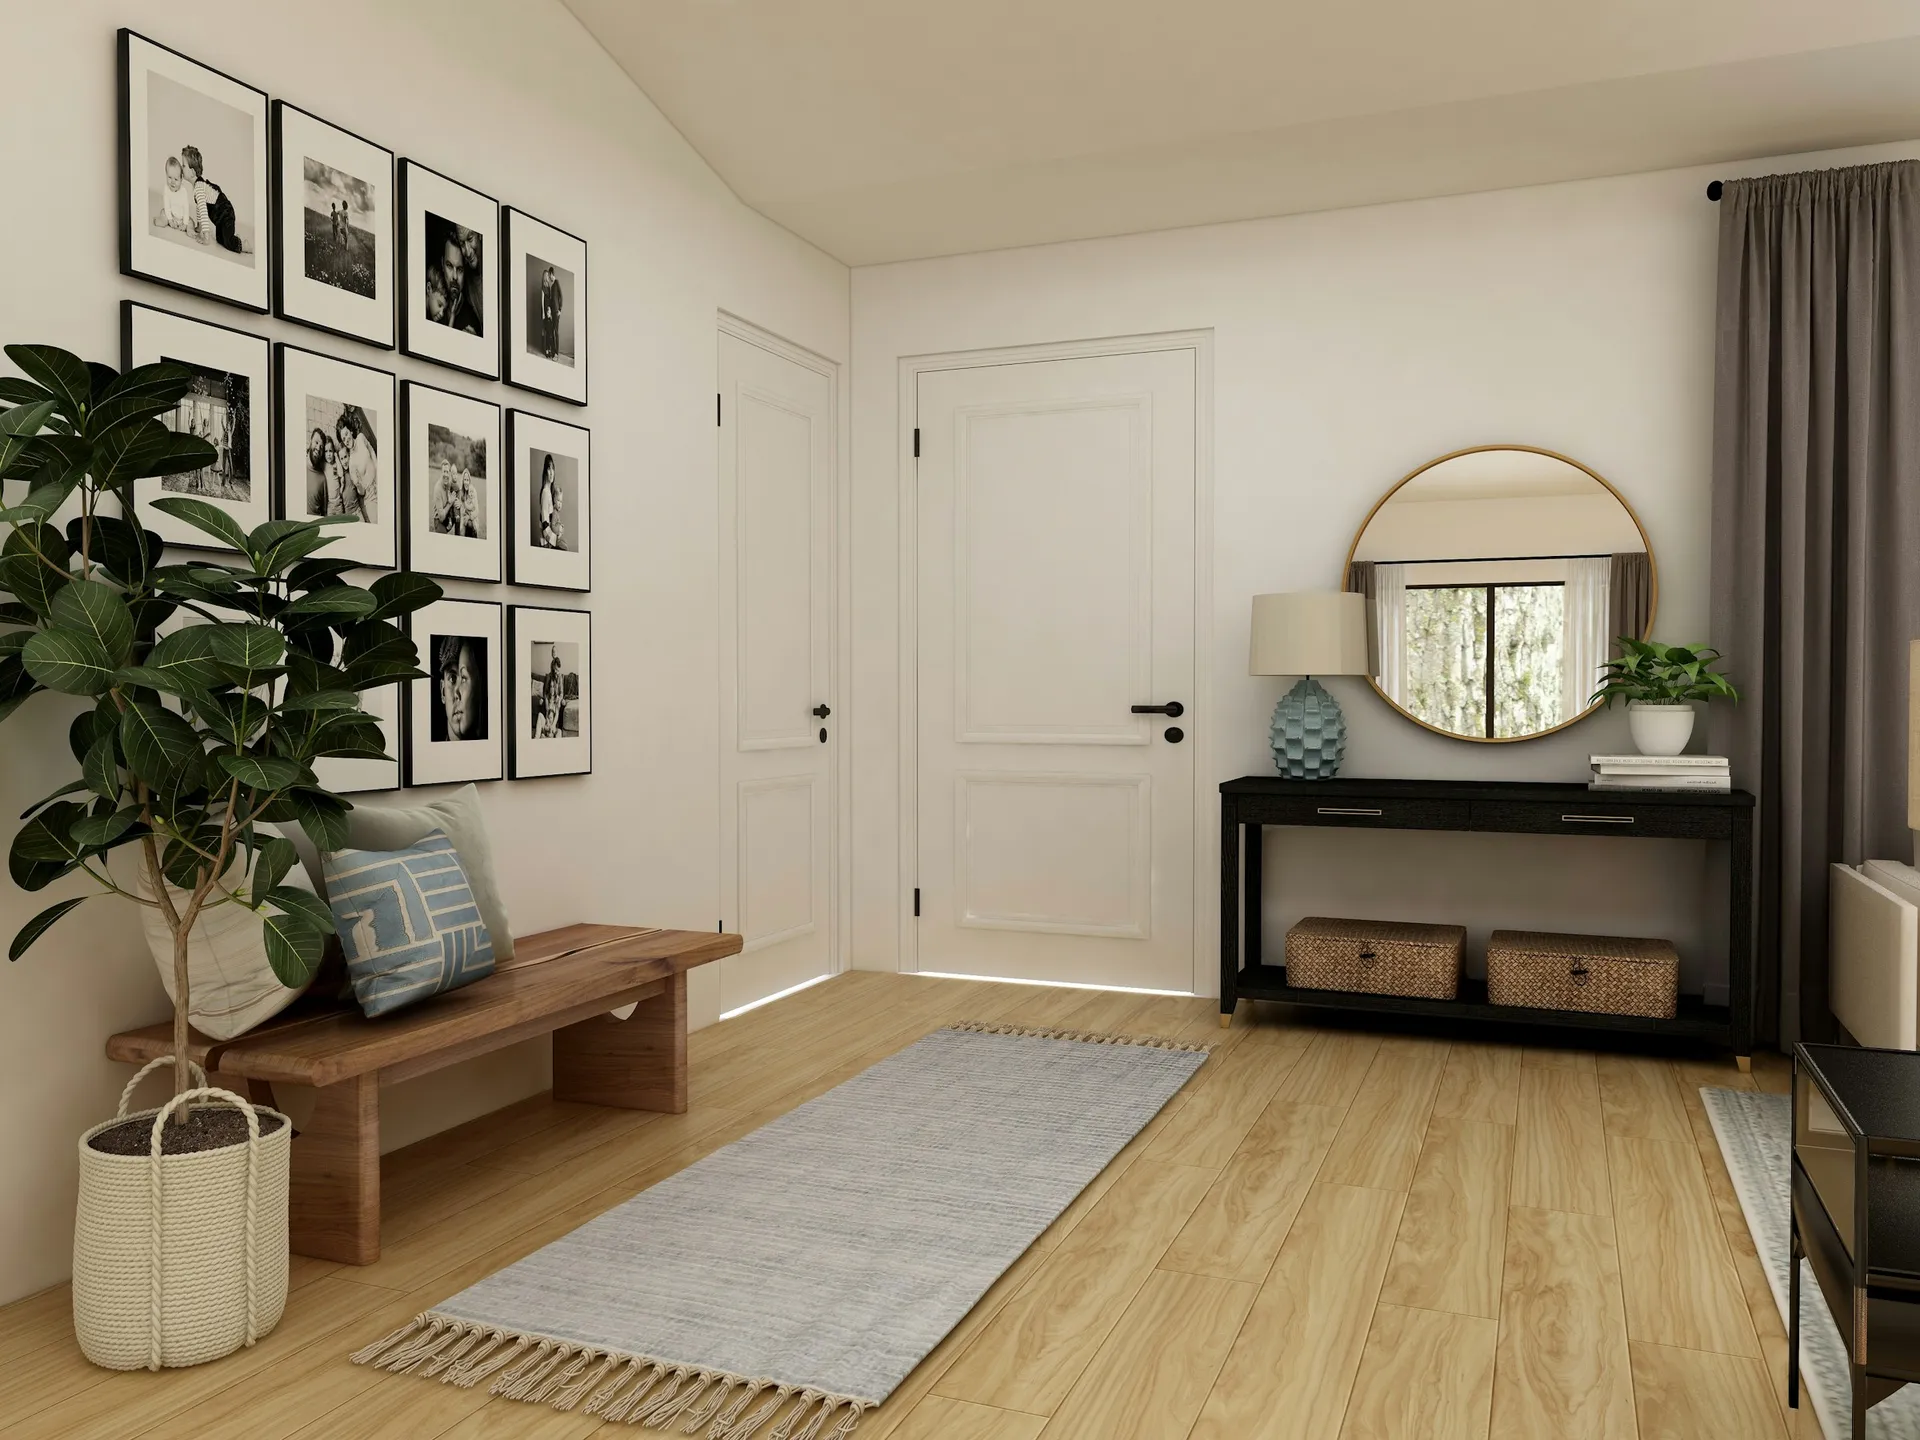
You cannot clad or modify the door itself, but you can dress the wall around it. SCDF allows power-driven nails on the external face of the shelter walls, and splatter dash on the external face to give a rough surface for feature panels or wall tiles. Hacking the external face is not allowed. Run fluted panels, wainscoting or a full wall of carpentry across the shelter wall, paint the door to match, and the door reads as one more panel.
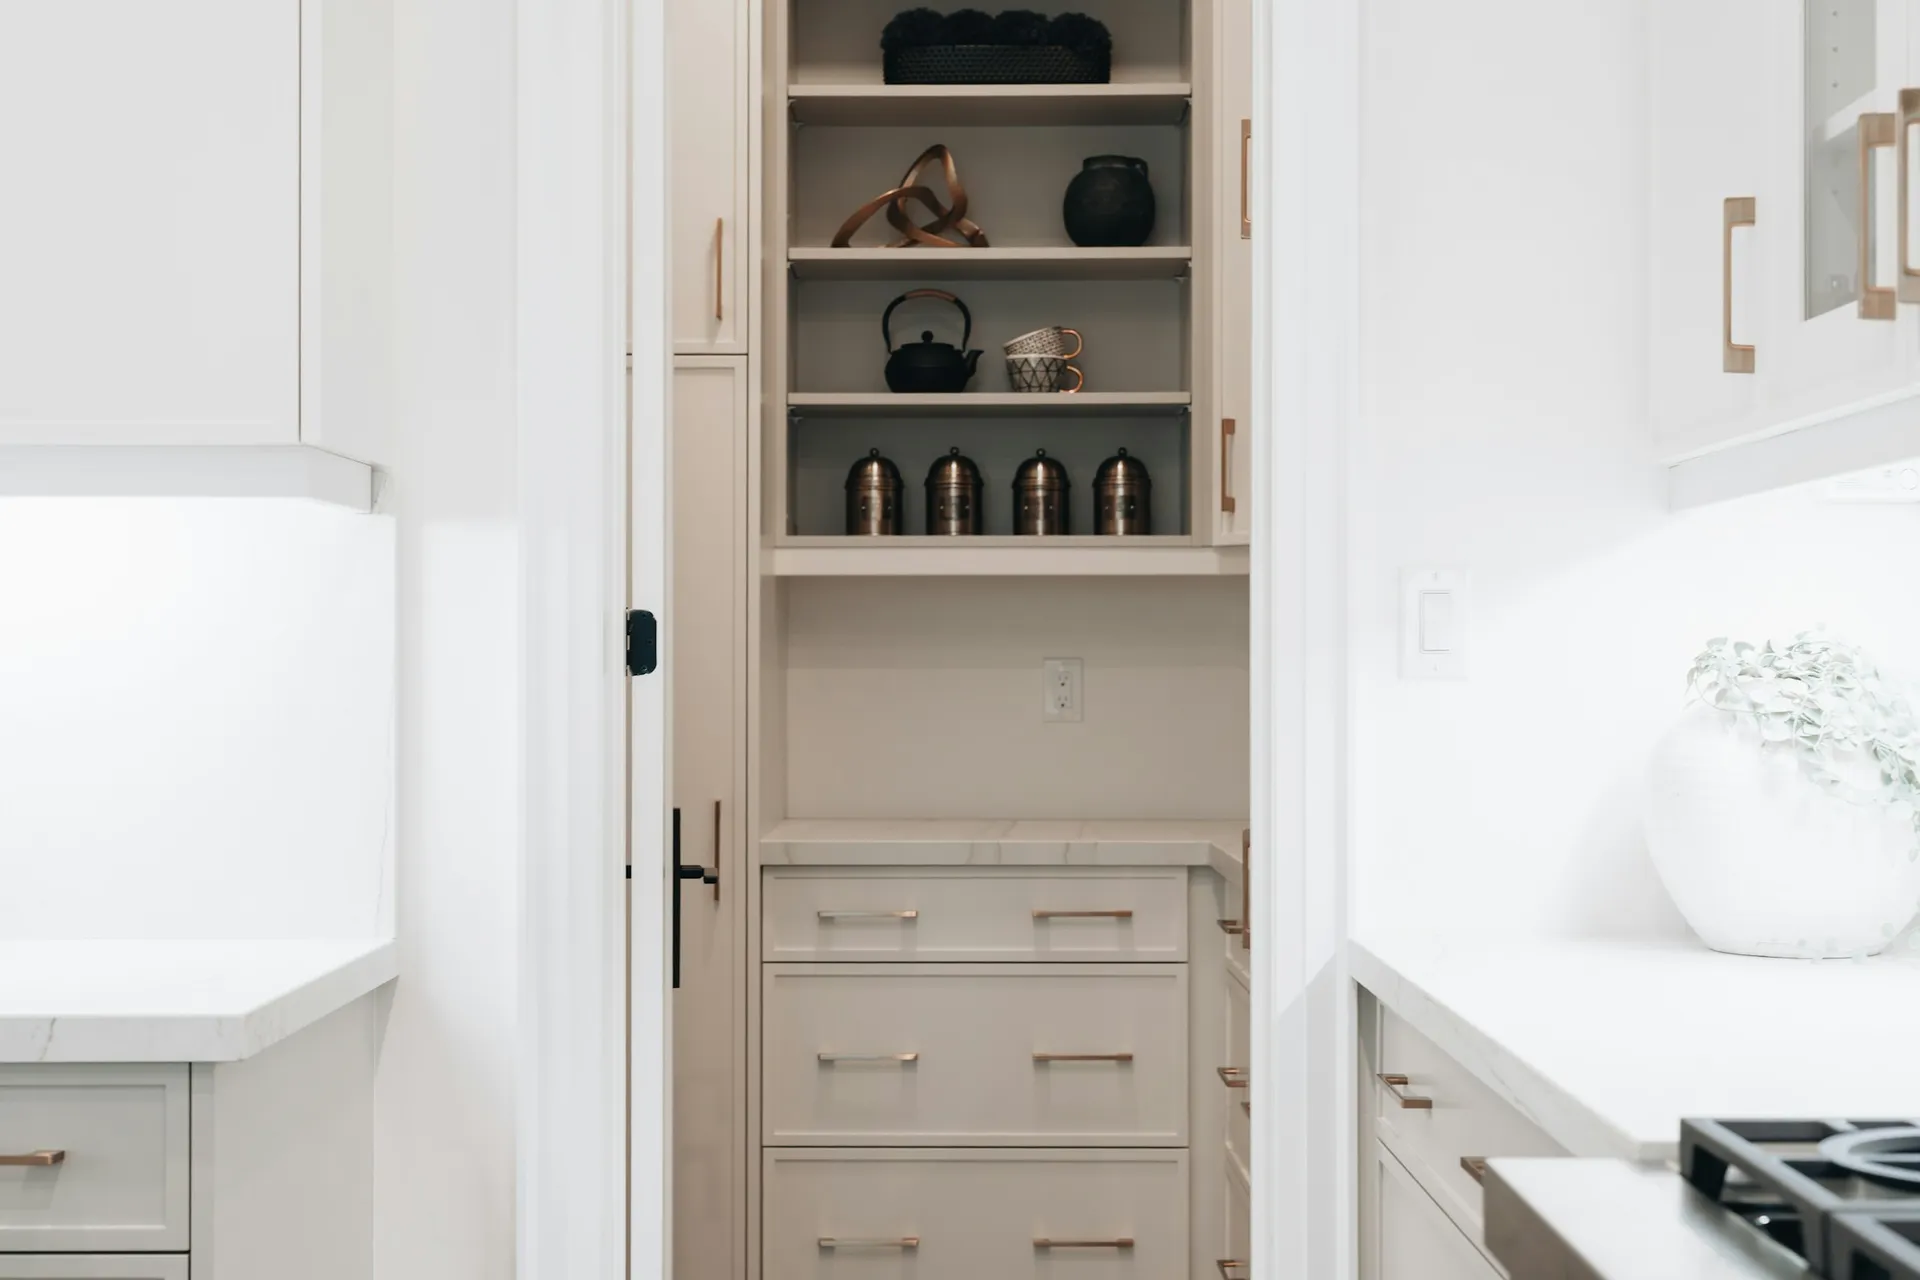
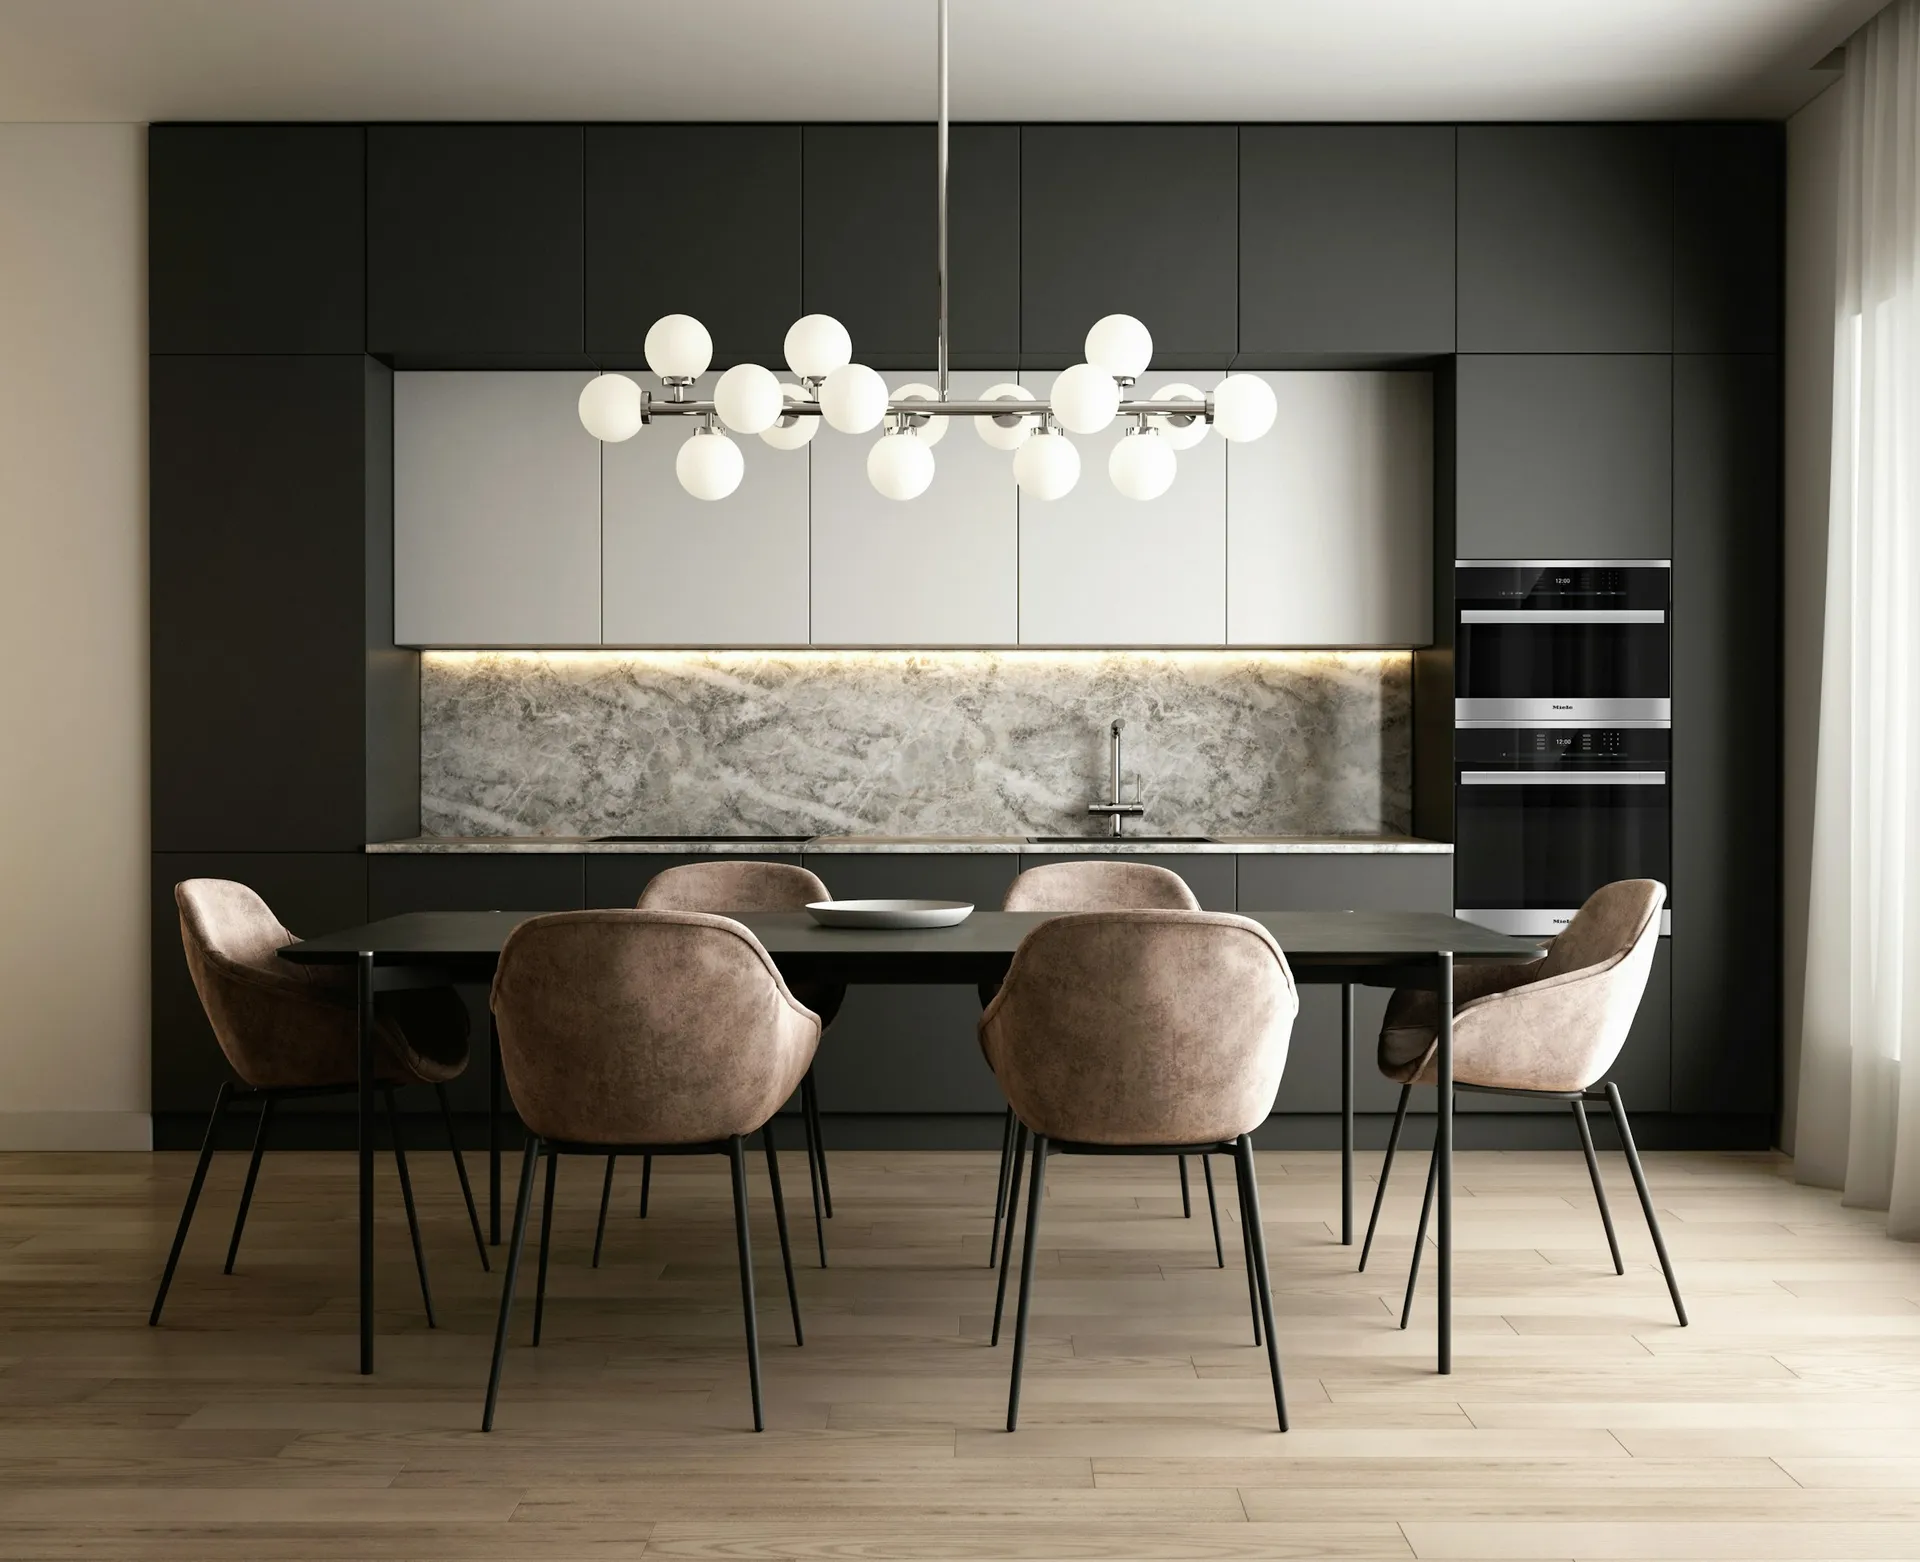
Photo: Franco Debartolo on Unsplash 03Build cabinets either side, not over the door
A popular BTO bomb shelter door idea is to make the door part of a storage wall: full-height cabinets on either side, a matching top cabinet only if it clears the door and frame, and the door painted to match the cabinet fronts. SCDF's design requirements have the door opening at least 90 degrees, so keep cabinets and handles out of its swing, and leave the door notice visible. A sliding panel that hides the notice is not an option.
04Keep the door notice visible and on purpose
Tampering with, removing or covering the shelter door notice is not permitted. Instead of fighting it, frame it: paint the door in a deep colour so the notice reads as a deliberate detail, or keep the door in a contrasting tone like a feature door. In a minimalist home, a matte paint on the door with the notice left clean looks tidy. Do not put stickers, hooks or a calendar over the notice.
05Light the inside properly
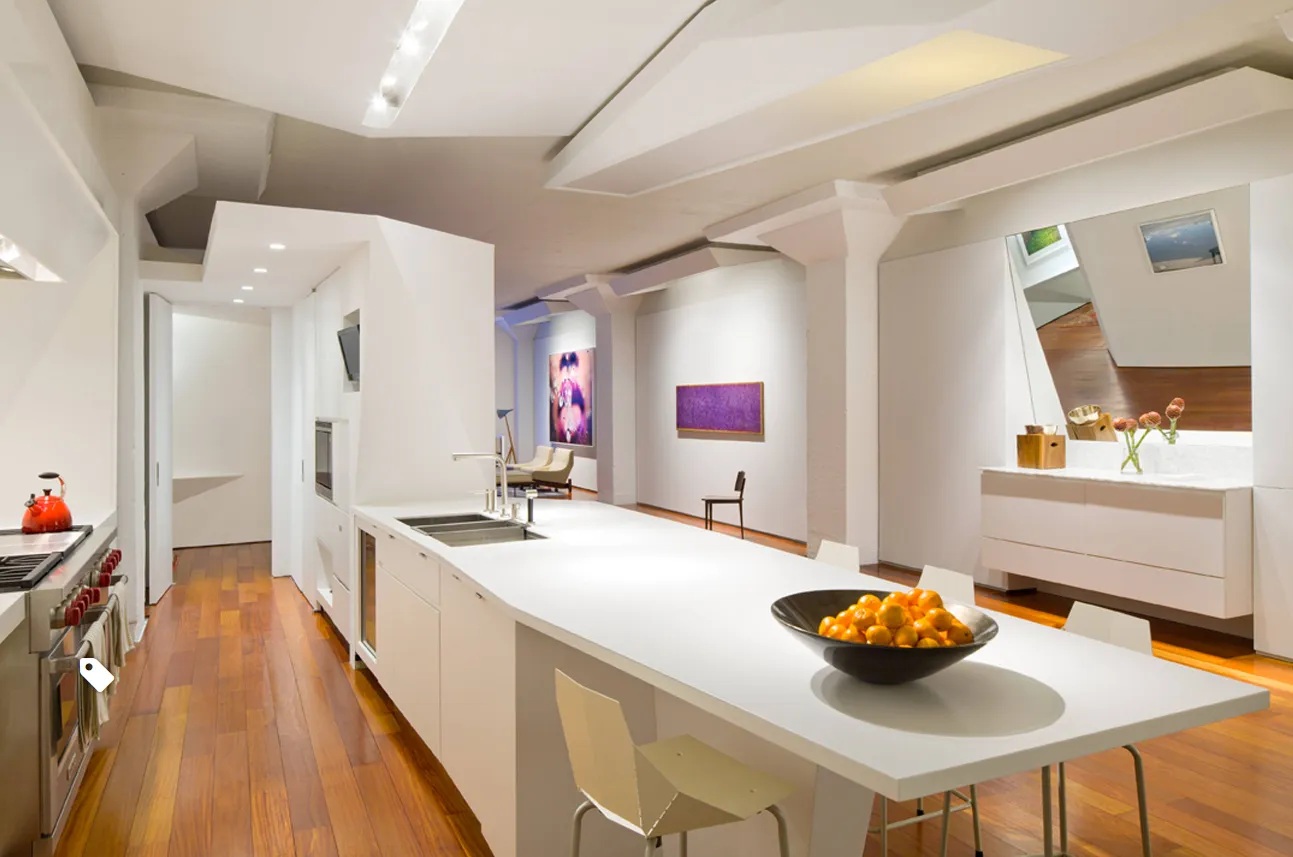
HDB fits shelters with a light, power point, telephone point and TV or radio outlet. Replace the basic fitting with a slim LED ceiling light, or add LED strips under shelves for a pantry or wardrobe. SCDF allows drilling into the internal walls and ceiling slab to a depth of no more than 50mm, using non-metallic inserts and removable screws. Cornices inside the shelter are not permitted, so keep the ceiling plain.
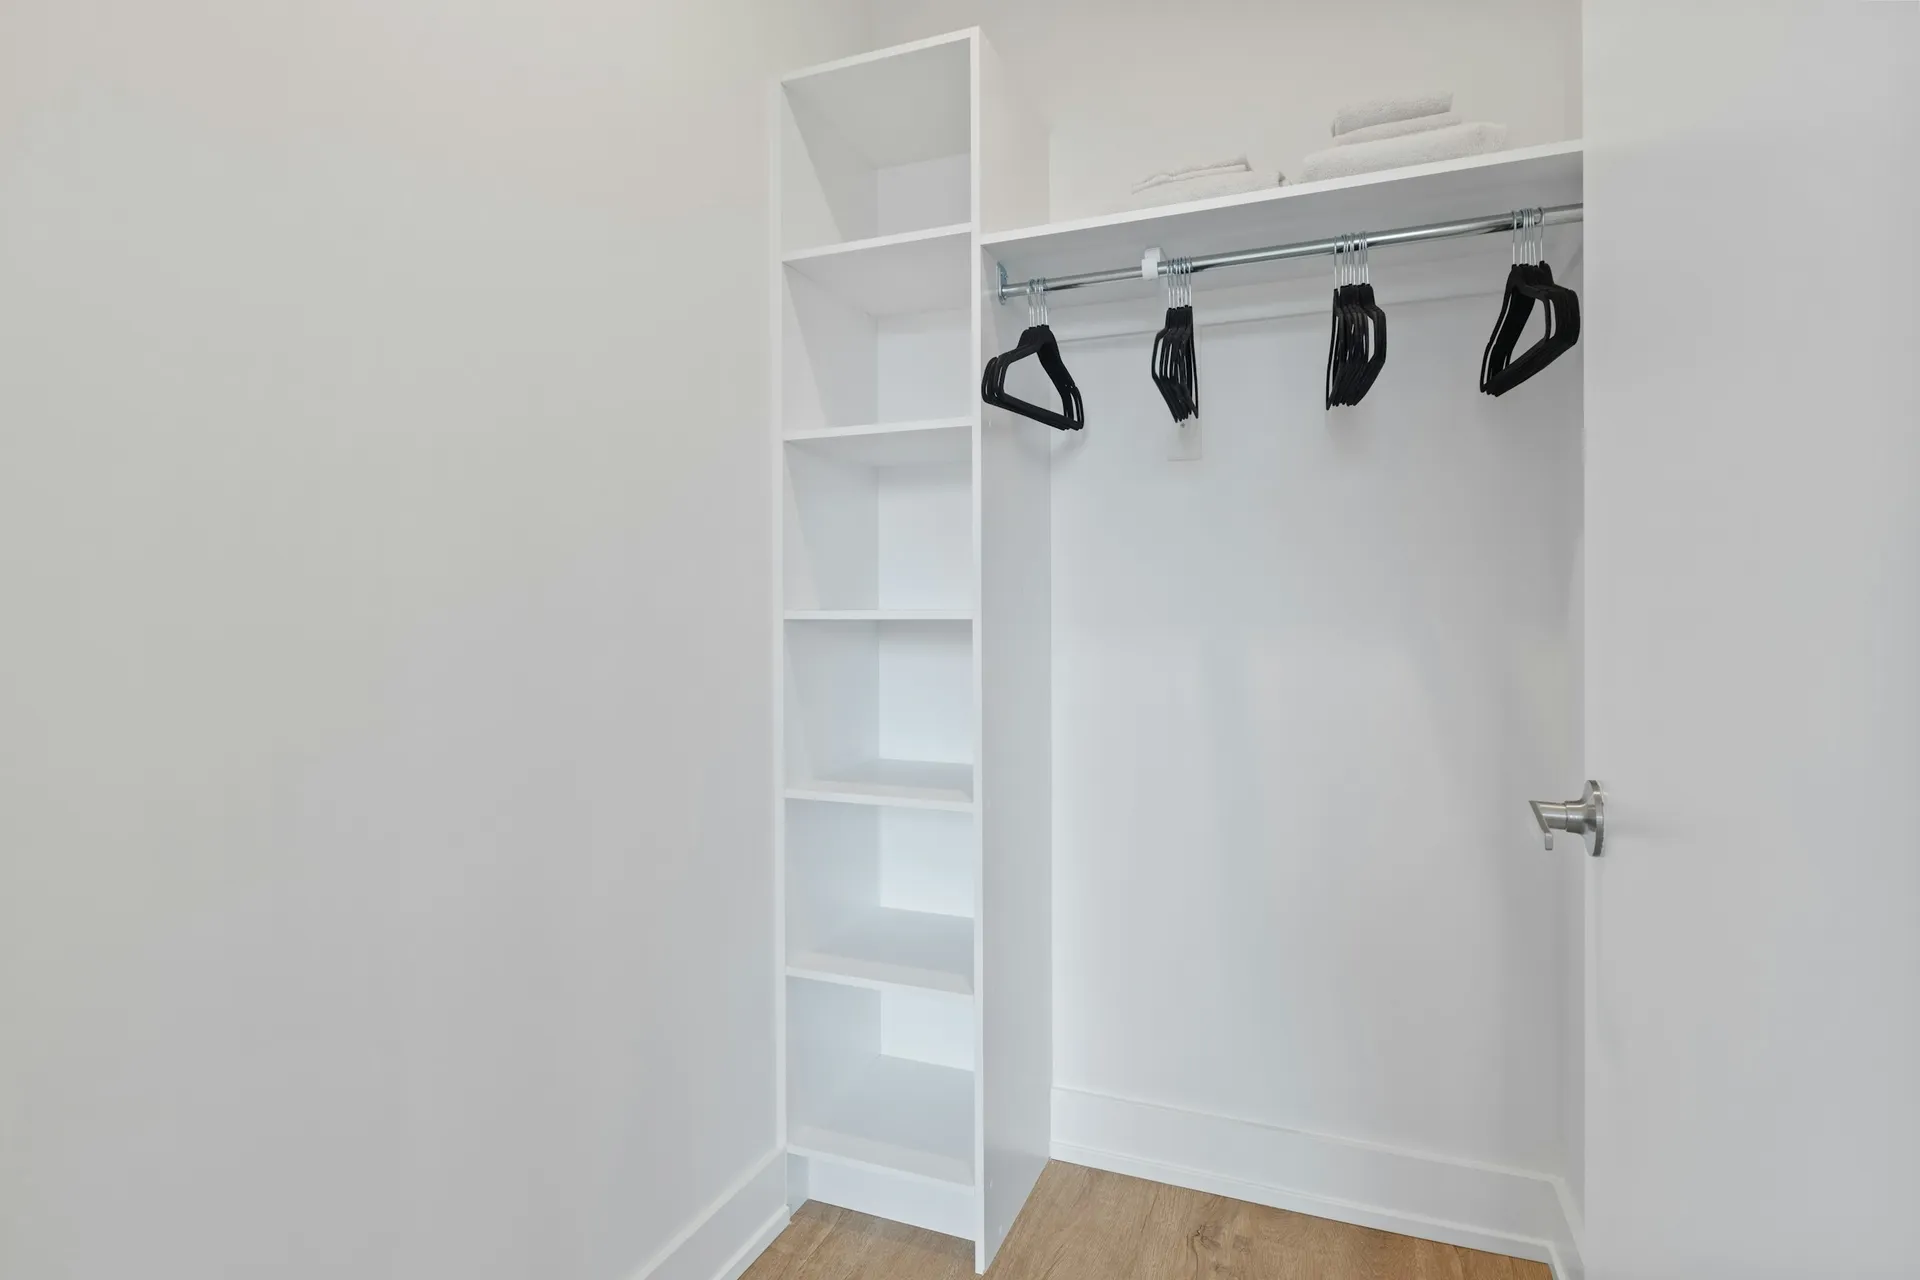
Photo: Point3D Commercial Imaging Ltd. on Unsplash 06Use removable storage inside
Fixtures that cannot be removed easily in an emergency should not go into the shelter, and SCDF says fixtures on the internal walls must be removed within 48 hours when owners are notified. That rules out built-in carpentry fixed permanently to the walls. Freestanding shelving, modular racks and cabinets fixed with removable screws work well. Our post on [household shelter storage ideas](/household-shelter-storage-ideas) compares rack types.

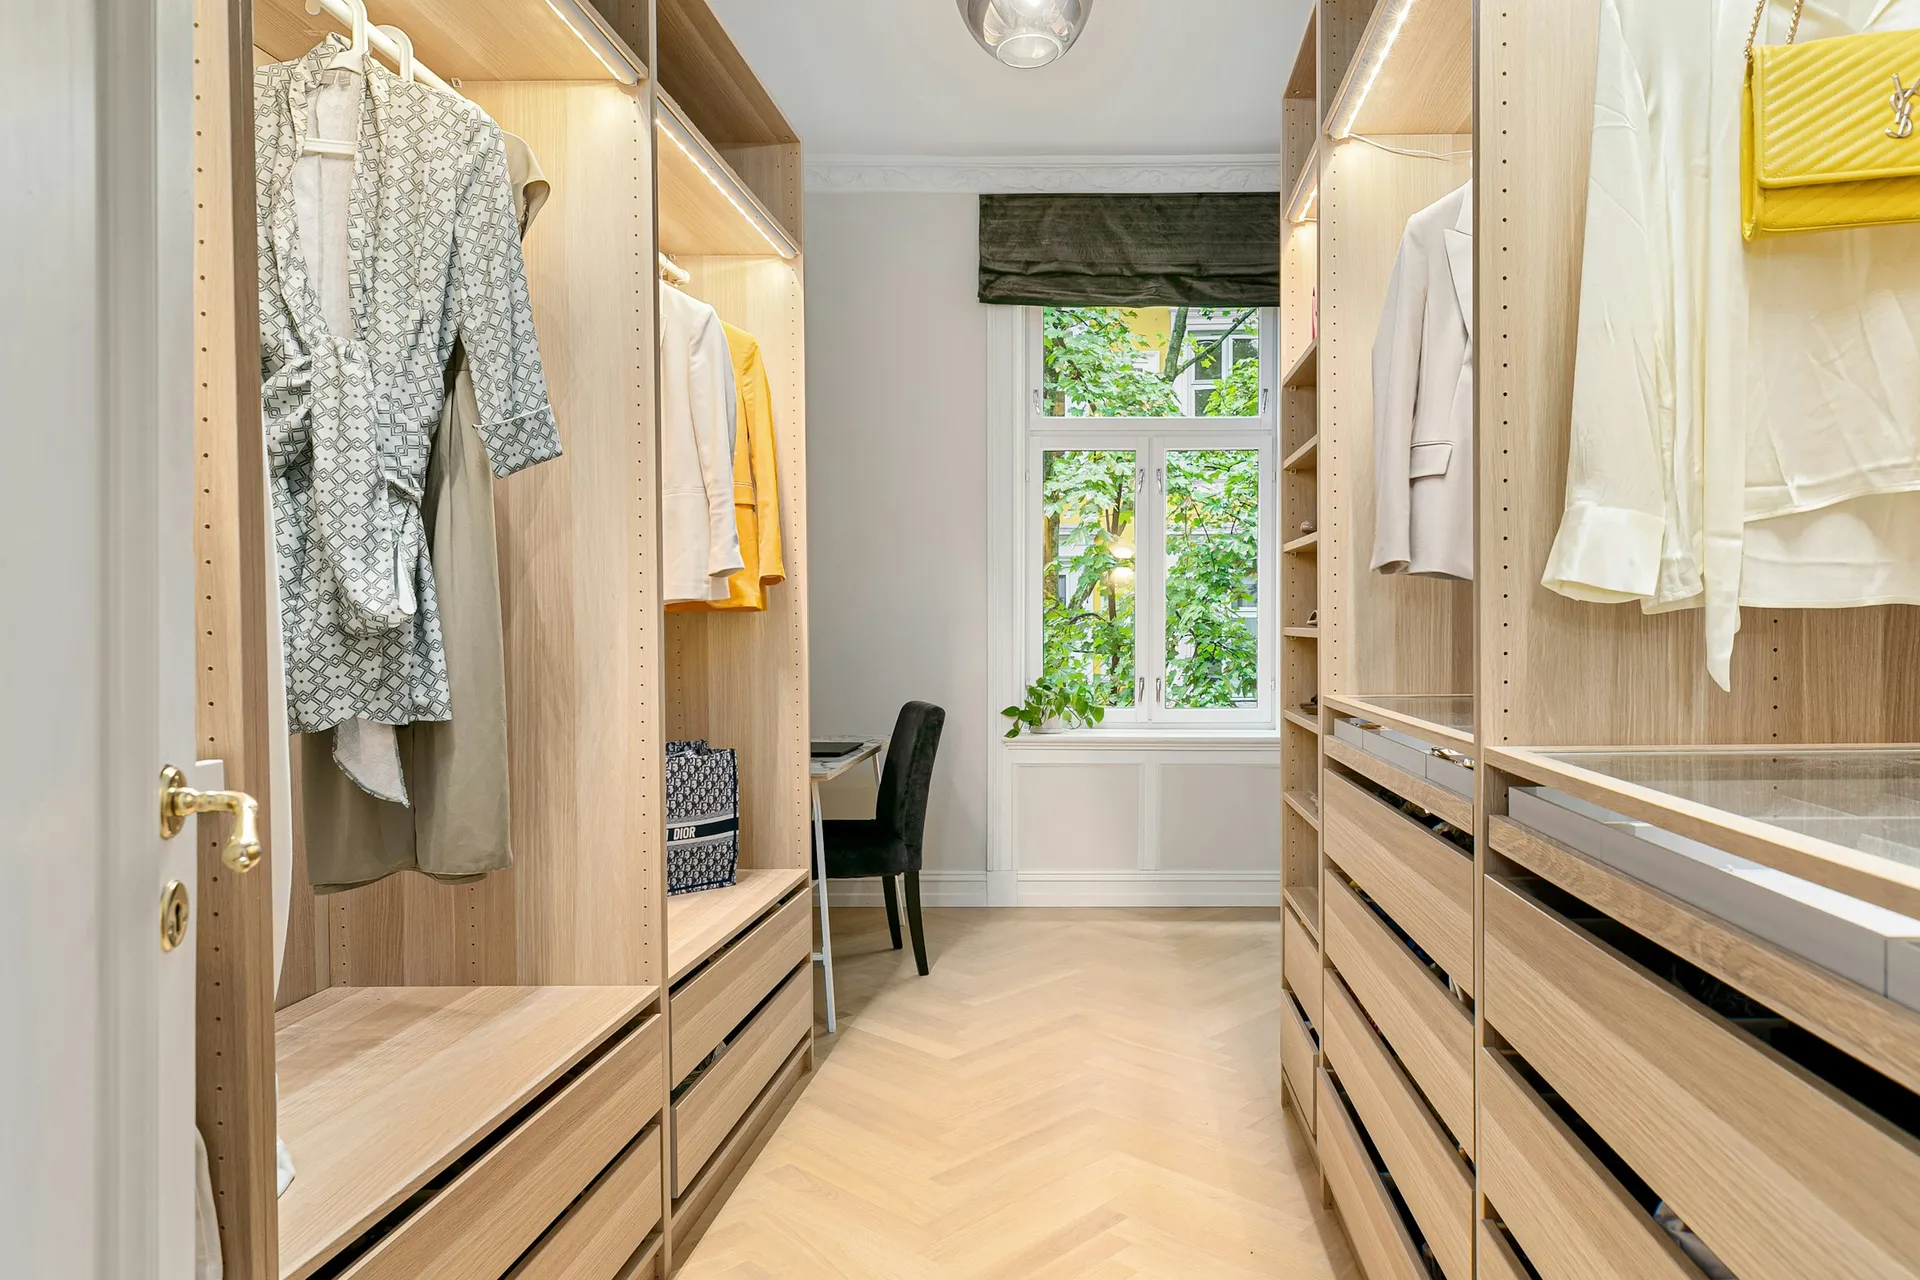
Photo: Steven Ungermann on Unsplash 07Turn it into a pantry, wardrobe or study nook
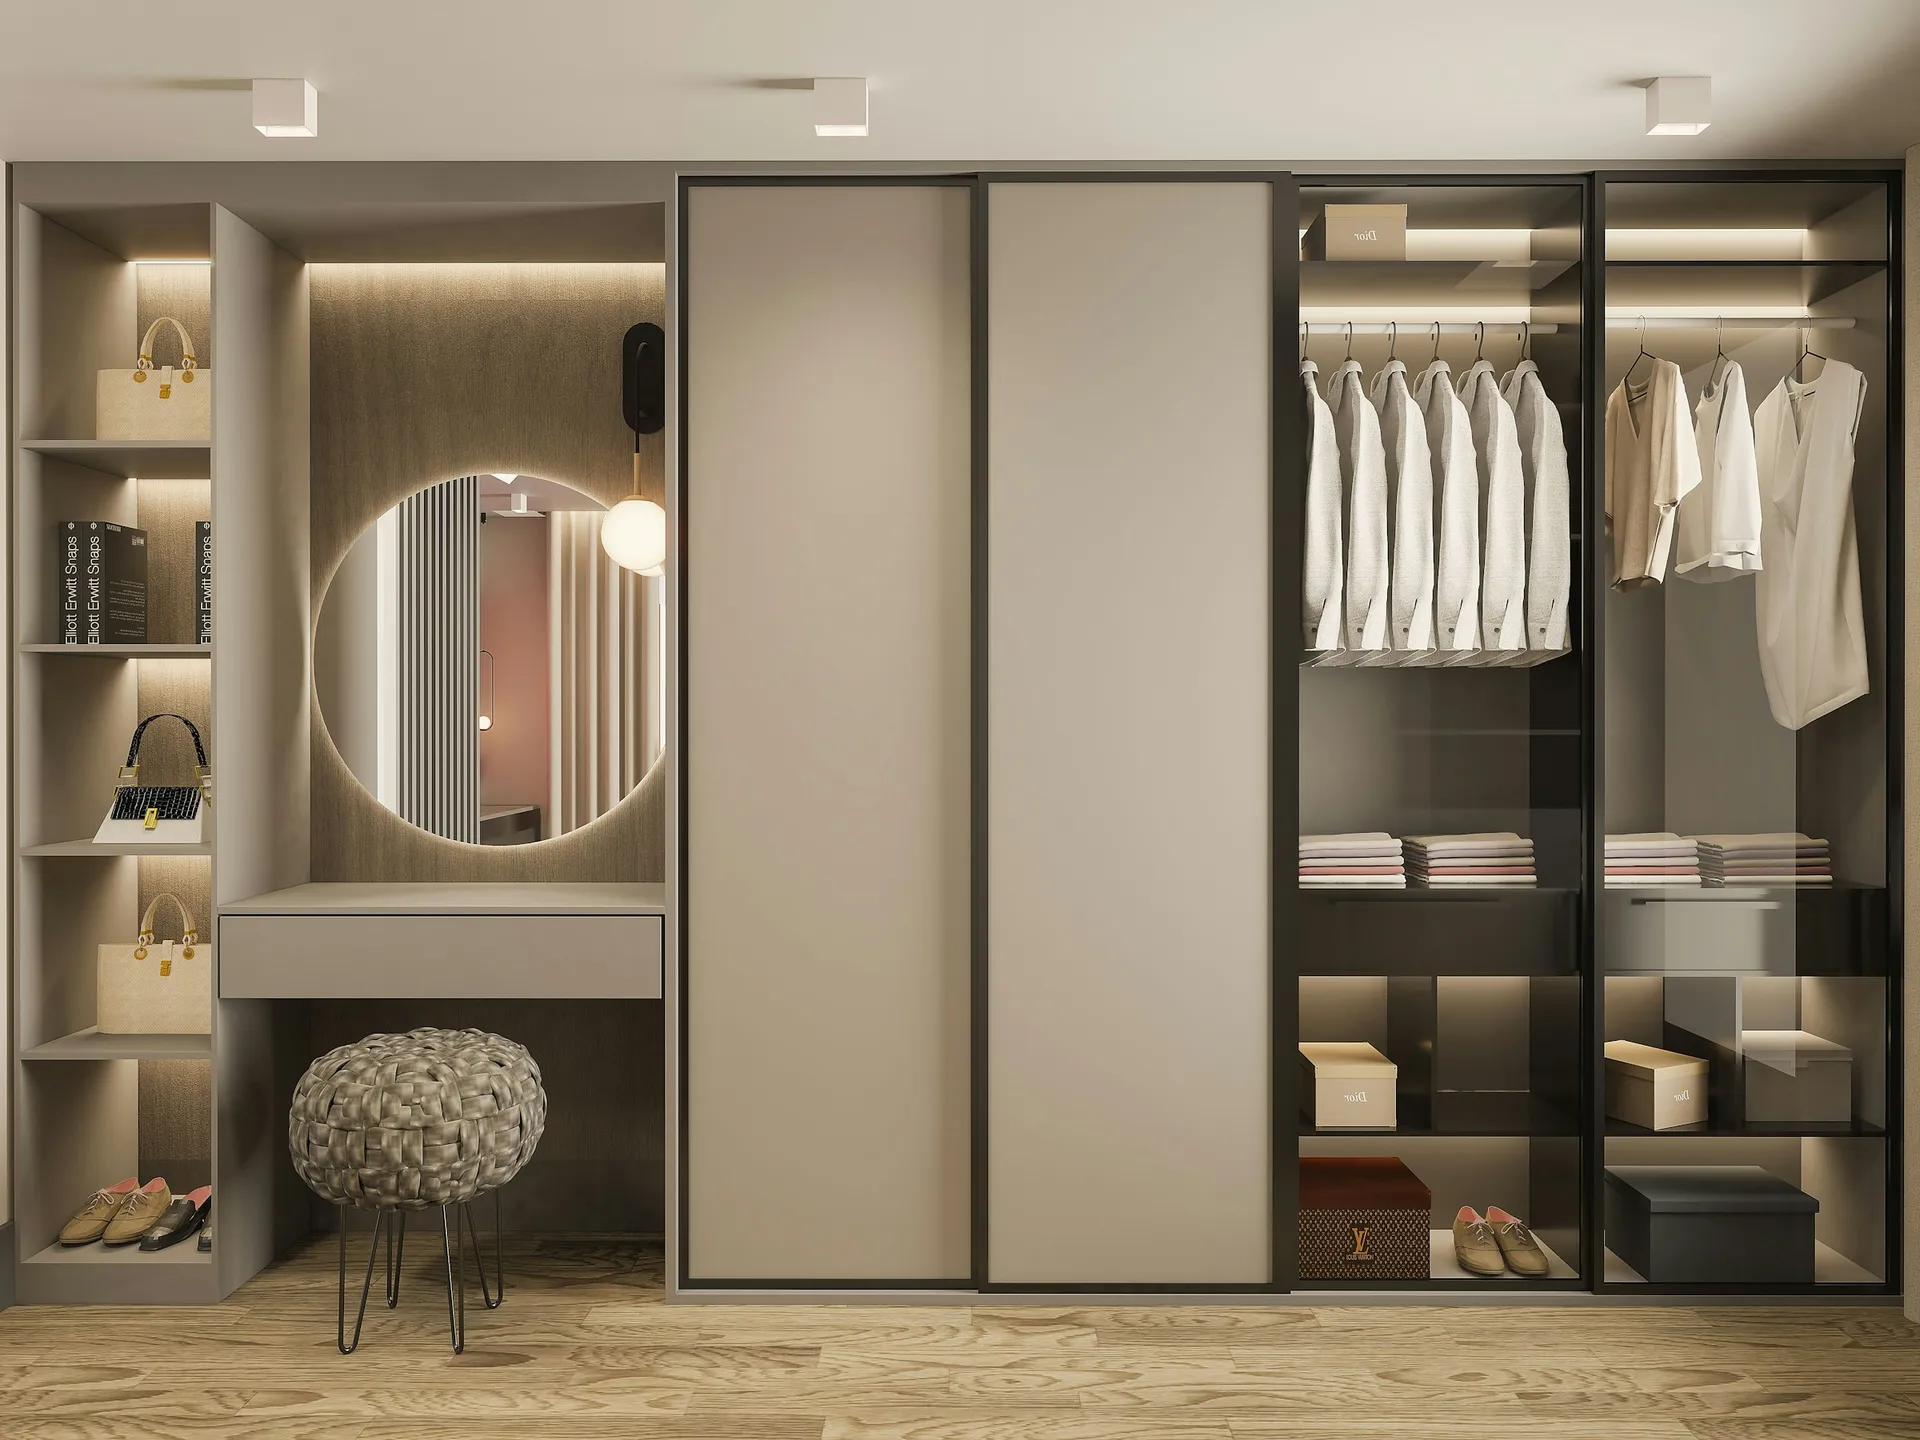
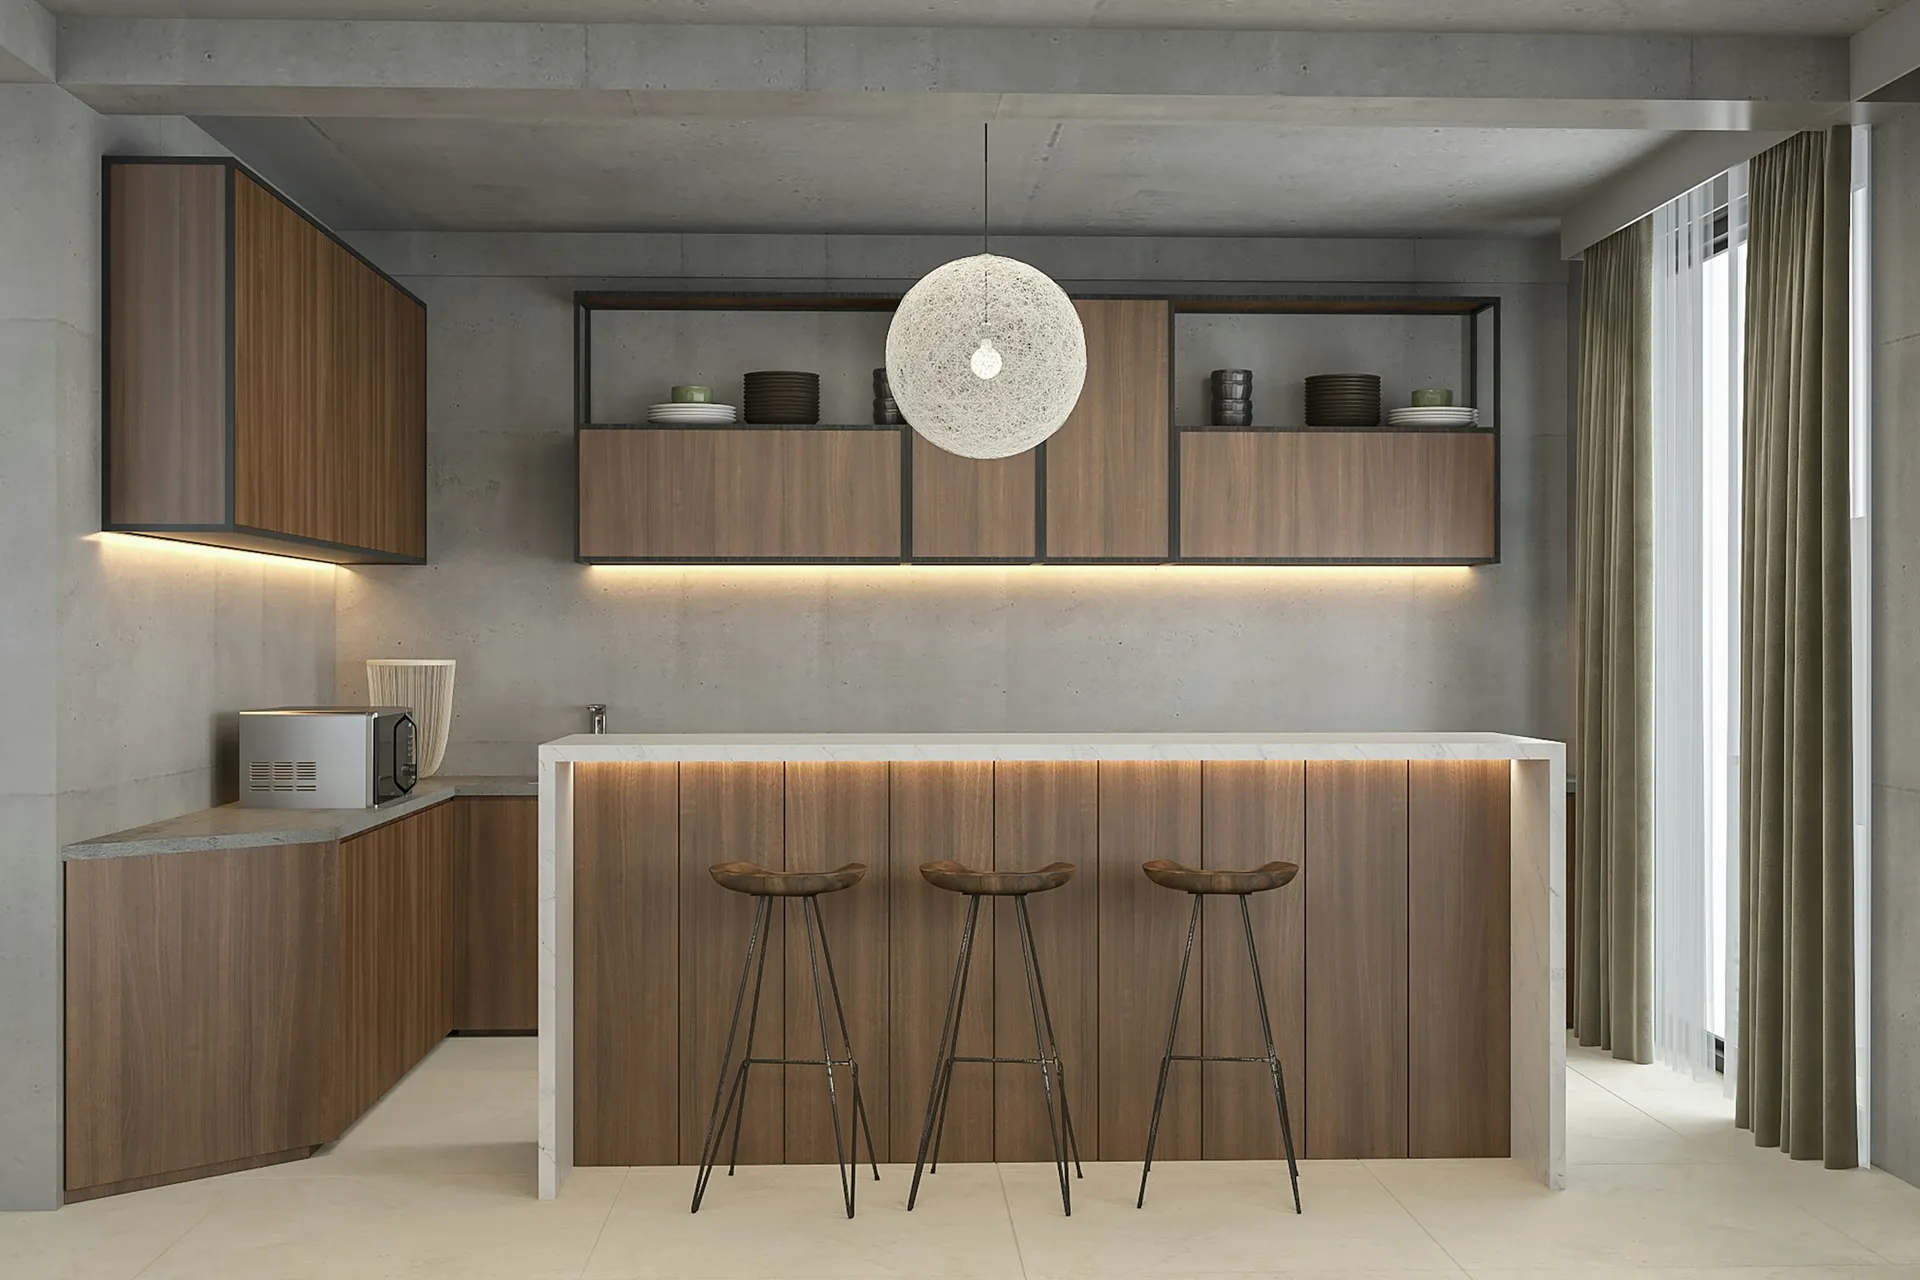
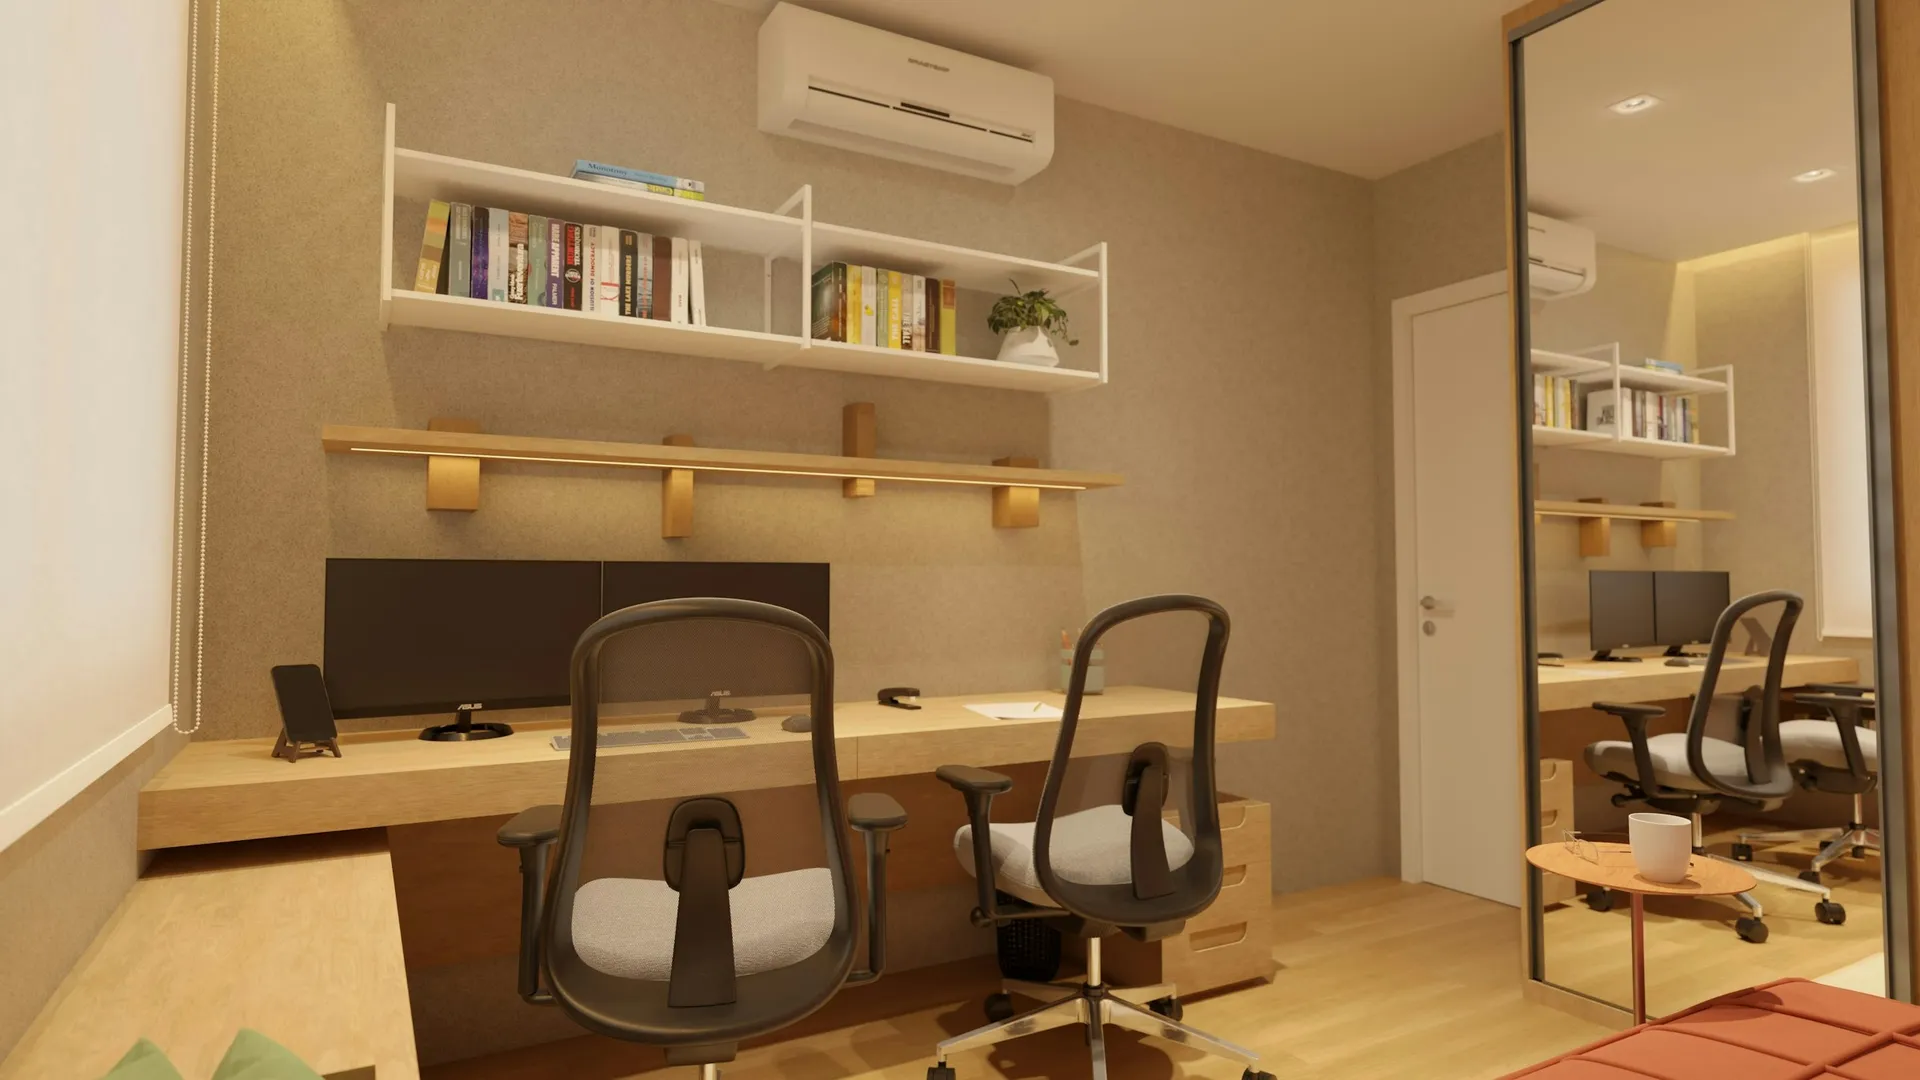
With good lighting and removable fittings, the shelter can do more than store boxes. A pantry with shelving for dry goods and a second fridge spot works when the shelter is near the kitchen. A small walk-in wardrobe with freestanding rails suits a shelter near the bedrooms. Some owners set up a compact desk. Remember that the room has no window, so plan airflow and keep the door open when you use it for long periods.
08Keep the ventilation sleeves clear
The ventilation sleeves near the ceiling let air into the shelter. SCDF allows you to cover them with removable finishes if at least 25% of the total area of the two openings is left uncovered in peacetime. Keep at least 50mm between the fragmentation plate and any beam, structure or service, and 500mm if one sits directly in front of the plate. You may remove the fragmentation plates only if you keep the plates, bolts and nuts together for use.
What we would use in a household shelter
| Part of the room | Our pick | Also good |
|---|---|---|
| Door | Paint matched to the surrounding wall, with the door notice, bolts and seal left clear | A contrasting colour that turns the door into a deliberate feature |
| Wall around the door | Fluted and slatted wall panels | Wainscoting and wall moulding for a classic look, or feature wall tiles |
| Internal walls | Specialty paints (anti-mould, washable, low-VOC) | Standard emulsion paint in a light colour |
| Floor | Glazed porcelain tiles (keep the HDB tiles) | Vinyl or linoleum flooring, laid without breaking the shelter rules |
| Ceiling | No false ceiling (painted slab with surface trunking) | A slim surface LED panel to make the plain ceiling look finished |
| Ceiling outside the shelter | Full flat gypsum board ceiling with perforated access panels under the ventilation sleeves | Partial ceiling: L-box and box-ups that stop short of the sleeves |
| Lighting | Surface ceiling lights and LED panels | Cove lighting and LED strips on freestanding shelves |
| Storage | Open wardrobe system | Freestanding wardrobe or modular metal racks |
Door
Paint matched to the surrounding wall, with the door notice, bolts and seal left clear
Painting is the only permitted way to change the look of the steel door. Strip the old coat before repainting so the door still closes, and let the new coat dry completely so the gasket does not stick. A matte finish in the wall colour makes the door blend in.
Also good: A contrasting colour that turns the door into a deliberate feature
Wall around the door
Fluted and slatted wall panels
Panels on the external face of the shelter wall disguise the door frame and line it up with the rest of the room. SCDF allows power-driven nails on the external face and splatter dash to give a key for panels, but no hacking. Keep panels clear of the door swing and the notice.
Also good: Wainscoting and wall moulding for a classic look, or feature wall tiles
Compare every wall finishes optionInternal walls
Specialty paints (anti-mould, washable, low-VOC)
Wall tiles, rock stone spray, cement sand finish and gypsum plaster are not permitted on the internal faces of shelter walls, so paint is the finish. A windowless shelter can get stale and damp, so an anti-mould, washable paint in a light colour keeps it fresh and bright.
Also good: Standard emulsion paint in a light colour
Compare every wall finishes optionFloor
Glazed porcelain tiles (keep the HDB tiles)
Inside the shelter, floor tiles must be bonded to wet cement mortar, adhesive is not allowed, a second layer of tiles is not allowed and the total thickness of finishes and screed is limited to 50mm. Keeping the original tiles is the simplest choice. Vinyl or linoleum flooring is permitted if you want a warmer surface; ask your contractor how it will be laid.
Also good: Vinyl or linoleum flooring, laid without breaking the shelter rules
Compare every tiles optionCeiling
No false ceiling (painted slab with surface trunking)
Cornices are not permitted inside the shelter and the ceiling slab must not be tampered with, so keep it plain and painted in a light colour to brighten a windowless room. Fix lights with non-metallic inserts and removable screws no deeper than 50mm, and run any new wiring on the surface.
Also good: A slim surface LED panel to make the plain ceiling look finished
Compare every false ceilings optionCeiling outside the shelter
Full flat gypsum board ceiling with perforated access panels under the ventilation sleeves
If you install a false ceiling outside the shelter below the ventilation sleeves, SCDF requires a perforated access panel of at least 600mm x 600mm directly below each sleeve. Plan this before the ceiling goes up so the panels line up neatly with lights.
Also good: Partial ceiling: L-box and box-ups that stop short of the sleeves
Compare every false ceilings optionLighting
Surface ceiling lights and LED panels
A slim surface LED panel lights a small windowless room evenly without any cutting into the slab. Add battery or plug-in LED strips under shelves for a pantry or wardrobe. Fix everything with removable screws in non-metallic inserts, and choose a neutral white so food labels and clothes colours are easy to read.
Also good: Cove lighting and LED strips on freestanding shelves
Compare every lighting optionStorage
Open wardrobe system
A modular open system with uprights, shelves and rails can be taken down quickly, which suits SCDF's rule that internal fixtures must be removable within 48 hours of notification. It works as a pantry, wardrobe or general storeroom, and the shelves can be moved as your needs change.
Also good: Freestanding wardrobe or modular metal racks
Compare every wardrobes option
What the rules allow
SCDF's technical requirements for household shelters, which HDB's renovation guidelines repeat, list what you can and cannot do.
Permitted
- Floor tiles bonded to wet cement mortar, with finishes and screed no more than 50mm thick in total; vinyl or linoleum flooring.
- Skirting tiles up to 100mm high, bonded with wet cement mortar.
- Painting walls, ceiling or door, without painting or covering the door notice, locking bolts or door seal.
- Drilling into the internal walls and ceiling slab no deeper than 50mm for non-metallic inserts and removable screws.
- Power-driven nails and splatter dash on the external face of shelter walls only.
- Covering the ventilation openings with removable finishes, leaving at least 25% of their total area uncovered.
Not permitted
- Wall tiles, rock stone spray, cement sand finish or gypsum plaster on internal walls.
- Floor tiles laid with adhesive, or a second layer of tiles.
- Cornices inside the shelter.
- Covering, removing or tampering with the door notice.
- Hacking or drilling the walls and slabs beyond the permitted drilling.
- Modifying, changing, removing or tampering with the shelter door.
- Tampering with the ventilation openings, plates, bolts and nuts, or painting the interior face of the fragmentation plate, the sleeves or the gaskets.
HDB's BTO sales brochures also state that the walls, ceiling, floor and door of the shelter shall not be hacked, drilled, altered or removed. In practice, the shelter stays as built; only finishes and removable fittings change.
How big is the shelter?
SCDF's 2023 technical requirements set the shelter's minimum floor area by the home's gross floor area, from 1.44 square metres for homes up to 40 square metres to 3.4 square metres for homes above 140 square metres, with a maximum internal floor area of 4.8 square metres and a clear height between 2.4m and 3.9m. The door opening is 700mm wide and 1,900mm high. Older flats were built to the requirements of their time, so measure yours before buying shelving.
Disguising the door
The door itself cannot be modified, clad or removed, so work on what surrounds it. Paint the door in the wall colour, run panelling or carpentry on the external face of the wall around it, and keep the door swing and notice clear. Avoid sliding panels or curtains that hide the door notice. If you are unsure whether a design counts as covering or modifying the door, ask SCDF or HDB before building it.
Lighting, power and air
The shelter comes with lighting and power points. Upgrade the light, add a socket extension for a fridge or charging station, and keep wiring on the surface where possible. Electrical works must be done by an EMA licensed electrical worker. The room has no window, so keep the ventilation sleeves partly open, use a dehumidifier if you store clothes or dry goods, and see our guide to preventing mould at home.
Door care
HDB notes that a shelter door that repeatedly swings into the skirting tiles strains the hinges and can sag. Hold the handle when opening it, oil the latch, hinges, locking bolts and handle, and keep water out of the lockset when cleaning. Shelter door parts are only available from contractors for household shelter door repairs.
Common mistakes
- Tiling the inside walls, which is not permitted.
- Building fixed carpentry inside that cannot be removed quickly.
- Covering the door notice with a panel or cabinet.
- Painting over old coats until the door no longer closes.
- Blocking the ventilation sleeves completely.
Checklist
- Measure the shelter and the door swing.
- Decide the use: storeroom, pantry, wardrobe or nook.
- Plan paint for the door and panelling for the wall outside.
- Choose removable shelving and slim lighting.
- Keep the notice visible and at least 25% of the vents open.
See our foyer and study guides for ideas on the spaces around the shelter.