Renovation guides
Bathroom waterproofing in Singapore: HDB rules, how it is done and how to avoid leaks
Bathroom waterproofing is the membrane and screed under your tiles. HDB requires a waterproofing membrane turned up at least 150mm against walls, kerbs and pipes whenever bathroom floor finishes are replaced.
 Rayden Nyoe4 min read
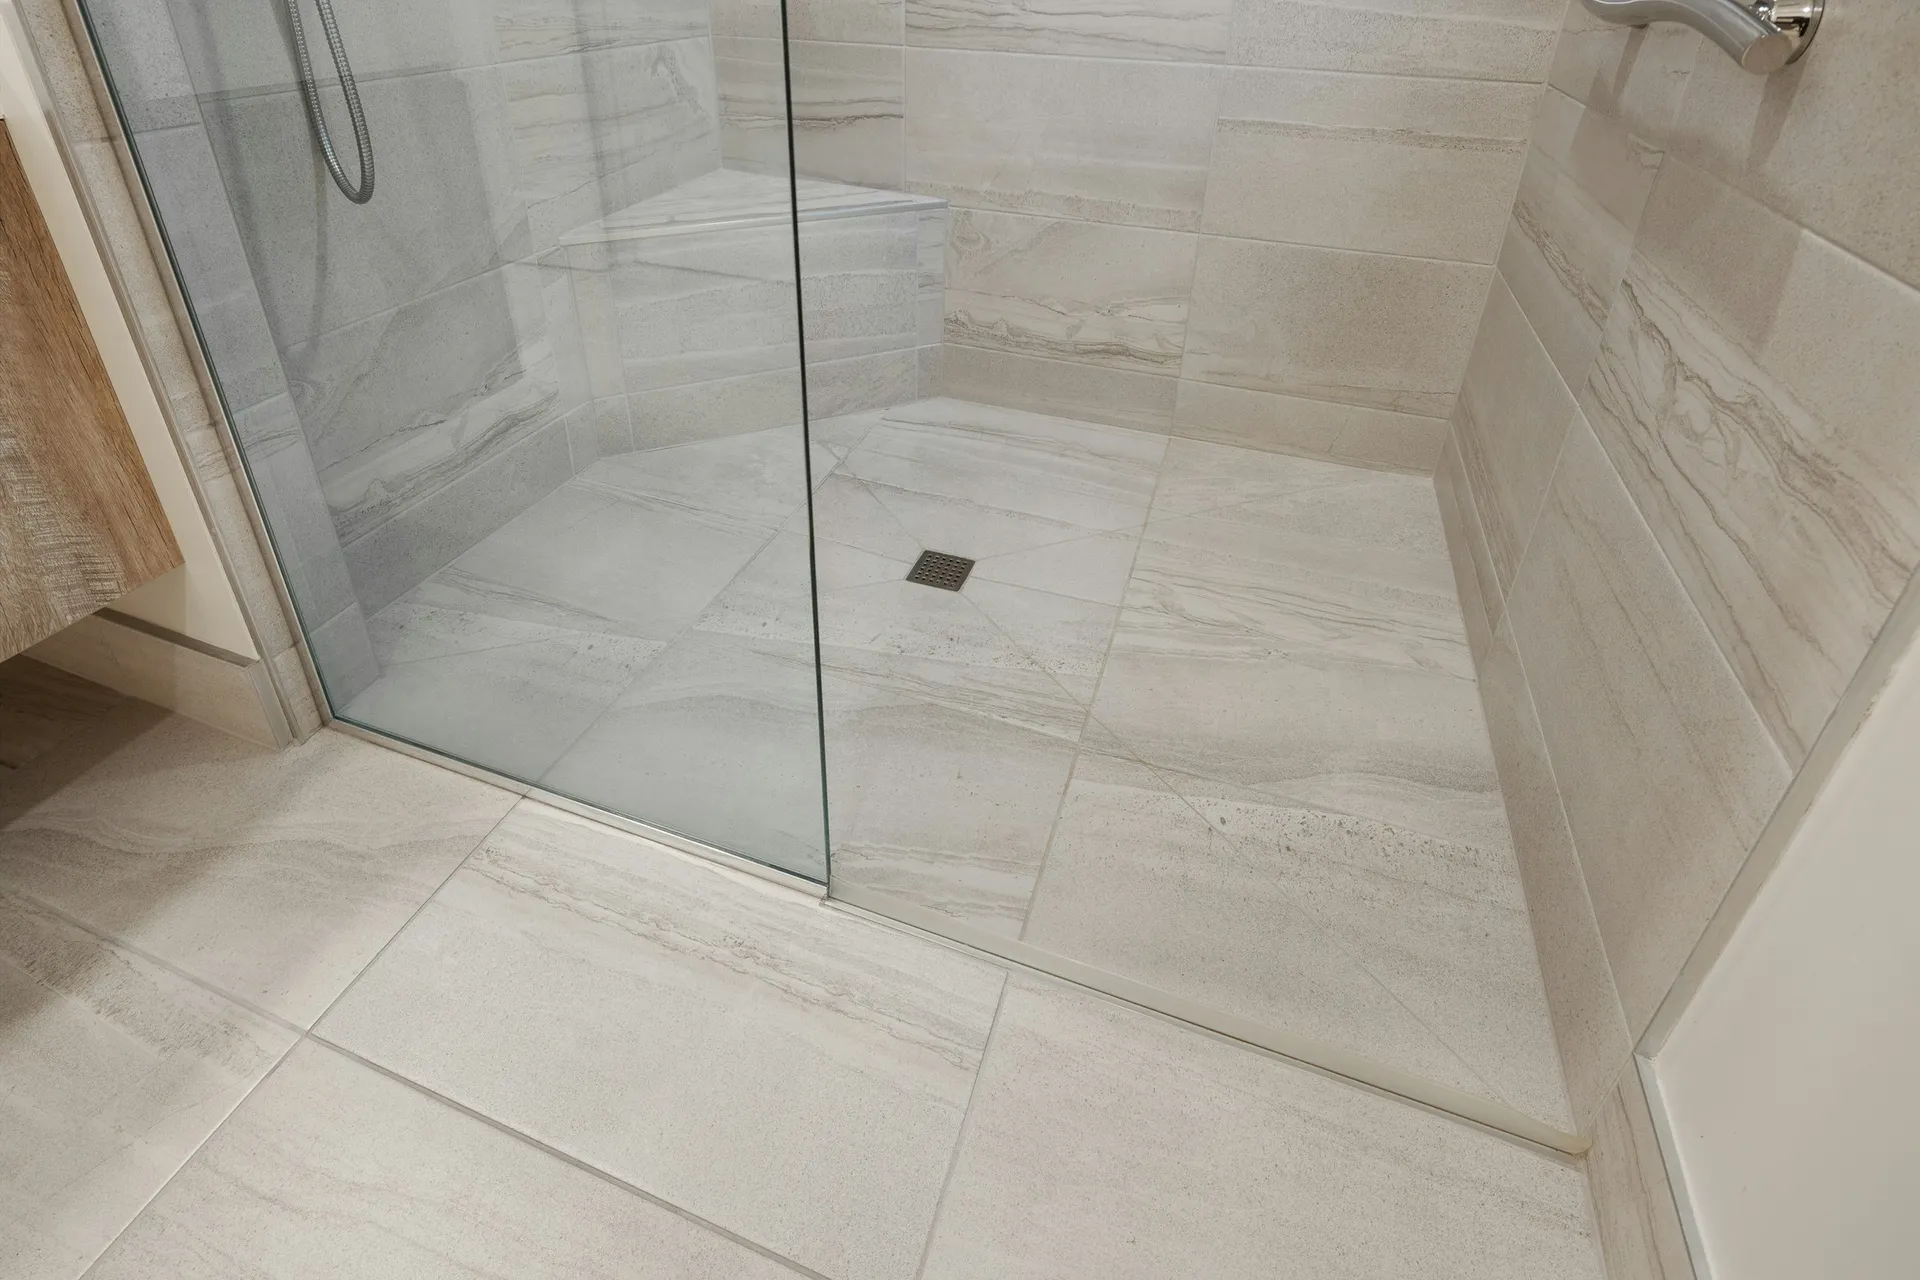
Short answer: waterproofing is the membrane and screed layer beneath your bathroom tiles, and it is what stops water reaching the flat below. In HDB flats, whenever bathroom floor finishes are replaced, HDB requires pre-packed waterproofing screed and a waterproofing membrane, turned up at least 150mm against walls, kerbs and pipes. New flats cannot have bathroom wall or floor finishes removed for the first 3 years.
How bathroom waterproofing works
A bathroom floor is a stack of layers: the concrete slab, a waterproofing membrane, a screed layer laid to fall towards the floor trap, then tile adhesive and tiles. Grout and tiles shed most water, but they are not waterproof on their own. The membrane is the real barrier.
HDB explains that ceiling leaks usually happen when the waterproof membrane and screed in the floor slab wear out over time. It says this is common in older buildings and typically shows up under toilets and bathrooms.
HDB rules for bathroom waterproofing
The 3-year rule for new flats
HDB places a 3-year restriction on removing wall and floor finishes in the bathrooms and toilets of newly built flats. Replacement of existing bathroom wall or floor finishes is only allowed after the first 3 years from the block's completion, and it needs an HDB permit.
When you replace bathroom floor finishes
HDB's building works guidelines set these conditions:
- Use pre-packed waterproofing screed and a waterproofing membrane before laying new floor finishes.
- Turn the membrane up at least 150mm against the walls, kerbs and pipes.
- Fit a UPVC floor trap grating with a long collar.
- Keep the total thickness of floor finishes and screed to 50mm or less.
Overlaying tiles instead of hacking
HDB allows new floor finishes over existing ones using adhesive only, without a permit, if:
- there is only 1 existing layer of finishes, including screed;
- the new finish, including adhesive, is no more than 13mm thick;
- the floor trap is not tampered with; and
- the work does not cause backflow or seepage into the bedroom.
Overlaying keeps the original membrane in place, which can be a reasonable choice if it is still sound. If the bathroom already leaks, overlaying hides the problem rather than fixing it.
Wall finishes, trays and long baths
Bathroom wall finishes, including plaster, must not exceed 25mm in total thickness. If you install a shower tray or long bath, HDB requires weep holes and says the void beneath must not be filled with cement mortar. Long baths also need an inspection opening.
What a proper waterproofing job looks like
HDB's guide to repairing ceiling leaks describes its recommended method, re-screeding, which is a useful benchmark for any bathroom redo:
- Remove the floor tiles, screed and fixtures, hacking slightly deeper (about 25mm more) around pipes, and fill around pipes with non-shrink grout.
- Apply a good quality waterproof membrane, turned up to 150mm against walls, kerbs and pipes, and let it set for 6 to 12 hours according to the manufacturer.
- Lay a new waterproof screed at least 20mm thick, with a gentle fall for drainage, and let it harden for at least 12 hours.
- Reinstall the tiles, toilet bowl and fixtures.
Beyond what HDB specifies, it is good practice to ask your contractor whether they will water test the membrane (often called a ponding or flood test) before tiling, and how long it will be left. A leak found at this stage costs very little to fix.
Fixing a ceiling leak from the flat above
If water is coming through your ceiling, HDB's position is that flat owners are responsible for their floor and ceiling slabs. Its suggested approach:
- Talk to your upstairs neighbour and agree a time for a contractor to confirm the source.
- Engage a contractor jointly, agree the repair method, and split the cost.
- For top-floor flats, leaks from the roof are common property, so contact your Town Council.
Besides re-screeding, HDB lists localised repair at the floor waste grating, treatment of exposed concrete around the waste pipe, and other methods such as PU (chemical grout) injection, flood infusion and overlaying waterproofing membrane systems.
What about the kitchen?
HDB notes there is no waterproofing membrane beneath HDB kitchen floor tiles, which is why it advises mopping rather than washing the kitchen floor. When kitchen floor finishes are replaced, HDB requires pre-packed waterproofing screed, with a membrane (150mm upturn) only around the sanitary stacks within a 400mm radius.
How much does bathroom waterproofing cost?
SmartCalculator's July 2026 estimates, labelled market ranges rather than quotes:
- Waterproofing and retiling: about $3,100 to $4,700 per bathroom, covering hacking, membrane and wall and floor tiling.
- Cement screeding: about $4 to $6 per square foot, often listed as a separate line.
Check whether your quotation lists the membrane and screed explicitly. For the full bathroom budget, see our bathroom renovation cost guide.
Checklist before you sign
- Is the membrane product named, and is it turned up at least 150mm against walls, kerbs and pipes?
- Is the screed pre-packed waterproofing screed, laid to fall to the floor trap?
- Is a UPVC long-collar floor trap grating included?
- Will the membrane be water tested before tiling?
- What warranty does the contractor give on leaks?
- Is the contractor in HDB's Directory of Renovation Contractors, and has the permit been obtained?
Choosing finishes? Compare options on our tiles, shower screens and sanitaryware pages.
Day-to-day care
HDB suggests using non-corrosive detergents in bathrooms to reduce wear on the membrane and screed. Keep floor traps clear, reseal failing silicone around basins and screens, and act quickly on any damp patch below.
How JIAHOME helps
We design your bathroom and list every item, including waterproofing, in a quotation without prices, so contractors quote the same specification. See our services.
FAQ
Frequently asked questions
Can I redo the bathroom in my new BTO flat?
Not immediately. HDB restricts removal of bathroom wall and floor finishes for the first 3 years after the block is completed, and replacement after that needs an HDB permit.
How high should the waterproofing membrane go up the wall?
HDB requires the membrane to be turned up at least 150mm against walls, kerbs and pipes when bathroom floor finishes are replaced. Many homeowners also ask for extra coverage in the shower area.
Can I tile over my existing bathroom floor?
HDB allows overlaying with adhesive only, without a permit, if there is just 1 existing layer, the new finish is no more than 13mm thick and the floor trap is untouched. It keeps the old membrane, so fix any existing leak first.
Who pays for a ceiling leak from the flat above?
HDB says owners are responsible for their floor and ceiling slabs, so you and your upstairs neighbour engage a contractor together and split the cost. Roof leaks in top-floor flats go to the Town Council.
How much does bathroom waterproofing cost in Singapore?
SmartCalculator estimates about $3,100 to $4,700 per bathroom for waterproofing with retiling in 2026. Treat this as indicative and compare itemised quotes.


Find your style